Advertisement
Quick Links
Advertisement

Related Manuals for Lantronix Spider


Summary of Contents for Lantronix Spider
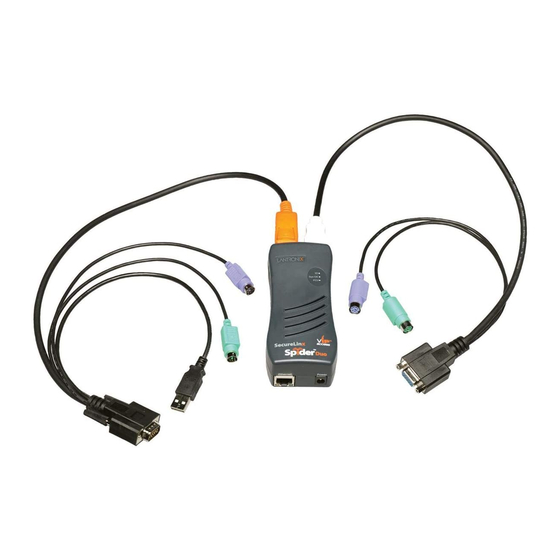
- Page 1 Spider™ View User Guide Part Number 900-496 Revision D January 2023...
- Page 2 Copyright & Trademark © 2023 Lantronix, Inc. All rights reserved. No part of the contents of this book may be transmitted or reproduced in any form or by any means without the written permission of Lantronix. Lantronix is a registered trademark of Lantronix, Inc. in the United States and other countries.
-
Page 3: Table Of Contents
Contents Introduction _______________________________________________________________ 4 Installation ________________________________________________________________ 4 Finding, Configuring, and Organizing Spider Devices ______________________________ 4 Accessing Spider Devices ___________________________________________________ 6 Using Spider Devices _______________________________________________________ 7 Logging Out ______________________________________________________________ 8 Technical Support __________________________________________________________ 9 Appendix A: Troubleshooting _________________________________________________ 9 Spider™ View User Guide... -
Page 4: Introduction
2. When prompted, accept the license agreement. 3. Select the folder for the software installation location and the shortcuts required. 4. To run Spider View, double-click the Spider View icon or select the utility from the Start Menu. Finding, Configuring, and Organizing Spider Devices Spider View can automatically find all Spider devices residing on the same subnet as the client system. - Page 5 5. Newly configured Spider devices display under the New Devices group, listed by Device Name. To add a new group, select Groups > New Group or right-click an existing group and select New Group. Right-click a group to rename or delete. Select a specific Spider and drag it to the desired group.
-
Page 6: Accessing Spider Devices
Spider device and select Connect in Observation Window. Alternatively, select the Spider and click the icon. 2. To connect all Spider devices in a group: right click the group and select Connect All Devices. Alternatively, select the group and click the icon. The stored username and password for each Spider must be valid for a successful connection attempt. -
Page 7: Using Spider Devices
Remote Console window may be moved, maximized, minimized, or resized like a standard Windows window. Various options and functions are available from the toolbar or via the Options menu. For more details on these functions, refer to the Spider User Guide. Remote Console... -
Page 8: Logging Out
Observation Window. To disconnect all Spider devices in a group, click the button. To exit Spider View, select File > Exit or click the 'X' button in the top-right corner. Spider™ View User Guide... -
Page 9: Technical Support
Configuration | Options. Note: this may happen if your Windows PC becomes disconnected from the Ethernet and the default Network Adapter address changes to a “link-local IPv4 address” (e.g., 169.254.x.x) per RFC 3927. If no Devices are found, Spider View will advise you to check the network settings. - Page 10 Spider Disappears You can change the “IP auto config” of a Spider device using Spider View. Switching between DHCP and “None” may change your Spider device’s IP address. Select Spider View's Network Adapter Insecure HTTPS (Self-signed certificate) If you chose “Configure Selected Device (Website)” which opens a Web Browser, the Browser is likely to complain because the Spider contains a self-signed security certificate.
- Page 11 When sharing a disk, it may take ~15 seconds to appear on the remote Server. If you “Reset Keyboard/Mouse (USB)” using the Web interface (Maintenance | Reset Operations | Reset Keyboard/Mouse (USB)) you will drop your Redirected Drives, too. Spider™ View User Guide...
Need help?
Do you have a question about the Spider and is the answer not in the manual?
Questions and answers