
Related Manuals for Feider Machines FHAEP120015L


Summary of Contents for Feider Machines FHAEP120015L
- Page 1 Original Instructions Wet and Dry Vacuum Cleaner FHAEP120015L BUILDER SAS 32 Rue Aristide Bergès, 31270 CUGNAUX - FRANCE MADE IN PRC...
- Page 5 Important! When using equipment, a few safety precautions must be observed to avoid injuries and damage. Please read the complete operating manual with due care. Keep this manual in a safe place, so that the information is available at all times. If you give the equipment to any other person, give them these operating instructions as well.
- Page 6 circumstances: Whenever the appliance is not in use, before opening the appliance and before all cleaning and maintenance work. Never clean the appliance with solvents. Never pull the plug out of the socket by pulling the cable. Never leave the appliance unattended when operational.
- Page 7 This appliance is not suitable for vacuuming dust which can be harmful to health. Store the appliance in a dry indoor location. Never use the appliance if it is damaged. Only allow the appliance to be serviced by an authorized after sales service outlet.
- Page 8 4. Technical data Mains voltage: 220-240V~ 50/60 Hz Model Power input Tank volume Weight FHAEP120015L 1250 W 15 L 4.00Kgs 5. Before starting Important! Before you connect the appliance to the mains supply make sure that the data on the rating plate are identical to the mains data.
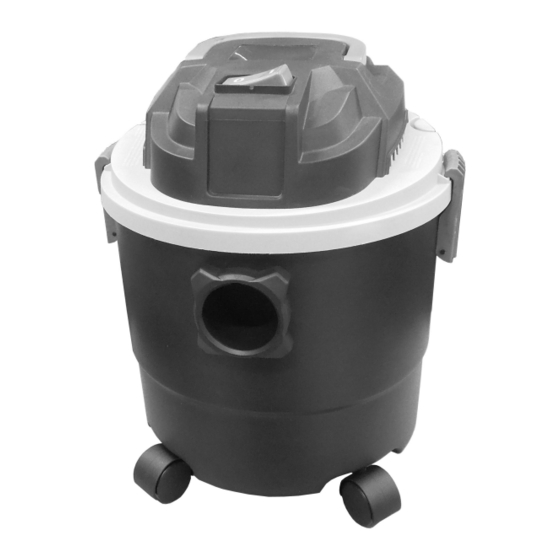
- Page 9 5.1 Appliance assembly Fitting the appliance head (Fig. 4) The appliance head (3) is fastened to the container (7) by the locking hook (6). To remove the appliance head (3), open the locking hook (6) and remove the appliance head (3). When fitting the appliance head (3), make sure that the locking hook (6) locks into place correctly.
- Page 10 6. Operation Important! Switch off the equipment if liquid or foam is emitted with the exhaust air when wet vacuum cleaning. 6.1 On/Off switch (Fig. 1) Switch position 0: Off Switch position I: On 6.2 Dry vacuuming Use the dirt bag (14) for dry vacuuming (see point 5.2). Always ensure that the filters are perfectly secure.
- Page 11 7.1 Cleaning Keep all safety devices, air vents and the motor housing free of dirt and dust as far as possible. We recommend that you clean the appliance immediately after you use it. 7.2 Cleaning the appliance head (3) Clean the appliance regularly with a damp cloth and some soft soap.
-
Page 12: Warranty
9. WARRANTY WARRANTY The manufacturer guarantees the product against defects in material and workmanship for a period of 2 years from the date of the original purchase. The warranty only applies if the product is for household use. The warranty does not cover breakdowns due to normal wear and tear. The manufacturer agrees to replace parts identified as defective by the designated distributor. -
Page 13: Product Failure
10. PRODUCT FAILURE WHAT TO DO IF MY MACHINE BREAKS DOWN? If you bought your product in a store: a) Empty the fuel tank. b) Make sure that your machine is complete with all accessories supplied, and clean! If this is not the case, the repairer will refuse the machine. -
Page 14: Warranty Exclusions
11. WARRANTY EXCLUSIONS THE WARRANTY DOES NOT COVER: • Start-up and setting up of the product. • Damage resulting from normal wear and tear of the product. • Damage resulting from improper use of the product. • Damage resulting from assembly or start-up not in accordance with the user manual. •...
Need help?
Do you have a question about the FHAEP120015L and is the answer not in the manual?
Questions and answers