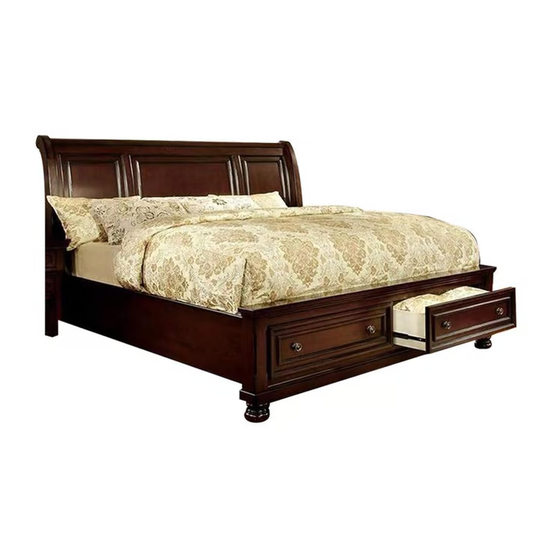
Summary of Contents for Furniture of America CM7683Q
- Page 5 I. Insert 1 wood dowel (#I) into the top pre-drilled holes on each end of the headboard (#1). II. Align the right headboard leg (#2R) and left headboard leg (#2L) to the pre-drilled holes on the ends of the headboard (#1). III.
- Page 6 Insert threaded end of drawer support legs (#5) into the pre- drilled holes on the bottom of the footboard (#3). Adjust the leveler according to the ground level. To lower or to raise the slat support leg, you need to turn the leveler clockwise or counterclockwise, respectively.
- Page 7 Insert the threaded ends of the rail support legs (#9) into the pre-drilled holes on the support rail (#8). Tighten by hand. Adjust the leveler according to the ground level. To lower or to raise the slat support leg, you need to turn the leveler clockwise or counterclockwise, respectively.
- Page 8 Align the ends of the slat kit (#7) to the pre- drilled holes along the sides of the side rails (#6). Insert a wood screw (#H) into each end and secure using a Phillips screwdriver. Make sure all bolts are firmly secured. ASSEMBLY IS COMPLETED...
- Page 13 I. Insert 1 wood dowel (#I) into the top pre-drilled holes on each end of the headboard (#1). II. Align the right headboard leg (#2R) and left headboard leg (#2L) to the pre-drilled holes on the ends of the headboard (#1). III.
- Page 14 Insert threaded end of drawer support legs (#5) into the pre- drilled holes on the bottom of the footboard (#3). Adjust the leveler according to the ground level. To lower or to raise the slat support leg, you need to turn the leveler clockwise or counterclockwise, respectively.
- Page 15 Insert the threaded ends of the rail support legs (#9) into the pre-drilled holes on the support rail (#8). Tighten by hand. Adjust the leveler according to the ground level. To lower or to raise the slat support leg, you need to turn the leveler clockwise or counterclockwise, respectively.
- Page 16 Align the ends of the slat kit (#7) to the pre-drilled holes along the sides of the side rails (#6). Insert a wood screw (#H) into each end and secure using a Phillips screwdriver. Make sure all bolts are firmly secured. ASSEMBLY IS COMPLETED...
- Page 21 I. Insert 1 wood dowel (#I) into the top pre-drilled holes on each end of the headboard (#1). II. Align the right headboard leg (#2R) and left headboard leg (#2L) to the pre-drilled holes on the ends of the headboard (#1). III.
- Page 22 Insert threaded end of drawer support legs (#5) into the pre- drilled holes on the bottom of the footboard (#3). Adjust the leveler according to the ground level. To lower or to raise the slat support leg, you need to turn the leveler clockwise or counterclockwise, respectively.
- Page 23 Insert the threaded ends of the rail support legs (#9) into the pre-drilled holes on the support rail (#8). Tighten by hand. Adjust the leveler according to the ground level. To lower or to raise the slat support leg, you need to turn the leveler clockwise or counterclockwise, respectively.
- Page 24 Align the ends of the slat kit (#7) to the pre-drilled holes along the sides of the side rails (#6). Insert a wood screw (#H) into each end and secure using a Phillips screwdriver. Make sure all bolts are firmly secured. ASSEMBLY IS COMPLETED...


Need help?
Do you have a question about the CM7683Q and is the answer not in the manual?
Questions and answers