
Related Manuals for Noble House Home Furnishings 70289


Summary of Contents for Noble House Home Furnishings 70289
- Page 1 Caution : You must read this before you proceed Bench Noble Page 1 of 6 House Home Furnishings LLC...
- Page 2 Label Picture Description Left leg Right Leg Label Picture Description Bolt( M8*64mm) ① Flat Washer ② Allen Wrench ③ Before Beginning Assembly: Noble Page 2 of 6 House Home Furnishings LLC...
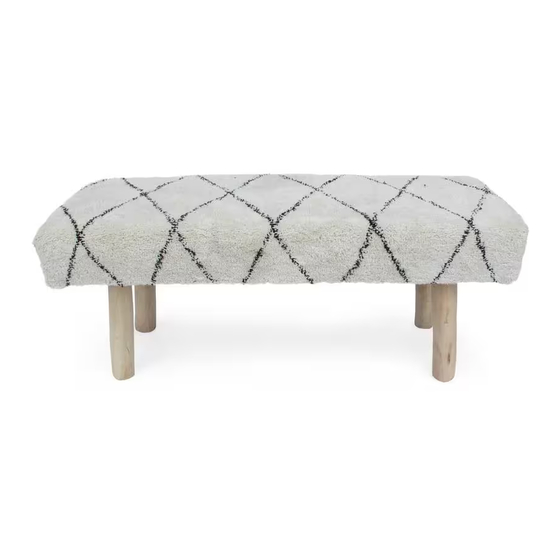
- Page 3 Overview Top (C) Right Leg (B) FRONT FACING This Bench has multiple parts and may require up to 30 mins to assemble. To give you an overview of the Bench parts, the above picture is to help you put the various parts into perspective. Please read through the instructions herebelow to familiarise the parts and steps before assembly.
- Page 4 Step 2 NOTE : Each leg numbred. Please match accroding to respective markings. ② ① ② ① Place the Top (C) with its one side face skywards onto a clean, soft surface to avoid any scratches or damages to the product. Align the tenon of Top (C) into the Mortise of Left Leg (A) as shown above.
- Page 5 Step 4 With the help from your partner, turn the Bench to rest on Top (C) so that Right Leg (B) is now facing skywards. Repeat the same process by affixing Bolts (①), (②) to designated points. DO NOT FULLY TIGHTHEN BOLTS. Step 5 Turn the Bench right side up.
- Page 6 Turn the Bench in a synchronised manner. CAUTION 1: When tightening these blots, tighten sequentially. DO NOT tighten any blots fully and then towards the next one. This would cause the frame to warp. If there is still wobbles, loosen the blots and execute this same process. IF Bench IS NOT STABLE , IT COULD LEAD TO DAMAGING THE PRODUCT.
Need help?
Do you have a question about the 70289 and is the answer not in the manual?
Questions and answers