Advertisement
Quick Links
ASSEMBLY RA TING
The Assembly Rating is a 5-point system that
shows the degree of effort needed in
assembling a specific product (with 1 being
easy and 5 being difficult). For some
products, two persons are recommended.
O O O
EASY
Assembly Instructions
®® DIFFICULT
Page 1 of 10
Tools Required For Assembly:
Allen Wrench
Phillips Screwdriver
<-'>
2 PERSONS RECOMMENDED
'
�
(Included)
l:'.j
�e:=====>
(Not Included)
Advertisement

Related Manuals for Furniture of America CM-AC521


Summary of Contents for Furniture of America CM-AC521
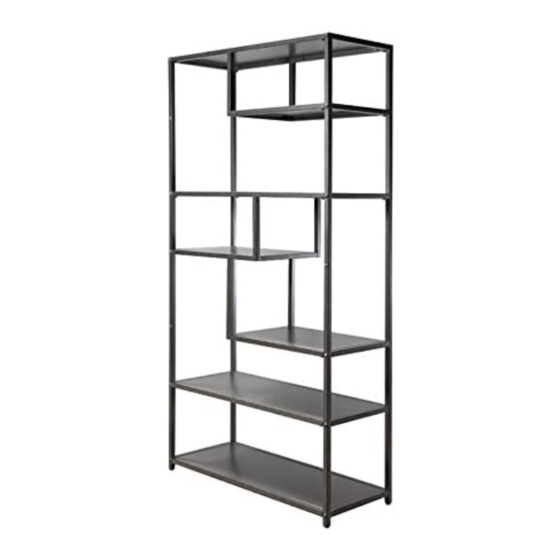
- Page 1 Assembly Instructions ASSEMBLY RA TING Tools Required For Assembly: The Assembly Rating is a 5-point system that Allen Wrench � shows the degree of effort needed in (Included) l:'.j assembling a specific product (with 1 being easy and 5 being difficult). For some Phillips Screwdriver �e:=====>...
- Page 5 Do not fully tighten all bolts until steps 9. Prepare 4 bolts assembly by inserting washer (#C) onto bolts (#A). Align upper back rails (#4) and upper front rail (#3) to the holes of the right panel (#2). Secure with bolts (#A). 1) Prepare 2 bolts assembly by inserting washer (#C) onto bolts (#A).
- Page 6 2) Align middle and bottom back rails to the holes facing back of the right panel (#2). 1) Prepare 4 bolts assembly by inserting washer (#C) onto boles (#A). Align middle and bottom front rails to the holes facing front of right panel (#2).
- Page 7 Prepare 2 bolts assembly by inserting washer (#C) onto bolts (#A). Align panel 1 (#9) to the holes of the right panel, then secure with bolts (#A). Prepare 10 bolts assembly by inserting washer (#C) onto bolts (#A). Align left panel (#1) to the rest of the shelf and secure with bolts (#A).
- Page 8 Align short panels (#11) to the holes of the shelves as shown in the picture. Secure with bolts (#B). Align long panels (#10) to the shelves, then secure with bolts (#B).
- Page 9 Attach and adjust adjustable floor protectors according to ground level. Fully tighten all bolts Tipping restraint optional. Align iron connector (#G). to top of shelf, then secure with screws (#E).
- Page 10 Create your own hole and screw iron connector (#G) to the wall with screws (#F).
Need help?
Do you have a question about the CM-AC521 and is the answer not in the manual?
Questions and answers