Table of Contents
Advertisement
Quick Links
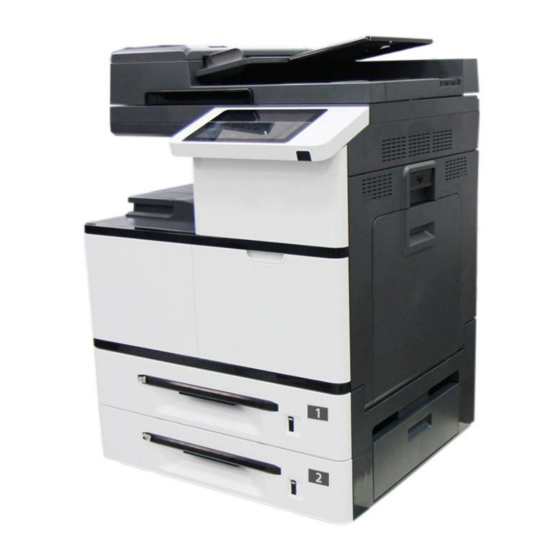
Multi-Function Copier
User's Manual
AM7630i/AM7640i/AM7645i/AM5630i/AM5640i
Avision Inc.
1.
Getting Started
2.
Installing Your Machine
3.
Operation
4.
Customizing the Product's
Configurations
5.
Configuring the Printer's
Features
6.
Scanning From Your Computer
7.
Maintaining the Product
8.
Replacing the Consumables
9.
Troubleshooting
10. Specification
Regulatory model:
Advertisement
Table of Contents


Need help?
Do you have a question about the AM7630i and is the answer not in the manual?
Questions and answers