Table of Contents
Advertisement
Quick Links
Advertisement
Table of Contents

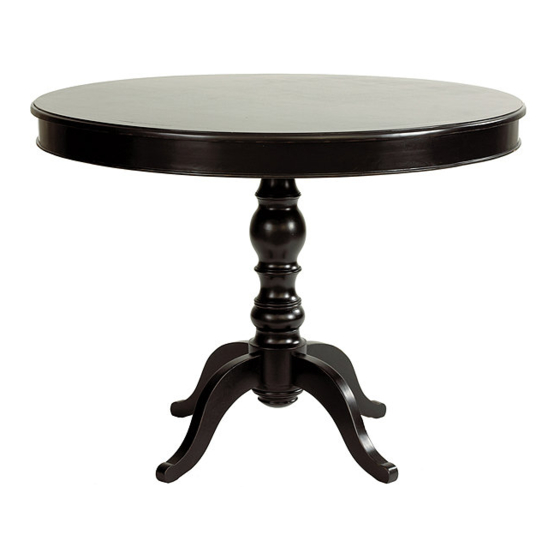
Summary of Contents for Ballard Designs Sidney TD277
- Page 1 Customer Service: 800-367-2810 Online: www.ballarddesigns.com PRODUCT NAME: Sidney Dining Table ITEM NUMBER: TD277 ASSEMBLED DIMENSIONS: 30”H x 48” Diameter PRODUCTS ARE NOT INTENDED MADE IN VIETNAM FOR COMMERCIAL USE. UPDATED: 7-13-2020 Page 1 of 6...
- Page 2 Assemble in location for intended use. Ltr. Qty. Hardware Included REQUIRED TOOLS: Wrench (included), Allen Bolts Allen Wrench (included) Nuts -Two person assembly suggested. Wrench Prevent accidentally discarding small Flat Washers parts or hardware. Retain all carton contents until assembly and installation are complete. Allen Wrench Lock Washers Ltr.
- Page 3 CARTON CONTENTS: Box 1 contains Hardware Packet, Top (K), Top Support (I) and Legs (J). Box 2 contains Base (G) and Base Cap (H). Box 1 Box 2 STEP 1: Place Base (G) upright with flat side up then place Top Support (I) on Base. Align holes with embedded T-nuts in Base.
- Page 4 STEP 2: Secure Top Support (I) to Base (G) using four Allen Bolts (A), four Lock Washers (F) and four Flat Washers (D). Fully tighten and secure using Allen Wrench (E). STEP 3: Invert Top (K) onto a level, clean, padded surface. Align holes in Top Support (I) with holes in Top (K).
- Page 5 STEP 4: Orient and insert Legs (J) into Base (G) as illustrated. STEP 5: Secure Legs (J) to Base (G) using eight Nuts (B), eight Washers (D) and eight Lock Washers (F) Customer Service: 800-367-2810 Page 5 of 6 Online: www.ballarddesigns.com...
- Page 6 STEP 6: Attach Base Cap (H) to Base (G) by inserting and turning clockwise. Do not over tighten. STEP 7: Table is equipped with Rotary Levelers installed under each Leg (J). If necessary, Table may be adjusted by carefully lifting applicable Leg and turning Leveler clockwise/counterclockwise. Cleaning and Care Avoid harsh or abrasive chemicals as finish damage may result.


Need help?
Do you have a question about the Sidney TD277 and is the answer not in the manual?
Questions and answers