Advertisement
Quick Links
Advertisement

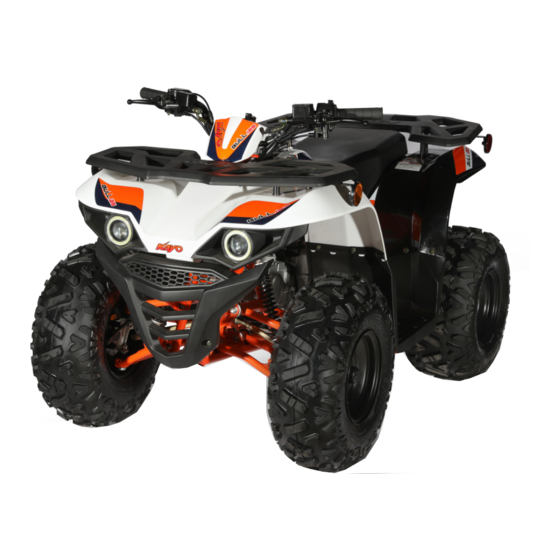
Related Manuals for KAYO MOTO AU125-2


Summary of Contents for KAYO MOTO AU125-2
- Page 1 KAYO MOTO AU125-2 Assembly Manual WWW.KAYOMOTO.COM...
- Page 2 1.The picture on the left shows the tools required for unpacking & assembling the vehicle as below ① Torque wrench ② Needle nose pliers ③ No.8-10 wrench ④ No.10-12 wrench ⑤ No.12-14 wrench ⑥ Socket extension rod ⑦ 6mm hexagon socket ⑧...
- Page 3 5.The picture above shows the parts in the accessory box. Please read the user’s manual (A) carefully before assembling and install these parts according to the operation steps. 4.The parts shown above need to be subsequently installed on the vehicle. Name Quantity Name...
- Page 4 6.Use tool ①⑦ to install P and tighten F, the 7.Use tool ⑪ to tighten G. distance between the two ends of the mark is close, tighten evenly, first start by hand tightening all four clamp bolts. (The handlebar is tilted 3-5°from the vertical to the rear after installation, the torque is required to be 25-30N.m)
- Page 5 10.Use tool ⑫ to tighten E for the rear rack 11.Install the rear central reflector(O) on the rear cover. rack, use tool ③ to tighten the nut, then install the rear left/right reflector(N) on the rear rack. 13.Put the vehicle on the stand for easy 12.Use tool ④⑤...
- Page 6 16.Install the front wheel on the front hub, use 17.Align the rear wheel with the splines and push tools ①⑥⑧ to tighten the bolts(H) (torque on the rear axle, with the air nozzle cap facing requirements 25-30N.m) outward. Put the washer first then the nut(C), use tools ①⑥⑩...
- Page 7 22.Rotate the petcock to the direction of the 23.Unscrew the fuel cap, add gasoline, and arrow as shown above. tighten the fuel cap clockwise. 24.Please read the user’s manual(A) completely and carefully before riding to better understand the performance of the vehicle.
Need help?
Do you have a question about the AU125-2 and is the answer not in the manual?
Questions and answers