Advertisement
Quick Links
Advertisement

Related Manuals for KAYO MOTO AU200


Summary of Contents for KAYO MOTO AU200
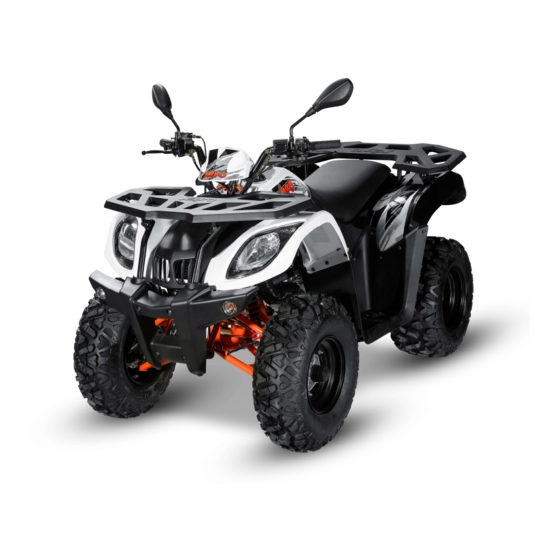
- Page 1 KAYO MOTO AU200 Assembly Manual WWW.KAYOMOTO.COM...
- Page 2 Torque wrench ① Additional rod for electric wrench socket ② 12mm socket ③ 14mm socket ④ 27mm socket ⑤ 6mm hexagon socket ⑥ No. 8 wrench ⑦ No. 10-12 wrench ⑧ No. 13 wrench ⑨ No. 12-14 wrench ⑩ No. 17-19 wrench ⑪...
- Page 3 Name Quantity A User’s manual B Bracket for gear indicator cover C Air pressure gauge D Cable tie E Spark plug socket F Rear central reflector G Rubber dust caps H Reflector (front & rear) I Front rack Flange bolt cover M6*12 hardware...
- Page 4 8. Use tool to tighten the gear indicator cover 9. Use tool to install the combination switch ⑭ ⑭ screw (B). 10. Use tools to tighten the rear rack ①②③ 11. Use tools to tighten rear rack hardware for ⑧ ⑭...
- Page 5 12. Use tool to tighten rear rack plastic cover ⑬ 13. Use tool to tighten front rack plastic cover ⑬ hardware (J) (the circles in the picture use hardware (I) (the circles in the picture use M6*16 M6*16 the rest use M6*12) the rest use M6*12) 15.
- Page 6 16. Use tools to remove the fixing screws of ⑧⑩ 17. Put the vehicle on the stand for easy the iron frame. installation of other accessories. 18.Use tool to remove the cable fixing the ⑫ 19. Please refer to user’s manual (A) for air shock absorber, then use ①...
- Page 7 20. As shown in the picture, install the front 21.Align the rear wheel with the splines and push wheel on the front hub, and use the tool ④ (No. on the rear axle, with the air nozzle cap facing 14# gun head) (torque wrench) ②...
- Page 8 24. Pull the latch as above shown and remove 25.Connect the positive and negative poles as the seat cushion, waiting for the subsequent shown in the picture, use tool to tighten the ⑭ installation of the battery screws, then install the seat. (Red is positive, black is negative) 26.
Need help?
Do you have a question about the AU200 and is the answer not in the manual?
Questions and answers