Ubiquiti LITEBEAM LBE-5AC-LR Quick Start Manual
Hide thumbs
Also See for LITEBEAM LBE-5AC-LR:
- Quick start manual (33 pages) ,
- Quick start manual (22 pages) ,
- Quick start manual (24 pages)
Table of Contents
Advertisement
Quick Links
Machine Translated by Google
LBE-5AC-LR Quick Start Guide
Package content
Panel reflector central
power horn
Side Reflector Panels (Qty: 2)
Spinning panels (qty.: 2)
Mounting bracket
power receiver
M8 SEM screws (quantity: 4)
M4 SEM screws (qty: 8)
Metal strips (qty: 3)
Power cord
Gigabit PoE (24 V, 0.3A) con
Advertisement
Table of Contents

Subscribe to Our Youtube Channel
Related Manuals for Ubiquiti LITEBEAM LBE-5AC-LR


Summary of Contents for Ubiquiti LITEBEAM LBE-5AC-LR
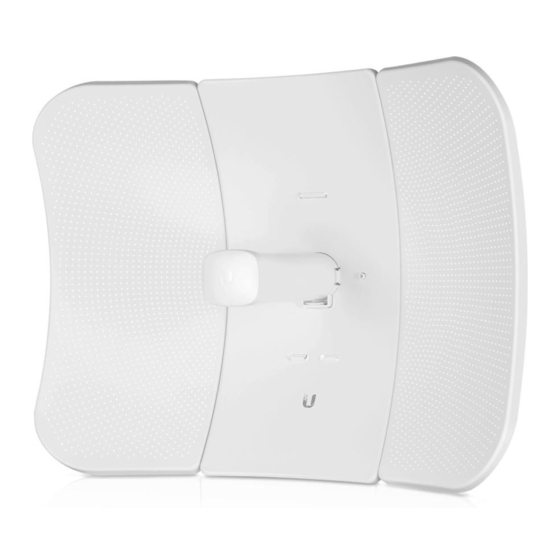
- Page 1 Machine Translated by Google LBE-5AC-LR Quick Start Guide Package content Panel reflector central power horn Side Reflector Panels (Qty: 2) Spinning panels (qty.: 2) Mounting bracket power receiver M8 SEM screws (quantity: 4) M4 SEM screws (qty: 8) Metal strips (qty: 3) Power cord Gigabit PoE (24 V, 0.3A) con...
-
Page 2: Installation Requirements
Ethernet connections and must be connected to the AC ground of the PoE. We recommend that you protect your networks from harmful outdoor environments and electrostatic discharge phenomena with Ubiquiti's Industrial Grade Shielded Ethernet Cable. For more information, visit ui.com/toughcable Surge protection must be used on all outdoor installations. -
Page 3: Hardware Description
Machine Translated by Google Outdoor mounted LiteBeam AC with reflector installed provides directional outdoor coverage LBE-5AC-LR Quick Start Guide (gain dependent on reflector). The exterior mounted LiteBeam AC without the reflector installed provides exterior to interior coverage only via the 3 dBi powered horn. hardware description... - Page 4 Machine Translated by Google LBE-5AC-LR Quick Start Guide LED the Ethernet The LED indicator will turn solid blue when the device is connected to an Ethernet network and will blink if there is activity. Power LEDs The LED will light blue when the device is connected to a power source. reset button To restore factory defaults, press and hold the reset button for more than 10 seconds while LiteBeam AC is powered on.
-
Page 5: Hardware Installation
Machine Translated by Google hardware installation LBE-5AC-LR Quick Start Guide... - Page 6 Machine Translated by Google LBE-5AC-LR Quick Start Guide...
- Page 7 Machine Translated by Google LBE-5AC-LR Quick Start Guide...
- Page 8 Machine Translated by Google LBE-5AC-LR Quick Start Guide...
- Page 9 Machine Translated by Google LBE-5AC-LR Quick Start Guide...
- Page 10 Machine Translated by Google LBE-5AC-LR Quick Start Guide...
- Page 11 Machine Translated by Google LBE-5AC-LR Quick Start Guide...
-
Page 12: Pole Mount
Machine Translated by Google LBE-5AC-LR Quick Start Guide pole mount... - Page 13 Machine Translated by Google LBE-5AC-LR Quick Start Guide...
- Page 14 Machine Translated by Google LBE-5AC-LR Quick Start Guide...
- Page 15 Machine Translated by Google LBE-5AC-LR Quick Start Guide...
- Page 16 Machine Translated by Google LBE-5AC-LR Quick Start Guide...
-
Page 17: Power Connection
Machine Translated by Google LBE-5AC-LR Quick Start Guide Power connection WARNING: The port switch must meet the power specifications listed in this quick start guide. - Page 18 Machine Translated by Google LBE-5AC-LR Quick Start Guide Optional Access to airOS over Wi-Fi Check the connectivity of the airOS® configuration interface using the UNMS™ app or web portal. Both are available for 15 minutes immediately after turning on the device. If necessary, you can turn on the device to turn your Wi-Fi back on.
- Page 19 Machine Translated by Google LBE-5AC-LR Quick Start Guide UNMS application 1. Download the UNMS app 2. Connect your device's Wi-Fi to the SSID named: : Note: Make sure DHCP is enabled on your Wi-Fi adapter. 3. Run the application and follow the instructions on the screen. Portal web 1.
- Page 20 Machine Translated by Google LBE-5AC-LR Quick Start Guide 4. Create a username and password. Confirm your new password and then then click Save. The airOS settings interface will open allowing you to customize your settings as needed. For more information, see the user guide available at ui.com/download/ airmax-ac...
-
Page 21: Installer Compliance Responsibility
Machine Translated by Google Installer Compliance Responsibility LBE-5AC-LR Quick Start Guide Devices must be professionally installed and it is the responsibility of the professional installer to ensure that the device is operational in accordance with country specific regulatory requirements. Antenna Select your antenna from the list. - Page 22 Machine Translated by Google Gain exceeding the maximum gain listed for that type are strictly prohibited use with this device. Antenna Frequency Gain 5 GHz 26 dBi Rack specs LBE-5AC-LR Dimensions 512,5 x 385,75 x 258,3 mm (20,18 x 15,19 x 10,17") Weight with mount 1,360 kg (2,998 lb)
-
Page 23: Safety Instructions
Machine Translated by Google Radio Management (MHz) LBE-5AC-LR Quick Start Guide All over the world 2412 - 2472 EE. UU. / CA 2412 - 2462 safety instructions 1. Read, follow and save these instructions. 2. Pay attention to all warnings. 3. - Page 24 Machine Translated by Google The limited warranty requires arbitration to resolve disputes on a case-by-case basis and, LBE-5AC-LR Quick Start Guide where appropriate, specifying arbitration instead of jury trials or class actions. Compliance Changes or modifications not expressly approved by the party responsible for compliance could void the user's authority to operate the equipment.
- Page 25 Machine Translated by Google This transmitter must not be co-located or used in conjunction with any other antenna or transmitter. LBE-5AC-LR Quick Start Guide Australia and New Zealand Warning: This equipment is compliant with Class A of CISPR 32. In a residential environment, this equipment may cause radio interference.
-
Page 26: Online Resources
Machine Translated by Google LBE-5AC-LR Quick Start Guide online resources © 2022 Ubiquiti Inc. All rights reserved.
Need help?
Do you have a question about the LITEBEAM LBE-5AC-LR and is the answer not in the manual?
Questions and answers