Table of Contents
Advertisement
Quick Links
Advertisement
Table of Contents

Subscribe to Our Youtube Channel
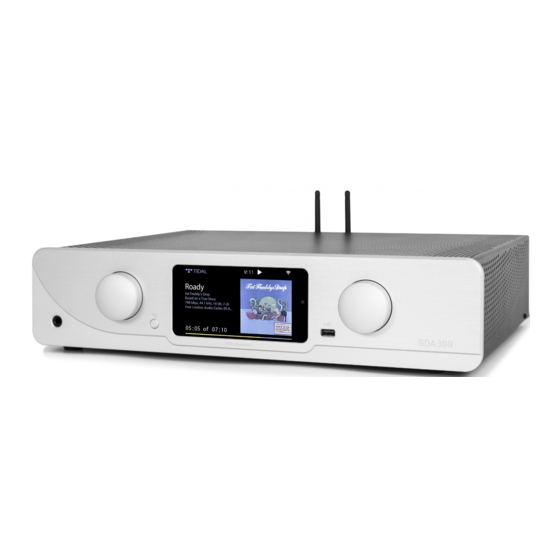
Summary of Contents for Atoll Electronique SDA300 SIGNATURE
- Page 1 OWNER’S MANUAL STREAMER AMPLIFIER SDA300 SIGNATURE E L E C T R O N I Q U E...
-
Page 2: Table Of Contents
• It is recommended to choose good quality cords to connect this appliance to the other devices. Feel free to take advice from your specialist dealer. YOU WILL FIND ENCLOSED – An SDA300 Signature streamer. – Two antennas. – A power lead. -
Page 3: General Information
220 kΩ Distortion at 1kHz: 0,05 % / (10 W) Bandwidth: 5 Hz - 150 kHz Rising time: 1,3 µs Sensibility: 350 mV Signal/Noise Ratio: 100 dBA Digital/analog Converter: Burr-Brown PCM1792 Dimensions: 440×365×103mm Weight: 19 Kg Page 3 ATOLL ELECTRONIQUE... -
Page 4: Connections
You will find the antennas in the bag of the remote control. Make sure that the WIFI and Bluetooth® antennas are correctly installed before any connection and use. Please use the 2 supplied antennas (identical) or an antenna with a male connector. Page 4 ATOLL ELECTRONIQUE... -
Page 5: Atoll Remote Control
39) Inputs selection keys: Coaxial 1; Coaxial 2; Optical 1; Optical 2; Line1; Line2; BYPASS (press 4 seconds). 40) FAV: add or remove a track or radio. 41) CD Keys: they allow to control ATOLL CD players. Page 5 ATOLL ELECTRONIQUE... -
Page 6: Connecting Setup
Left & Right polarity between outputs and terminal inputs of the speakers. Bi-amplification: Your appliance can also be used as a single power amplifier (preamp section BYPASS, see page 11) and also be used for bi-amplification. See below for details about connecting. SDA300 SIGNATURE Right Speaker Left Speaker... -
Page 7: Preamp / Bypass Functions
1- Go to the “Settings” menu then to “Network connection”. 2- Select the “Network Wizard” menu. 3- You will have to choose the type of network. Press “Network type” and choose “Automatic”, “Wired”, “Wireless” or “Hybrid”. Page 7 ATOLL ELECTRONIQUE... - Page 8 This menu is used to set the standby time values for the main screen. RENAME ENTRIES: This menu allows you to rename the auxiliary, coaxial and optical inputs, to allow the user to identify their different inputs. VERSION: This menu displays the software version installed in the device. Page 8 ATOLL ELECTRONIQUE...
- Page 9 CONTROL FROM A COMPUTER: It is possible to control your network drive from a computer screen by typing in the search bar of your internet browser the IP address of your network drive followed by /webclient: 192.168.xxx.xxx/webclient Page 9 ATOLL ELECTRONIQUE...
-
Page 10: Internet Radio
Suggest Content: Allows you to submit a new radio to the Airable platform (free service). FRONT & REAR USB Select one of those inputs to read all music files from a USB key or Hard Disk. Readable files system can be FAT32, NTFS, EXT 2/3/4. Page 10 ATOLL ELECTRONIQUE... -
Page 11: Media Server
The quality of reception of the signal can be dependent on the power of the Bluetooth® emitter and the distance between the 2 devices. Avoid being up to more than 5 meters of your SDA for a correct reception without any risks of signal cuts. Page 11 ATOLL ELECTRONIQUE... -
Page 12: Troubleshooting Table
This device was made to give you complete satisfaction. ATOLL Electronique warranty is two years from the date of purchase of the equipment, date, and stamp of the seller being authentic. We recommend you keep your proof of purchase (invoice) with this coupon properly filled.


Need help?
Do you have a question about the SDA300 SIGNATURE and is the answer not in the manual?
Questions and answers