Atoll Electronique ST200 SIGNATURE Owner's Manual
Hide thumbs
Also See for ST200 SIGNATURE:
- Owner's manual (12 pages) ,
- Owner's manual (12 pages) ,
- Owner's manual (13 pages)
Table of Contents
Advertisement
Quick Links
Advertisement
Table of Contents

Subscribe to Our Youtube Channel
Related Manuals for Atoll Electronique ST200 SIGNATURE


Summary of Contents for Atoll Electronique ST200 SIGNATURE
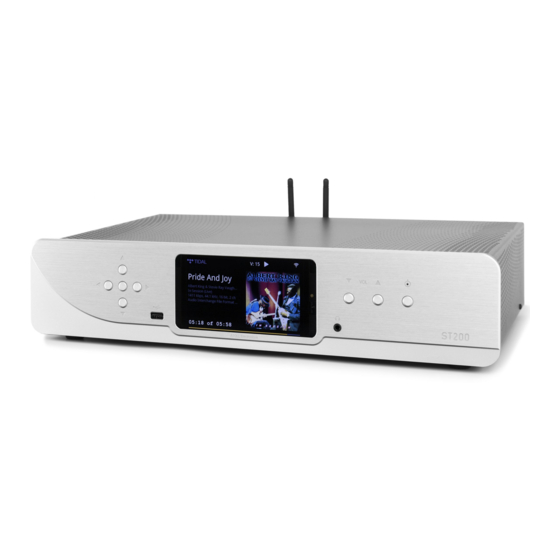
- Page 1 OWNER’S MANUAL STREAMER ST200 SIGNATURE E L E C T R O N I Q U E...
-
Page 2: Table Of Contents
• It is recommended to choose good quality cords to connect this appliance to the other devices. Feel free to take advice from your specialist dealer. YOU WILL FIND ENCLOSED – An ST200 Signature streamer. – Two antennas. – A power lead. -
Page 3: General Information
Output Impedance: Ω Output level: 2,6 Vrms Signal/Noise Ratio: 129 dB Distorsion at 1 kHz: 0,0004% Bandwidth: 5 Hz - 20 kHz Rising time: 1,5µs Digital/analog Converter: Burr-Brown 24 bits/192 kHz Dimensions: 440×255×90mm Weight: 6,0 Kg Page 3 ATOLL ELECTRONIQUE... -
Page 4: Connections
You will find the antennas in the bag of the remote control. Make sure that the WIFI and Bluetooth® antennas are correctly installed before any connection and use. Please use the 2 supplied antennas (identical) or an antenna with male connector. Page 4 ATOLL ELECTRONIQUE... -
Page 5: Atoll Remote Control
39) Inputs selection keys: Coaxial 1; Coaxial 2; Optical 1; Optical 2; Line1; Line2; BYPASS (press 4 seconds). 40) FAV: add or remove a track or radio. 41) Keys IN/PR: they allow to control ATOLL Integrated or Preamp. Page 5 ATOLL ELECTRONIQUE... -
Page 6: Connecting Setup
The schemes below show how to connect correctly depending on your choice. ST200 SIGNATURE Source Preamp Using ST200 Signature as a source Using the Streamer as a preamplifier directly directly linked to an Integrated or connected to a power amplifier (or active preamp. -
Page 7: Uses
If you already plugged the network cable, the device will indicate that the appliance is connected The symbol indicates that the wired link is established. If not, configure the network while choosing “Configure Wired” and then “Manual”. Here you can enter directly the IP address. Page 7 ATOLL ELECTRONIQUE... - Page 8 This menu allows to choose the standby timeout : – When the device is not working (choice between 5,10, 15, or 30 minutes). – When the device is working (choice between 1, 8, or 24 hours). Page 8 ATOLL ELECTRONIQUE...
-
Page 9: Playlists
Favorites / history / popular podcasts / trend / filter / search. FRONT USB / REAR USB Select one of those inputs to read all music files from a USB key or Hard Disk. Readable files system can be FAT32, NTFS, EXT 2/3/4. Page 9 ATOLL ELECTRONIQUE... -
Page 10: Media Server
The quality of reception of the signal can be dependent on the power of the Bluetooth® emitter and the distance between the 2 devices. Avoid being up to more than 5 meters of your SDA for a correct reception without any risks of signal cuts. Page 10 ATOLL ELECTRONIQUE... -
Page 11: Preamp / Bypass Functions
“OK” and then press “Search”. On music web services (Tidal, Qobuz, Deezer) you can add filters on your research (All/Title/Albums/Artists/ Playlists). Use your phone, tablet or computer as a remote control for Spotify. Page 11 ATOLL ELECTRONIQUE... -
Page 12: Troubleshooting Table
– Turn off the power switch level before restarting. WARRANTY ~ ST200 Sig to present to your dealer and to join with your purchase invoice when sending back the appliance to the service center or the address below: ATOLL ELECTRONIQUE® Bd des Merisiers 50370 BRECEY FRANCE WARRANTY CONDITIONS This device was made to give you complete satisfaction.
Need help?
Do you have a question about the ST200 SIGNATURE and is the answer not in the manual?
Questions and answers