Table of Contents
Advertisement
Quick Links
Advertisement
Table of Contents

Related Manuals for Formax Cut-True 29A


Summary of Contents for Formax Cut-True 29A
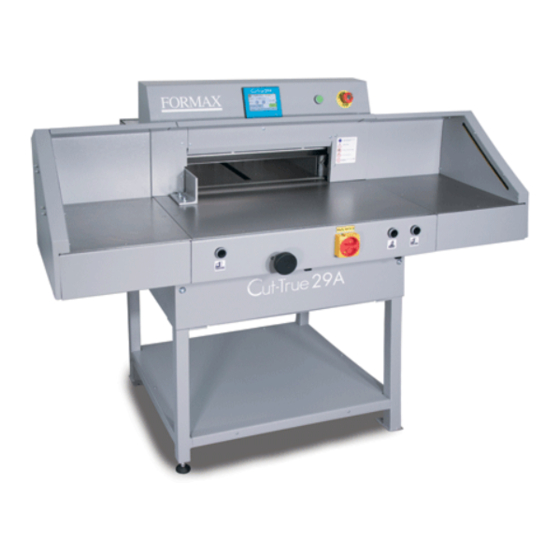
- Page 1 Cut-True 29A & 29H Guillotine Cutters PROGRAMMING MANUAL First Edition 11/2016...
-
Page 3: Table Of Contents
Table of ConTenTs TOPIC PAGE Calibration Manual Mode Absolute Mode Incremental Mode Manual Back Gauge Movement Paper Eject On-Screen Keyboard Auto Mode - Program Selection Launching a Program from Memory Program Editing and Saving Cut and Save Card Cutting Options Menu Resetting the Counter Special Functions Choosing a Language... -
Page 5: Calibration
Preparing for Programming After turning on the cutter, the start screen appears: Press the green button on the screen to start the machine control system After pressing “Press to Calibrate” the cutter begins calibration During calibration, the back gauge moves to maximum back position, then forward until the calibration sensor is detected. When calibration is finished, the screen displays Manual Mode. -
Page 6: Incremental Mode
Incremental Mode - Repeating same Dimension on subsequent steps Incremental Mode is used for manipulating the total finished cut size, not the sheet size Touch here to input the value using the on-screen keyboard To move the back gauge in increments by the same dimension multiple times (forward or back), input this dimension by pressing it on the screen and using the on-screen keyboard. -
Page 7: On-Screen Keyboard
on-screen Keyboard Touch the value, then touch here to Touch the value, then touch here to open alphabetical keyboard return to numerical keyboard Programming mode also includes a calculator function. auto Mode - Programming This menu allows operators to select a programmed job, edit, and begin the program mode. Up to 100 programmed jobs can be stored in memory, with up to 100 steps (dimensions) in each program. -
Page 8: Launching A Program From Memory
example: Creating a Program Using an 11” x 17” sheet, to make five 3” cuts, program the cuts as follows using the touchscreen: 3” Step 1: 14” Step 1: enter 14 3” Step 2: enter 11 Step 3: enter 8 Step 2: 11”... -
Page 9: Program Editing And Saving
After the program completes its cycle, a new screen appears: Press Yes to repeat the program from the beginning. Press No to return to the Menu. Program editing and saving By pressing Edit, the operator can edit a saved program. The following elements can be edited: dimension, name, removing steps, turning Eject on/off and marking steps for paper rotation After selecting program number 1, press PRoGRaM eDIT and new screen appears:... -
Page 10: Cut And Save
Cut and save This function allows the user to edit the program by making the back gauge move and cut. Pressing the Cut & save button activates the screen allowing the user to move into Absolute, Incremental or Manual Mode. The dimension where the cut was made is saved automatically as a step dimension in the current program. -
Page 11: Options Menu
Touch the hand symbol then enter the value. Confirm each value by pressing enTeR, or press DeleTe to re-enter. Pressing esCaPe returns to this menu without making any changes. After the dimensions are entered, press PRoGRaM sTaRT: the program starts automatically. When the safety curtain is inactive, the screen will show the current location of the back gauge... -
Page 12: Special Functions
options - special functions, eject Touch to change the value Eject can be set in inches or mm. It is the value by which the paper stack moves forward at the end of a cycle. After each cycle, the back gauge returns to the previous position. Enter the value, then press ReTURn. options - language To set, choose a language, then press ReTURn. -
Page 13: Knife Change
options - Knife Change To enter Knife Change mode, press Knife Change on the screen: After pressing, the following screen appears: Press Yes and make a cut by pressing the two cut buttons on the front of the cutter. This will put the knife in the lowered position, ready to be changed. -
Page 14: Choosing Measurements - Inches/Metric
- Inches / Metric Operators may choose between Imperial or Metric measurements. options - Clamp adjustment on Touchscreen (Cut-True 29a only) This option allows users to adjust the clamp bar pressure electronically based on the weight of the material to be cut. -
Page 15: Program Reset/Cancel
options - Program Reset/Cancel This option resets/cancels all saved programs. options - Date and Time Choose this option to change the date and time. Touch any/all numbers to change values, then press seT to apply changes. Press ReTURn to exit this mode. Touch to change Touch here to the value... -
Page 16: Service Mode - Dimensions
options - service Mode - Dimensions Off move Distance before dimension when back gauge drive is off Min. dim. 1 Minimum value for back gauge automatic move in program mode (with false clamp) Min. dim. 1 Minimum value for back gauge automatic move in program mode (without false clamp) Max. -
Page 17: Service Mode - Calibration
options - service Mode - Calibration This feature allows the operator to repeat the calibration without turning off the cutter, and to correct dimensions if need- ed. (See Base Correction.) Touch here to change the value options - service Mode - Test Current position of back gauge Touch here to change the value...
Need help?
Do you have a question about the Cut-True 29A and is the answer not in the manual?
Questions and answers