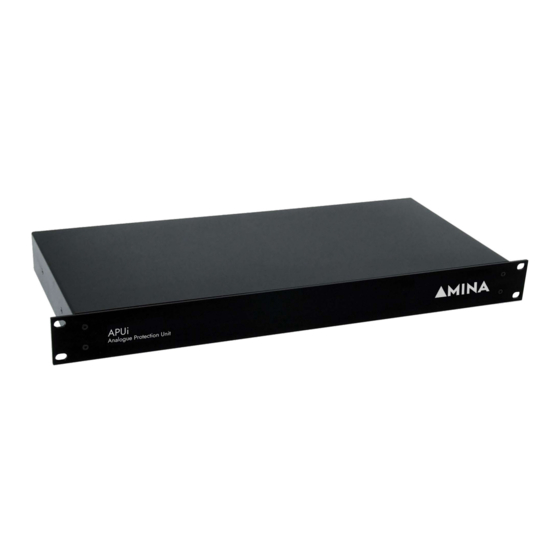
Summary of Contents for Amina APU-RS8iC
- Page 1 Installation guide APU-RS8iC APU-RS16iC 19” Rack Mount, 1U, Multi-channel Loudspeaker Protection Unit...
-
Page 3: Table Of Contents
Index Caution: Read before installing these products ..4 Introduction ..................4 Compatibility ................4 Loudspeaker settings ...............5 Check model numbers ............5 Cautions when changing loudspeaker settings ..5 Loudspeaker settings ...............6 Changing settings ..............6 Recording settings ..............6 Connection ..................7 Connection cautions ............7 Wiring diagram .............. -
Page 4: Caution: Read Before Installing These Products
Caution: Read Introduction before installing Compatibility these products The APU-RS8iC and APU-RS16iC are compatible with all ‘i’-series loudspeakers (for example, Edge5i & Mobius7i) and the • To ensure optimal performance, iQ range (legacy). The installation of the please read this guide carefully. Keep different rackmount models is the same. -
Page 5: Loudspeaker Settings
These are shown in the table below. use. Failure to do so could result in loudspeaker damage. APU-RSiC • The APU-RS8iC and APU-RS16iC are low voltage, passive devices, however Edge3i, Mobius3i, ALWAYS disconnect them from all MobiusDuali loudspeakers and amplifiers before Edge5i, Mobius5i, changing loudspeaker settings. -
Page 6: Loudspeaker Settings
Loudspeaker settings Changing settings • Unscrew the four screws on the sides of the chassis. • Remove the lid. • Identify the 8 or 16 configuration jumpers located on the PCB (two are shown in the enlarged diagram on the right). Each jumper has four settings marked on the PCB - 1, 3, 5 and 7. -
Page 7: Connection
Connection Connection cautions Wiring diagram • NEVER connect more than one The diagram below shows an example of loudspeaker to an output channel. the wiring for channels 1 and 2. • It is not recommended to connect Each channel of the amplifier is wired amplifiers with power outputs that to the ‘AMP’... -
Page 8: Wiring The Loudspeaker Connectors
Connection Wiring the loudspeaker Fitting the connectors connectors • Each connector can now be fitted by pressing it into the opening on the The loudspeaker connectors are supplied back of the APU-RSiC. packed separately with the APU-RSiC to The slot in the connector should simplify the fitting of cables from each engage w ith the edge of the PCB inside amplifier and loudspeaker channel. -
Page 9: Positioning
Positioning Operation Front panel mounting Cautions in use The APU-RSiC is designed to fit into a It is not recommended that you standard 19 inch equipment rack via 4 intentionally cause the APU-RSiC to mounting holes in the front panel and automatically protect the loudspeakers has a height of 1U (44.5mm/1 inches). -
Page 10: Troubleshooting
*Repeated tripping of fuses may require fuse replacement by the manufacturer to ensure optimal speaker performance. Warranty The APU-RSiC is designed to operate reliably for many years. Correctly installed and operated in accordance with these instructions, Amina warranties the APU-RSiC against defective materials and workmanship for a period of ten years. - Page 12 Amina Technologies Ltd Cirrus House, Glebe Road Huntingdon, Cambs, PE29 7DL England T: +44 (0)1480 354390 W: www.aminasound.com / E: info@aminasound.com Copyright 2022 APU-RSiC V2.3...


Need help?
Do you have a question about the APU-RS8iC and is the answer not in the manual?
Questions and answers