Table of Contents
Advertisement
Quick Links
1205 W. Cedar Street • Standish, MI 48658 USA
1-800-MAGLINE (624-5463) • (989) 512-1000 (outside U.S. & Canada)
www.magliner.com
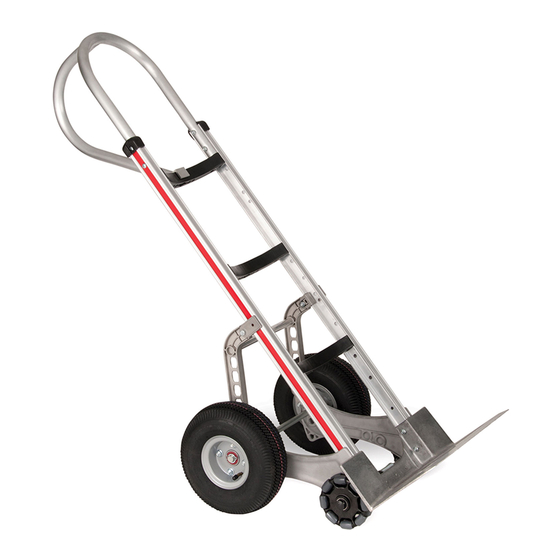
Self-Stabilizing
Hand Truck
Table of Contents:
Parts List .................................... 2
Assembly Instructions ...........3-6
For safe, efficient product use, Magline recommends inspecting
equipment regularly and replacing damaged components
immediately.
Magline, Inc.
Watch Assembly Video/
www.youtube.com/maglineinc
Download Assembly Instructions/
magliner.com/assembly-instructions
Advertisement
Table of Contents

Subscribe to Our Youtube Channel
Related Manuals for Magliner HRK


Summary of Contents for Magliner HRK
- Page 1 For safe, efficient product use, Magline recommends inspecting equipment regularly and replacing damaged components immediately. Watch Assembly Video/ www.youtube.com/maglineinc Download Assembly Instructions/ magliner.com/assembly-instructions Magline, Inc. 1205 W. Cedar Street • Standish, MI 48658 USA 1-800-MAGLINE (624-5463) • (989) 512-1000 (outside U.S. & Canada) www.magliner.com...
- Page 2 TOOLS REQUIRED • (2) 1/2” COMBINATION WRENCH OR SOCKET • (1) PLIERS • (1) #3 PHILLIPS SCREWDRIVER • (1) 7/16” COMBINATION WRENCH OR SOCKET • (1) HAMMER • (1) 3/16" ALLEN WRENCH Description Qty. Part No. Handle Varies Frame Varies RH wheel bracket 210123 LH wheel bracket...
- Page 3 Use a workbench or table of convenient height and place all components in view and within reach. It may be helpful to assem- ble the hand truck oriented face down. The following assembly sequence is recommended: 80015 FRAME 210123 80676 Parte superior For extruded and steel nose plates follow instructions in mounting...
- Page 4 Select proper axle position based on the wheel diameter and the desired frame angle when hand truck is reclined. 80015 22101 or 22100 80676 210124 190104 Finger tighten nuts/ bolts only at this time. Set-up the recline angle to suit the load REAR RECLINE ANGLE WHEEL...
- Page 5 a. Loosely install the support arms (302880, 302881) at the bottom to the wheel brackets. b. Loosely install the support clamp body (302901) and support clamp jaw (302902) with hardware (see close-ups, below). c. Place the lift bar (302903) between the support arms. 302902 9b-c.
- Page 6 ASSEMBLE THE WHEELS WASHER CONFIGURATIONS WASHERS WHEEL # 80705 (THICK) 80707 (THIN) WHEEL 10815 (1) Inside (1) Outside All other wheels (as shown) (2) Inside (1) Outside 80705 Quantities listed are per wheel. THESE ARE GUIDELINES ONLY - the exact washer configuration can vary for each 81077 hand truck.
- Page 7 a. Make sure the top of the top cross brace is clean and free of debris. If needed, clean the cross brace with a mild solvent. Let completely dry. b. Apply truck loading steps adhesive label to the top of the top cross brace as shown below. Aluminum Cross Braces Polymer Cross Braces Affix loading label here...
Need help?
Do you have a question about the HRK and is the answer not in the manual?
Questions and answers