
Subscribe to Our Youtube Channel
Related Manuals for Marshall Amplification ML-702


Summary of Contents for Marshall Amplification ML-702
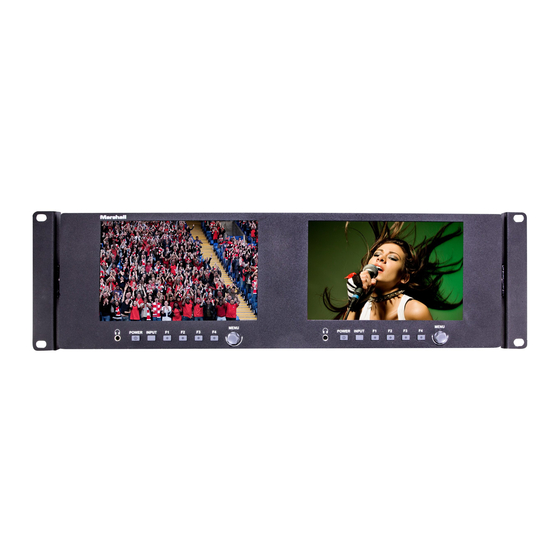
- Page 1 B r o a d c a s t A / V D i v i s i o n ML-702 Dual 7” 3RU Rack Mount Monitor Operating Instructions...
-
Page 2: Table Of Contents
Table of Contents 1. Product Description ..................3 2. Menu Settings ....................6 3. Specifications ....................12 4. Included Accessories ................... 12 5. Troubleshooting .................... 12 6. PCSet Remote Terminal Application ............13 7. WARRANTY ....................13 IMPORTANT SAFETY INSTRUCTIONS: •... -
Page 3: Product Description
ML-702 / Product Description Product Description Front Panel Features Rackmount ears with tilt capability. Tilt monitor for best visibility or to improve ventilation. Headphone jack. Accepts standard 3.5mm stereo mini-phone plug. POWER button (Lights red in standby mode; green when operating). - Page 4 Product Description Back Panel Features Note: Power, TALLY and LAN apply to both screens. Inputs and USB service ports apply to each screen individually. Push-on Power Connector 12V DC power input 5.5mm x 2.1mm push-on connector. Plug the supplied DC power adapter here. (Center pin is +) Important: Please connect only one type of power supply at a time to this monitor.
- Page 5 ML-702 / Product Description 3, 11. HDMI Digital Video Connectors HDMI input and loop out. Embedded audio may be monitored at the headphone jack and visually monitored on-screen. 4, 10. Composite Analog Connectors Video input and loop out. Used for NTSC or PAL composite (CVBS) video sources.
-
Page 6: Menu Settings
Menu Settings Press MENU knob on the monitor and function menus will pop-up on the screen. Rotate left or right to select an option. Then press the knob again to open the sub-menu. When an arrow pointer appears in the menu, turn the Menu knob again to access the item or press the knob to confirm a selection. - Page 7 ML-702 / Menu Settings 2. MARKER This page offers controls for setting various on-screen markers. Center Marker – places a “ ” mark in the exact center of the display. (Useful for checking camera or graphics positioning.) Aspect Marker – places borders on screen representing various typical video and cinema aspect ratios.
- Page 8 Menu Settings 3. VIDEO This page provides controls for picture size, position and related functions including image flip, image freeze and Zoom. Scan – Selects various display methods. When Aspect is selected, the item below this one can adjust the aspect ratio of the displayed image. Aspect –...
- Page 9 ML-702 / Menu Settings VIDEO continued DSLR – Use the DSLR Preset option to reduce the visibility of on screen indicators shown with popular DSLR cameras. The available options are: 5D2, 5D3. DSLR option is only avail- able with HDMI input selected. Aspect and Marker settings are not available in this mode.
- Page 10 Menu Settings 5. AUDIO This Page is used to adjust volume, select audio channel, enable level meter and mute. Volume – controls the Headphone volume. Headphone volume can also be adjusted easily by using the up/down arrow keys when the menus are not on screen. Default volume setting is 50. Audio channel –...
- Page 11 ML-702 Menu Settings SETTING (continued) Language – sets on-screen messages to either English or Chinese. OSD Timer – Adjusts the amount of time menus remain on screen. Back light – Adjusts the brightness of the LCD backlight. This is different from the “Brightness”...
-
Page 12: Specifications
Specifications Included Accessories DC 12V 3A Universal 120/240 VAC 50/60 Hz Power adapter with • 5.5mm x 2.1mm push connector Tally kit – adapts 15-pin Tally connector to solderless terminal block • Troubleshooting 1. Power on but no picture: Check whether the cables are correctly connected. Also, please use the standard power adapter coming with the product package or other power supply with the correct voltage and pin configuration. -
Page 13: Pcset Remote Terminal Application
WARRANTY Marshall Electronics warranties to the first consumer that this ML-702, Rackmount Monitor will, under normal use, be free from defects in workmanship and materials, when received in its original container, for a period of one year from the purchase date.
Need help?
Do you have a question about the ML-702 and is the answer not in the manual?
Questions and answers