
Related Manuals for Fanaway NEXUS


Summary of Contents for Fanaway NEXUS
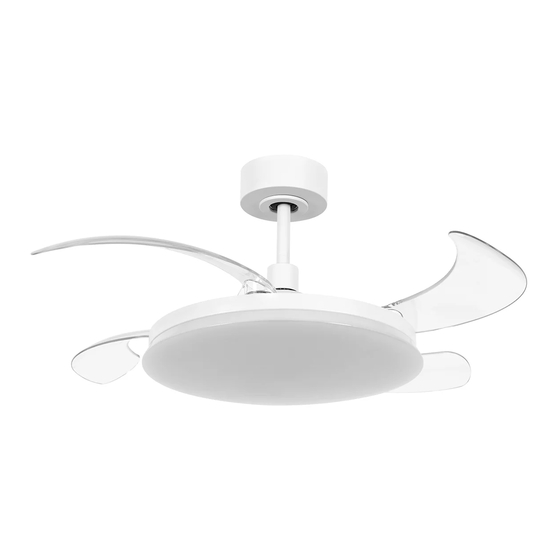
- Page 1 FANAWAY NEXUS DC CEILING FAN • INSTALLATION • OPERATION • MAINTENANCE • WARRANTY INFORMATION CAUTION READ INSTRUCTIONS CAREFULLY FOR SAFE INSTALLATION AND FAN OPERATION. V1.0 AU (07/2022)
-
Page 2: Safety Precautions
FANAWAY NEXUS Installation Instructions THANK YOU FOR PURCHASING Thank you for purchasing the latest in energy saving ceiling fans. This fan runs on DC (direct current) power which gives it the benefit of being super energy efficient whilst still maintaining high volume air-movement and silent operation. - Page 3 FANAWAY NEXUS Installation Instructions with the wiring rules. Example: If a fan is connected to a circuit that can be isolated via an all-pole safety switch at the switchboard, then this is considered to be an all-pole disconnection to the ceiling fan electrical circuit, meeting the requirements of clause 7.12.2 of AS/NZS 60335.1.
-
Page 4: Parts List
FANAWAY NEXUS Installation Instructions PARTS LIST • Unpack your ceiling fan carefully. Remove all parts and hardware. • Lay out all the components on a smooth surface and make sure there are no components missing before assembling. If parts are missing, return the complete product to the place of purchase for inspection or replacement. -
Page 5: Installing The Mounting Bracket
FANAWAY NEXUS Installation Instructions INSTALLING THE MOUNTING BRACKET • The ceiling fan must be installed in a location so that the blades are spaced 300mm from the tip of the blade to the nearest objects or walls. • Install the hanging bracket to the ceiling joist or structure that is capable of carrying a load of at least 23kg, with two long screws provided. -
Page 6: Installing The Fan
FANAWAY NEXUS Installation Instructions INSTALLING THE FAN INSTALLING THE DOWN ROD (Fig. 4) Fig. 4.1 1. Remove the ball joint (2) and dowel pin (3) by loosening the set screws (4) from the down rod (6). Remove the hitch pin (9) by removing the lock clip (10) (Fig. 4.1). NOTE: Do not discard keep these parts, they are required to reassemble later. -
Page 7: Hanging The Fan
FANAWAY NEXUS Installation Instructions Fig. 4.5 Fig. 4.6 6. Insert the Bolt and pin cover (7) onto the down rod (6) to cover the down rod coupling housing (8). (Fig. 4.5) 7. Insert the canopy (5) & canopy cover (12) over the down rod (6) and install the ball joint (2) and dowel pin (3) back onto the down rod (6) and secure by tightening the set screws (4). - Page 8 FANAWAY NEXUS Installation Instructions LAMP SHADE INSTALLATION LAMP SHADE INSTALLATION (Fig. 6) install the lamp Shade to the laight kit plate by turning it clockwise. Fig. 6 ELECTRICAL WIRING DIAGRAM THE FAN PREPARE AND COMPLETE THE ELECTRICAL WIRING --- WIRING DIAGRAM (FIG. 7) WARNING: FOR YOUR SAFETY ALL ELECTRICAL CONNECTIONS MUST BE UNDERTAKEN BY A LICENSED ELECTRICIAN.
- Page 9 FANAWAY NEXUS Installation Instructions Fig. 7 Carefully insert the Remote Receiver above the hanger ball in the remainder spacing in the mounting bracket. Take care not to damage or loosen any of the wiring. (Fig. 8). Fig. 8 8 | P a g e...
-
Page 10: Finishing The Installation
FANAWAY NEXUS Installation Instructions FINISHING THE INSTALLATION • After completing the electrical connection at the mounting bracket terminal block, connect the ceiling fan wiring via the quick connector plug. NOTE: Ensure the earth wiring is secure and correct, by performing an earthing continuity test from the fan’s accessible metal body back to the earth terminal at the terminal... -
Page 11: Using Your Ceiling Fan
FANAWAY NEXUS Installation Instructions USING YOUR CEILING FAN REMOTE CONTROL (Fig.11) 1. Open the battery compartment cover by removing the securing screw and insert 2 x AAA battery. Note the correct battery polarity (+/-) when inserting the battery, and then replace the cover and secure with the screw. -
Page 12: After Installation
FANAWAY NEXUS Installation Instructions Issues: • Loss of control - Fan is only running at high speed after installation • Loss of control - No reverse function after installation • Loss of control - Remote cannot communicate with the receiver Solution: •... -
Page 13: Technical Information
Battery chemicals should not be placed near the eyes or ingested. Contact Poisons Information Centre on 13 11 26 for fast, expert advice. TECHNICAL INFORMATION 36’’ FANAWAY NEXUS DC fan Fan Models SKU# 216114... - Page 14 (2) years from the date of purchase. Following this, an additional seven (7) years motor replacement warranty applies. Fanaway undertakes, at its option, to repair or replace, free of charge, each product or part thereof subject to the following conditions. The conditions abovementioned are: That the purchaser carefully follows all instructions provided and complies with electrical wiring regulations;...
- Page 15 CONTACTS: Contact Lucci Warranty Service Hotline acting as the service agent for Fanaway on 1800 602 243 between 9AM and 5PM (E.S.T) Monday to Friday, or go to Website: for more information.
Need help?
Do you have a question about the NEXUS and is the answer not in the manual?
Questions and answers