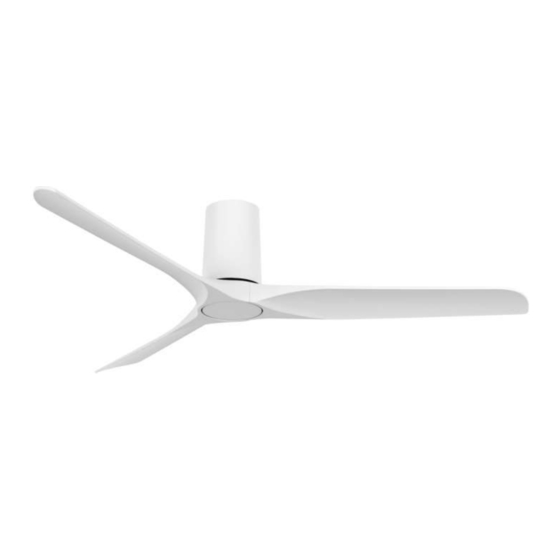
Summary of Contents for LUCCI Air LONDO DC
- Page 1 LUCCI LONDO CEILING FAN INSTALLATION ⚫ OPERATION ⚫ MAINTENANCE ⚫ WARRANTY INFORMATION ⚫ CAUTION READ INSTRUCTIONS CAREFULLY FOR SAFE INSTALLATION AND FAN OPERATION. v1.0-AU (07/2022)
-
Page 2: Safety Precautions
LONDO DC Fan Installation Instructions THANK YOU FOR PURCHASING Thank you for purchasing the latest in energy saving ceiling fans. This fan runs on DC (direct current) power which gives it the benefit of being super energy efficient whilst still maintaining high volume air-movement and silent operation. - Page 3 LONDO DC Fan Installation Instructions Example: If a fan is connected to a circuit that can be isolated via an all- pole safety switch at the switchboard, then this is considered to be an all-pole disconnection to the ceiling fan electrical circuit, meeting the requirements of clause 7.12.2 of AS/NZS 60335.1.
-
Page 4: Parts List
LONDO DC Fan Installation Instructions PARTS LIST • Unpack your ceiling fan carefully. Remove all parts and hardware. • Lay out all the components on a smooth non-scratch surface and make sure there are no components missing before assembling. If parts are missing, return the complete product to the place of purchase for inspection or replacement. -
Page 5: Installing The Fan
LONDO DC Fan Installation Instructions INSTALLING THE FAN TOOLS REQUIRED: Phillips / flat head screwdriver Pair of pliers Adjustable spanner Step ladder Wire cutter Wiring, supply cable as required by local provincial and national wiring codes and regulations INSTALLING THE MOUNTING BRACKET •... - Page 6 LONDO DC Fan Installation Instructions HANGING THE FAN TO MOTOR ASSEMBLY • Install the motor housing (1) onto the motor assembly. (Fig.3) • Lift the fan assembly up to the mounting bracket. Hang the fan assembly onto the J-hook (2) of the mounting bracket.
- Page 7 LONDO DC Fan Installation Instructions Fig. 5 From mains supply to mounting bracket terminal block: (Fig. 5) 1. Connect the live supply wire to the “L” terminal of the terminal block on the mounting bracket. 2. Connect the neutral supply wire to “N” terminal of the terminal block on the mounting bracket.
- Page 8 LONDO DC Fan Installation Instructions INSTALL THE FAN ASSEMBLY TO THE MOUNTING BRACKET • After completing the electrical connection at the mounting bracket terminal block, connect the ceiling fan wiring via the quick connector plugs. NOTE: Ensure the earth wiring is secure and correct, by performing an earthing continuity test from the fan’s accessible metal body back to the earth terminal at the terminal block on the mounting...
- Page 9 LONDO DC Fan Installation Instructions • Align the arrow mark (4) on the hook surface of the motor housing (5) up to the screws (2) of hanging canopy (3). (Fig.9) • Finally attach the motor housing (5) to the mounting bracket, secure it by pushing the hooks of the motor housing into the slot holes of the hanging canopy and turn it anti clockwise.
- Page 10 LONDO DC Fan Installation Instructions Fig. 10 INSTALLING THE BOTTOM COVER ( Fig.11) Secure the bottom cover to the fan by turning it clockwise. Fig. 11 INSTALLATION OF THE REMOTE CONTROL HOLDER (Fig. 12) 1. Locate a suitable wall to fix the remote control holder with the 2 screws. (Fig.12a).
-
Page 11: Using Your Ceiling Fan
LONDO DC Fan Installation Instructions USING YOUR CEILING FAN NOTE: The remote and receiver will need to be paired after the installation of the ceiling fan. NOTE: When two or more ceiling fans are installed in one location, please refer to the instruction on the next page. - Page 12 LONDO DC Fan Installation Instructions • Turn ON the fan and change the speed of the ceiling fan 1 by the remote to check the operation and successful paring. • If pairing has been unsuccessful, repeat these set of steps again Remote / Receiver paring for Ceiling fan 2: •...
-
Page 13: After Installation
LONDO DC Fan Installation Instructions REPAIRING THE REMOTE & RECEIVER PAIRING – WHEN 1 CEILING FAN IS INSTALLED • If the remote and receiver lose control after installation or during use, the pairing of the remote and the receiver must be repaired. -
Page 14: Care And Cleaning
Battery chemicals should not be placed near the eyes or ingested. Contact Poisons Information Centre on 13 11 26 for fast, expert advice. TECHNICAL INFORMATION 52’’ LONDO DC fan without light Fan Models SKU# 216100... - Page 15 LONDO DC Fan Installation Instructions LUCCI CEILING FAN WARRANTY DETAIL LUCCI FAN WARRANTY CONTACT INFORMATION: Online Warranty Form: https://www.beaconlighting.com.au/warranty-claims Email: warranty@beaconlighting.com.au Lucci Fan Warranty Hotline: (Free Call) 1800 602 243 THIS WARRANTY IS VALID IN AUSTRALIA ONLY In the event of service being required, please call the Lucci Fan Warranty Hotline on 1800 602 243 between 9am & 5pm (EST) Monday to Friday.
- Page 16 LONDO DC Fan Installation Instructions CEILING FAN WARRANTY INFORMATION LUCCI FAN WARRANTY CONTACT INFORMATION: Online Warranty Form: https://www.beaconlighting.com.au/warranty-claims Email: warranty@beaconlighting.com.au Lucci Fan Warranty Hotline: (Free Call) 1800 602 243 Complete and retain this form for your personal records and warranty purposes.


Need help?
Do you have a question about the LONDO DC and is the answer not in the manual?
Questions and answers