
Related Manuals for furniture123 AGL049


Summary of Contents for furniture123 AGL049
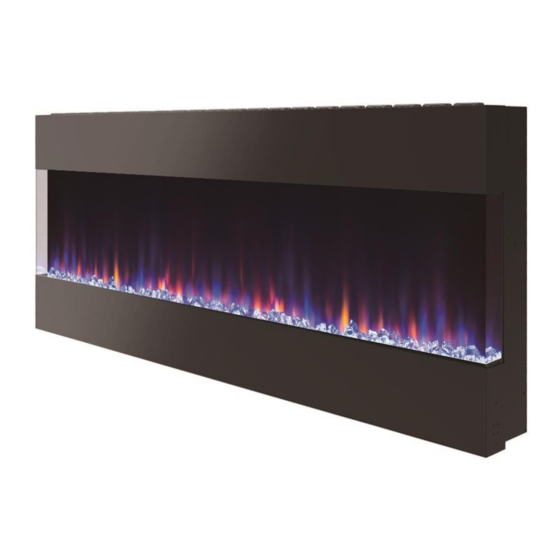
- Page 1 USER MANUAL ELECTRIC FIREPLACE 72” AGL049 Thank you for choosing this electric fireplace. Please read this manual before using or installing the electric fire and keep it safe for future reference.
-
Page 2: Table Of Contents
CONTENTS PARTS SUPPLIED SAFETY INSTALLATION OPERATION CARE AND MAINTENANCE SUPPORT TECHNICAL SPECIFICATIONS PRODUCT FICHE... -
Page 3: Parts Supplied
PARTS SUPPLIED NOTE: Pictures and contents in this manual may differ from the product due to continuous product improve. SAFETY INFORMATION When using electrical appliances, basic safety precautions should always be followed, including the following: • IMPORTANT: Read all instructions and warnings carefully before starting installation. - Page 4 • Children under 3 years should be kept away unless continuously supervised. • Some parts of this product can become very hot and cause burns. Particular attention has to be given where children and vulnerable people are present. • If the supply cord is damaged, it must be replaced by the manufacturer, its service agent or a similarly qualified person in order to avoid a hazard.
- Page 5 • To disconnect this appliance, turn the controls to the off position, then remove the plug from the outlet. • This appliance has hot and arching or sparking parts inside. Do not use it in areas where gasoline, paint, or any flammable liquids are used or stored.
- Page 6 ELECTRICAL SAFETY The heater must not be located under an electrical socket; the socket must always be accessible in order to disconnect the heater from the electrical supply for maintenance and cleaning. Important: This heater must be earthed. The mains supply must be safely routed from the heater to an electrical socket.
-
Page 7: Installation
INSTALLATION INSTRUCTIONS 1. WALL MOUNTING ② ③ ① ① Mount the hook on the wall using the I shaped brackets and fix the screw. ② Mount the fireplace on the hook. ③ Lock 3 screws in total. 2. EMBEDDED ⑤ ⑥... - Page 8 Direction Direction ⑦ ⑧ ⑨ ⑩ ① Remove the acrylic plate. ⑥ Fix the fireplace to the wall. ② Remove the glass bead. ⑦ Restore glass. ③ Remove the plastic glass buckle. ⑧ Restore plastic glass buckle. ④ Remove the glass. ⑨...
-
Page 9: Operation
OPERATING BY MANUAL BUTTON NOTE: The manual button on the firebox unit will not provide you with all the function control, and its purpose is to control some basic function when you lose the remote handset. Please use the remote handset to carry out all functions. Power Heating Down... - Page 10 HEATING BUTTON: Press once to turn on low heating mode. Press twice for high heating mode, press 3 times to turn heating off. (Remark: For the heating to operate the indoor temperature must be lower than the set temperature.) Hold the heating button to turn off the digital screen to then switch between Celsius or Fahrenheit by pressing up or down to cycle through.
- Page 11 CURRENT CLOCK SETTING: Press and hold the timing button to enter the current time setting. First, the LED of the daylight will light up and flash. Press up or down to select which day of the week. After the selection is completed, press the timing button to confirm. At this time, enter the current time setting and press up or down to select the time;...
- Page 12 REMOTE CONTROL The buttons on the remote match the functions covered in the previous section unless otherwise stated. 1. Charcoal Fire colour 2. Flame adjustment 3. Charcoal lock to currently displayed colour displayed when in C0 Mode (Loop) 4. Flame lock to currently displayed colour displayed when in F0 Mode (Loop) 5.
-
Page 13: Care And Maintenance
CARE AND MAINTENANCE When cleaning unit, the power supply should be disconnected and the unit should be cool. Dust can be removed by lightly wiping the glass surface with clean, lint free cloth or paper towel. To remove fingerprints or other marks, use a damp cloth with a good quality household glass cleaner. -
Page 14: Support
Unit J6, Lowfields Business Park, Lowfields Way, Elland, West Yorkshire, HX5 9DA TECHNICAL SPECIFICATION Description of Product Wall-mounted & Embedded Model AGL049 72” Rated Voltage 220-240V ~ Rated Frequency 50 Hz Rated Power Max 1400W Dimensions (W) x (H) x (D)72”... - Page 15 Model Identifier: AGL049 Item Symbol Value Unit Item Unit Heat Output Type of heat input, for electric storage local space heaters only (select one) Nominal heat manual heat charge control, with integrated output thermostat Minimal heat manual heat charge control with room and/or...
Need help?
Do you have a question about the AGL049 and is the answer not in the manual?
Questions and answers