Table of Contents
Advertisement
Quick Links
Advertisement
Table of Contents

Related Manuals for Parsun F2.6HP


Summary of Contents for Parsun F2.6HP
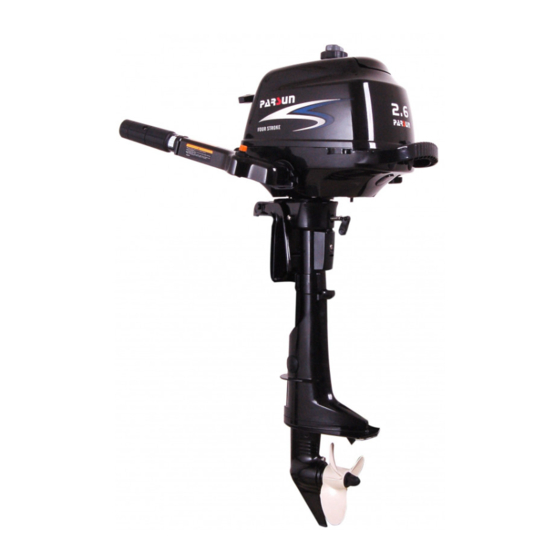
- Page 1 PARSUN F2.6HP OUTBOARD MOTOR INSTALLATION & OPERATION DEMO...
- Page 2 Please check there is no damage on the carton.
- Page 3 Record your outboard motor serial number to assist you in ordering spare parts from your dealer, or for reference in case your outboard motor is stolen. Outboard motor serial number Engine series number...
- Page 4 F2.6 MAIN COMPONENTS 10.Engine stop button & 11.Starter handle Engine stop lanyard switch 1.Top cowling 18.Choke knob 12.Top cowling locker 2.Carrying handle 9.Tiller handle 13. Throttle grip 17.Gear shift lever 8.Clamp bracket 14.Trottle friction adjuster 7.Trim rod 15.Clamp screw 3. Steering friction screw 4.
- Page 5 Your model includes a built-in fuel tank, its parts are as follows: 1.Air vent screw 2. Fuel tank cap 3.Build-in fuel tank 4.Fuel cock(Close position)
-
Page 6: Engine Oil
Engine oil: Recommended engine oil:SAE10W30 or SAE10W40 four stroke outboard motor engine oil Don’t start the engine without the oil or oil is not full; Otherwise, the engine will be damaged. Please check the oil level before starting the engine CAUTION There is no the oil in the engine for all 4-stroke outboard motors when delivery... -
Page 7: Propeller Selection
PROPELLER SELECTION The performance of your outboard motor will be critically affected by your choice of propeller, as an incorrect choice could adversely affect performance. The outboard motor is fitted with propellers chosen to perform well over a range of applications, but there maybe uses where a propeller with a different pitch would be more appropriate. -
Page 8: Outboard Motor Installation
Outboard motor installation Mount the outboard motor on the center line (keel line) of the boat. For boats without a keel or which are asymmetrical, consult your dealer. 1.Center line(keel line) CAUTION During water testing check the buoyancy of the boat, at rest, with its maximum load. - Page 9 WARNING Overpowering a boat could cause severe instability. Do not install an outboard motor with more horsepower than the maximum rating on the capacity plate of the boat. If the boat does not have a capacity plate, consult the boat manufacturer. Improper mounting of the outboard motor could result in ...
-
Page 10: Mounting Height
Mounting height The mounting height of the outboard motor greatly affects your boat running efficiency. If the mounting height is too high, cavitation tends to occur, thus reducing the propulsion. If the mounting height is too low, the water resistance will increase and thereby reduce engine efficiency. -
Page 11: Clamping The Outboard Motor
Clamping the outboard motor Tighten the transom clamp screw evenly and securely. Occasionally check the clamp screws for tightness during operation of the outboard motor because they could become loose due to engine vibration. Warning Loose clamp screws could allow the outboard motor to fall off or move on the transom. This could cause loss of control. - Page 12 If the engine restraint cable attachment is equipped on your engine, an engine restraint cable or chain should be used. Attach to a secure mounting point on the boat to avoid the engine being completely lost if it accidentally falls off the transom.
-
Page 13: Breaking In Engine
Breaking in engine Your new engine requires a period of break-in to allow mating surfaces of moving parts to wear in evenly. Caution Failure to follow the break-in procedure could result in reduced engine life or even severe engine damage. 1. -
Page 14: Check The Propeller
Check the propeller Propeller Propeller nut Cotter pin... -
Page 15: Checking The Engine Oil Level
Checking the engine oil level Filling nut Oil level check window Filling engine oil... -
Page 16: Engine Oil Level
Engine oil level 1. Put the outboard motor in an upright position (not tilted). Check the oil level using the oil level check window to be sure the level falls between the upper and lower marks. Fill with oil if it is below the lower mark, or drain to the specified level if it is above the upper mark. - Page 17 WARNING Don’t start the outboards out of the water as this will damage the outboards; Without water...
-
Page 18: Start The Engine
Start the engine 1.Loosen the air vent screw on the fuel tank cap.,2-3 turns. Air vent screw 2. Check the fuel cock Fuel cock (at the close position when delivery) 3.Put the gear shift lever in neutral Gear shift lever... - Page 19 4. Attach the engine stop switch lanyard to secure place on your clothing, or your arm or leg. Then install the lock plate on the other end of the lanyard into the engine stop switch. Lock plate Stop switch lanyard WARNGING The engine must be started in neutral otherwise damage to the starter can occur.
- Page 20 5.Put the throttle grip at “ ” start position。 Align the mark MARK...
- Page 21 6.Pull the chock know fully (It is not necessary to use the choke when starting a warm engine.) Chock knob...
- Page 22 7.Pull the manual starter handle slowly until you feel resistance. Then give a strong pull straight to crank and start the engine. Repeat if necessary. Pull the manual starter handle slowly until you feel resistance strong pull straight to crank and start the engine...
- Page 23 8.After the engine starts, slowly return the manual starter handle to its original position before releasing it. 9.Slowly return the throttle grip to the fully closed position CAUTION When the engine is cold, it needs to be warmed up. If the engine does not start on the first try, repeat the procedure. If the engine fails to start after 4 or 5 tries, open the throttle a small amount (between 1/8 and 1/4), and try again.
-
Page 24: Warming Up Engine
Warming up engine 1. After starting the engine, return the choke knob to the halfway position. For approximately the first 5 minutes after starting, warm up the engine by operating at one fifth throttle or less. After the engine has warmed up, push the choke knob in fully. 2. - Page 25 If the problem cannot be located and corrected, consult your PARSUN dealer.
- Page 26 SHIFTING WARNING Before shifting, make sure there are no swimmers or obstacles in the water near you. To shift from forward to reverse or vice versa, first close the throttle so that the engine idles (or runs at low speeds). FORWARD 1.Place the throttle grip in the fully closed position.
- Page 27 REVERSE WARNING When operating in reverse, go slowly. Do not open the throttle more than half. Otherwise the boat could become unstable, which could result in loss of control and an accident. 1. Place the throttle trip in the fully closed position.
- Page 28 CAUTION The outboard motor can turn 360° in its bracket (full-pivot system). The boat can also be backed up by simply turning the outboard motor around 180° with the steering handle facing toward you. Start handle Carry handle Operator handle...
-
Page 29: Change Direction
TILLER 1.Change direction To change direction, move the tiller handle to the left or right as necessary. 2. Change speed Turn the grip counterclockwise to increase speed and clockwise to decrease speed... -
Page 30: Throttle Indicator
Throttle indicator The throttle indicator is on the throttle grip. The fuel consumption curve on the throttle indicator shows the relative amount of fuel consumed for each throttle position. Throttle indicator Choose the setting that offers the best performance and fuel economy for the desired operation. - Page 31 STOP ENGINE NOTE Stop button Lock plate Before stopping the engine, first let it cool off for a few minutes at idle or low speed. Stopping the engine immediately after operating at high speed is not recommended 1.Push and hold the engine stop button until the engine comes to a complete stop.
Need help?
Do you have a question about the F2.6HP and is the answer not in the manual?
Questions and answers