Table of Contents
Advertisement
Instructions for use
GB
English
WB70803
Contents
Features, 11-12
Instructions, 13-20
FAQs and Troubleshooting, 21-22
Service, 23
Care and Maintenance, 24-26
Disposal, 27
WASHING MACHINE
Advertisement
Table of Contents

Related Manuals for Whirlpool WB70803


Summary of Contents for Whirlpool WB70803
-
Page 1: Table Of Contents
Instructions for use WASHING MACHINE Contents General Safety Instructions, 2-5 English Product Overview, 6 Getting Started: Installation, 7-10 Features, 11-12 Instructions, 13-20 FAQs and Troubleshooting, 21-22 Service, 23 Care and Maintenance, 24-26 Disposal, 27 WB70803... -
Page 2: General Safety Instructions
General Safety Instructions WARNING CAUTION This appliance has not been designed for commercial applications. This appliance is intended to be used in household and similar applications such as: – farm houses – by clients in serviced apartments, holiday apartments and residential type environments This appliance is not intended for use by persons (including children) with reduced physical, sensory or mental capabilities, or lack of experience and knowledge, unless... - Page 3 General Safety Instructions Before connecting and turning on the washing machine, ensure the electrical voltage and circuit frequency correspond to those indicated on the appliance. Only connect the washing machine to a grounded (earthed) electrical outlet. Do not insert any objects into the appliance. Do not kink or damage the power cord, and position it out of the way so no one steps on or places anything on the cord or against it.
- Page 4 WARNINGS...
- Page 5 CAUTIONS Do not wash water-proof clothing...
-
Page 6: Product Overview
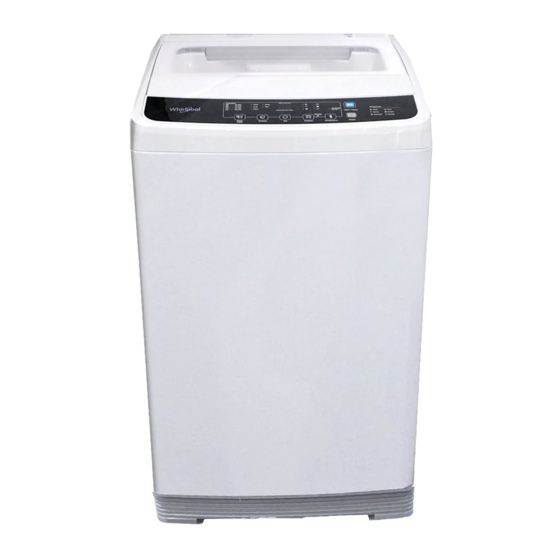
Product Overview Water supply hose connections Detergent box Lint filter Wash/spin tub Control panel Housing Drain pump filter Drain hose Adjustable leg connection Accessories included: Hot inlet hose, cold inlet hose, drain hose with elbow, bottom cover and screw. Specifications and technical parameters Dimensions 540 (W) x 562 (D) x 940 (H) mm Max. -
Page 7: Getting Started: Installation
Getting Started: Installation CAUTION! - Page 9 CAUTION! CAUTION! CAUTION!
- Page 10 CAUTION! WARNING...
-
Page 11: Features
Features 1. Detergent indicators These scoop indicators show how much powder detergent to use. See Detergent and load recommendations, page 14, for details. 2. Digital display The digital display shows the currently selected option. For example: During washing, it shows the time remaining, e.g.: When setting soak and wash processes, this indicator shows the time you set, e.g.: When setting the preset timer, it shows when the washing will be finished, e.g.: When an abnormal condition occurs, it shows the warning code, e.g.:... - Page 12 5. Process and Set button First, use the Process button to select the desired wash process: preset (delay timer), soak, wash time, rinse time, or spin time. The appropriate indicator light above will flash. Second, use the Set button to select the desired option. For example, to select a rinse time, press Process until the Rinse indicator flashes, then press Set to select the rinse time.
-
Page 13: Instructions
Instructions the washer (see page 7). are properly installed (see page 8). drain spout (see page 10). page 14 for details). 14) and select a suitable wash program. power and 15). - Page 14 Default settings Max. Program Suitable items Load Wash time Rinse Spin time Water Temp. (kg) (minutes) (times) (minutes) Level (Wash/Rinse) Normally to heavily soiled robust cottons. This program Soak: 20 Cotton has a fixed soak, wash, rinse, Warm/Cold Wash: 15 spin time &...
- Page 15 Program Options Cotton Normal Heavy Duty Quick Blanket Delicate Soak time (minutes) Wash time (minutes) Rinse time (times) Spin time (minutes) (Max. 3)
- Page 16 on page 17. on page 17.
- Page 17 14 for details.)
- Page 18 yourself, see page 15 for how to customise processes.
-
Page 21: Faqs And Troubleshooting
FAQs and Troubleshooting... -
Page 23: Service
Service Before calling for Assistance: • Check whether you can solve the problem alone (see "FAQs and Troubleshooting"). • Restart the programme to check whether the problem has been solved. • If this is not the case, contact an authorised Technical Assistance Centre using the telephone number provided on the warranty card. -
Page 24: Care And Maintenance
Care and Maintenance cleaning product (such as Trimat Washing Machine Cleaner) according... - Page 25 running water, taking care not to damage any parts. Reinstall the filter, making sure it...
-
Page 27: Disposal
Disposal...
Need help?
Do you have a question about the WB70803 and is the answer not in the manual?
Questions and answers
How do I do a short cycle (time)
How do I do a short (time) liad