Table of Contents
Advertisement
Quick Links
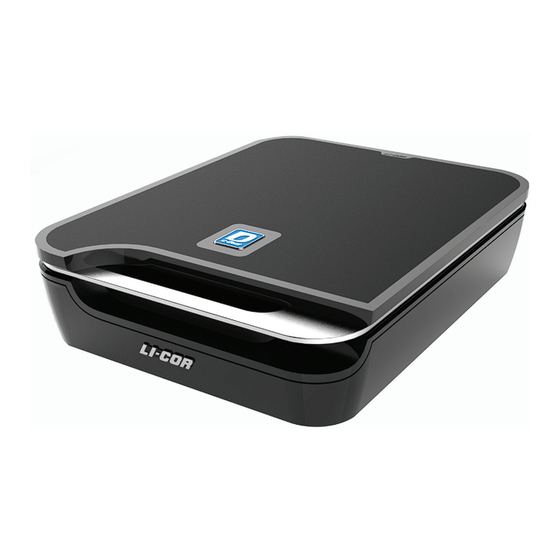
Unpack C-DiGit® Blot Scanner
1
Power Supply
and Plugs
Ethernet
Cable*
USB
C-DiGit
Cable
Target
*
Used for alternative connection methods, described in detail in the C-DiGit
Blot Scanner User Guide on the Resource CD.
Place C-DiGit Blot Scanner in Lab
2
Place the C-DiGit Blot Scanner away from heat sources (furnaces, windows,
etc.) and out of direct sunlight.
Install Image Studio
Software
™
3
Windows® 7, 8, 8.1, or 10:
Important: You must be logged in to Windows using an Administrator
account. If necessary, log out and back in using an Administrator account.
1. Place installation CD into drive.
2. If installation does not start immediately, browse to the CD and open
Win_Image Studio Digits_5.x.x.exe.
3. Click Next and follow the instructions in the Setup Wizard.
NOTE: If you are using Windows 10, a separate driver must be installed to
connect your C-DiGit Blot Scanner to Image Studio Software via USB.
Learn more at licor.com/c-digit-driver
Mac OS X 10.9, 10.10, 10.11, or 10.12:
1. Place installation CD into drive.
2. If installation does not start immediately,
browse the desktop and double-click on
MacImageStudioDigits_5.x.x.dmg
3. Click Agree to accept the license agreement.
4. To install, drag the Image Studio icon onto
the Applications icon (right).
Remove Warning Label
4
Remove the yellow warning label on the C-DiGit Blot Scanner back panel.
Install Power Supply Plug
5
Image Studio
™
and Resource
The power supply has interchangeable AC plugs for use in North America and
CDs
Japan, Australia, Europe, and the United Kingdom. Install the appropriate plug
on the power supply as shown.
Push button and
turn counterclockwise
to release
The power supply has the
North America/Japan plug
pre-installed.
Connect USB Cable and Power
6
Connect the larger of the two connectors on the USB cable to your computer,
and the smaller end to the C-DiGit Blot Scanner back panel at the connector la-
beled 'USB'. Connect the power supply plug to the jack on the rear panel la-
beled '12VDC 1A'.
Computer
USB Connection
12VDC 1A
Turn clockwise
to lock
N. America, Japan
Australia
United Kingdom
Europe
AC Power
C-DiGit Blot Scanner
C-DiGit
Power Connection
C-DiGit
USB Connection
Turn on C-DiGit Blot Scanner
7
Power the C-DiGit Blot Scanner on with the power switch on the back panel.
The blue power light on the instrument front panel (below) illuminates when
the instrument is powered on.
Wait While USB Drivers Install
8
When the C-DiGit Scanner is powered on and connected
to the computer for the first time, drivers are automati-
cally installed on the computer. Allow up to 5 minutes
for the drivers to install before starting the Image
Studio Software in Step 9 below. NOTE: You may have
to dismiss any 'Found New Hardware' messages.
Start Image Studio Software
9
Double-click the Image Studio icon on the desktop to start
the Image Studio Software.
Create New Work Area Folder
10
PC:
Click Create New. Navigate to where the folder will reside and name
the folder. Click Save.
The Work Area is simply a folder on the hard drive or network where
all of the images, analyses, and settings are stored.
Mac:
Click OK to use the default work area, or click Create New. Name the
folder and navigate to where the folder will reside. Click Save.
Advertisement
Table of Contents

Subscribe to Our Youtube Channel
Related Manuals for LI-COR C-DiGit


Summary of Contents for LI-COR C-DiGit
- Page 1 Connect the larger of the two connectors on the USB cable to your computer, Win_Image Studio Digits_5.x.x.exe. and the smaller end to the C-DiGit Blot Scanner back panel at the connector la- 3. Click Next and follow the instructions in the Setup Wizard.
- Page 2 Connect to C-DiGit® Blot Scanner Adjust Target Image If there is only one C-DiGit Scanner detected by the computer, it will connect Verify that your target image is similar to that shown below. If it matches, your automatically; if there are multiple C-DiGit Scanners detected, you will have to C-DiGit Scanner is functioning correctly.
Need help?
Do you have a question about the C-DiGit and is the answer not in the manual?
Questions and answers