Advertisement
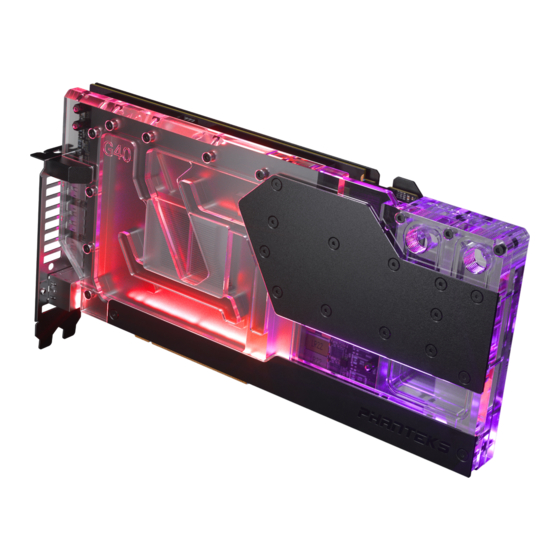
GLAC IER G40 ASUS GPU BLOCK
PH-GB4090AS_BK01/CR01/MW01_BP
PACKAGE CONTENTS
GB4090AS block
QTY: 1
GLACIER stop tting
QTY: 2
Support bracket
QTY: 1
Thermal compound
QTY: 1
WARNING -
This product is intended for advanced users. Improper installation may result in damage to your equipment. While all e orts have
been made to provide the most comprehensive information possible, Phanteks assumes no liability expressed or implied for any damage(s) occurring to your
components as a result of using Phanteks cooling products, either due to mistake or omission on our part in the below instructions, or due to failure or defect in
the Phanteks cooling products. Do not disassemble the water block. Warranty will be voided.
STEP 1. REMOVING STOCK COOLER
Unscrew all highlighted screws to remove
the stock cooler and backplate.
backplate screws
stock cooler screws
Make sure to unplug the LED and Fan
cables when you remove the stock cooler.
STEP 2. APPLYING THERMAL PASTE & PADS
Clean o the original thermal compound.
We recommend using isopropanol alcohol.
Remove the protective lm and place the
the thermal pads on the correct position
on the PCB.
Apply the Phanteks Thermal Compound to
the center of the GPU chip.
Make sure to remove the protective lm on
both sides of the thermal pads.
Block thermal pads
6
6
6
2
5 5 5 5
3
6
6
6
1
1
QTY: 2 pre-cut pieces
4
4
7
8 8
7
8 8
M3x10 screws
QTY: 1
M2.5x5 screws/washers
QTY: 4/4
Phanteks D-RGB cable
QTY: 1
ASUS ROG
STRIX RTX 4090/4080
ASUS TUF GAMING RTX 4090/4080
ASUS ROG STRIX / TUF RTX 4090/4080
5
7
4
5
6
2
1
1
2
5
3
3
4
6
6
6
6
6
8
8
5
2
1
1
4
7
3
8
6
5
8
6
6
6
6
5 5 5 5
3
6
6
6
1
4
4
INSTALLATION GUIDE V1.0
GB4090AS backplate
QTY: 1
Backplate thermal pads
QTY: 2 pre-cut pieces
8x M2.5x8 ush screws
2x M2.5x6 ush screws
Motherboard cable
QTY: 1
Keep for step 3
7
8 8
8 8
7
Advertisement
Table of Contents

Related Manuals for Phanteks GLACIER G40 ASUS GPU BLOCK


Summary of Contents for Phanteks GLACIER G40 ASUS GPU BLOCK
- Page 1 Phanteks assumes no liability expressed or implied for any damage(s) occurring to your components as a result of using Phanteks cooling products, either due to mistake or omission on our part in the below instructions, or due to failure or defect in the Phanteks cooling products.
- Page 2 2x M2.5x6mm ush screws to the PCB. STEP 6. INSTALL INTO THE SYSTEM 1. Connect the D-RGB cable to the D-RGB strip in the water block. All Phanteks D-RGB products can be daisy-chained together. 2. Install the GPU into the system. Opotional: 3.
Need help?
Do you have a question about the GLACIER G40 ASUS GPU BLOCK and is the answer not in the manual?
Questions and answers