Table of Contents
Advertisement
Advertisement
Table of Contents

Related Manuals for DT SWISS 240 OVERSIZE


Summary of Contents for DT SWISS 240 OVERSIZE
- Page 1 240 OVERSIZE [SCREWED END CAPS] TECHNICAL MANUAL V2022.10...
-
Page 2: Table Of Contents
Environmental protection .................... 4 Exclusion of liability ..................... 4 Warranty ........................4 2. SERVICE INTERVALS ....................5 3. MAINTENANCE OF THE FRONT HUB 240 OVERSIZE ..........6 Overview ........................6 Required tools ......................7 Required wearing parts and materials ............... 7 Removing the end caps .................... -
Page 3: General
The cover page and the footing provide information about the type of product and manual as well as the version of the manual. The DT Swiss contact details can be found on the back. A list of all DT Swiss service centers can be found at www.dtswiss.com. -
Page 4: General Maintenance Information
The activities listed in this manual may only be carried out by persons with sufficient specialist knowledge. The user is liable for any damage or consequential damage caused by wrongly maintained or installed components. If you have doubts, please contact an expert or your region's DT Swiss pro level service center. 1.9 WARRANTY... -
Page 5: Service Intervals
2. SERVICE INTERVALS DT Swiss recommends the following maintenance activities and intervals. Task Interval Small hub service (function check, cleaning and greasing according to technical manual) Under normal operating conditions 3 months In case of extreme operating conditions (regular journeys in dust, rain, snow, or in... -
Page 6: Maintenance Of The Front Hub 240 Oversize
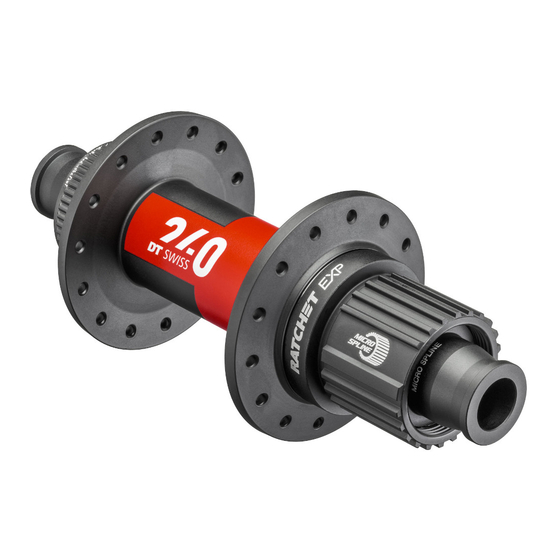
The DT Swiss 240 Oversize hub is available in two versions: With screwed-on or plugged-in end caps. This manual shows a hub with screwed end caps. The maintenance steps of a 240 Oversize with plugged end caps can be found in the Technical Manual of the hub at www.dtswiss.com. -
Page 7: Required Tools
3.2 REQUIRED TOOLS Tools Specification Quantity Article number Tool kit 240 oversize, includes HWTXXX00NTKFRS • installation cylinder Ø20 / 37 mm HXTXXX00N5038S • axle tool Ø20 mm HXTXXX00N5046S special fabric tape HXTXXX00N5139S 3.3 REQUIRED WEARING PARTS AND MATERIALS Wearing parts / Materials... -
Page 8: Removing The End Caps
3.4 REMOVING THE END CAPS 1. Using a suitable wrench, loosen the first end cap and unscrew it from the axle. → 20 mm, 15 mm and 9 mm end caps: 22 mm wrench → QR end caps: 5 mm hex key 2. - Page 9 5. Loosen and remove the end cap with a suitable open-end wrench. 6. Remove the ball bearing from the axle. 7. Put the axle into the hub shell. 8. Tap out the second bearing using the disassembly tool and a hammer. 240 Oversize [screwed end caps]...
-
Page 10: Cleaning And Degreasing All Parts
3.5 CLEANING AND DEGREASING ALL PARTS Clean all parts of the hub (see “Cleaning“ on page 4) 3.6 MOUNTING BEARINGS AND AXLE 1. Slightly grease the seating of the bearings and the inner surface of the hub shell using universal grease. - Page 11 12. Drive the second bearing into the hub shell with slight hammer strokes. → The lower installation cylinder must rest on a flat surface. 13. Remove both installation cylinders from the hub. 240 Oversize [screwed end caps]...
-
Page 12: Putting On The End Caps
14. Check the bearing. → The hub must turn smoothly. → The hub must not have axial play. 15. If necessary, drive in the bearing on the non drive side or loosen the bearing. 16. Repeat previous steps until the hub is turning smoothly. -
Page 13: Trouble Shooting
Ball bearings are worn out. Replace ball bearings. Ball bearing non-drive side driven Check correct assembly. in too tight. Mounting sequence of the ball bearings not observed. Hub makes noise Ball bearings are worn out. Replace ball bearings. 240 Oversize [screwed end caps]... - Page 14 USA - Grand Junction, CO 81505 59302 Oelde info.us@dtswiss.com Germany info.de@dtswiss.com DT SWISS (FRANCE) S.A.S. DT SWISS POLSKA Sp. z o.o. Parc d‘Activites de la Sarrée ul. Towarowa 36 Route de Gourdon PL-64-600 Oborniki F - 06620 Le Bar sur Loup Poland info.fr@dtswiss.com...
Need help?
Do you have a question about the 240 OVERSIZE and is the answer not in the manual?
Questions and answers