Advertisement
Quick Links
Advertisement

Subscribe to Our Youtube Channel
Related Manuals for Zodiac D80


Summary of Contents for Zodiac D80
- Page 1 LOGO KOMMER 1: 14.03.22 VER.NR: MANUAL ENGLISH www.zodiac.se www.zodiac.no...
- Page 2 „INTRODUCTION Thank you for choosing a Zodiac radio product. Zodiac D80 is a digital and analog professional radio. Please read the manual carefully before you start using the radio, so that you have the necessary knowledge about the various functions.
- Page 3 „KEY FEATURES • 2000 mAh Li-Poly battery • Volume adjustment • Encryption* • Scanning - searches for activity across different communications channels • Signal strength indication • Battery level indicator • Power output setting H:L • Alarm* • Text message* •...
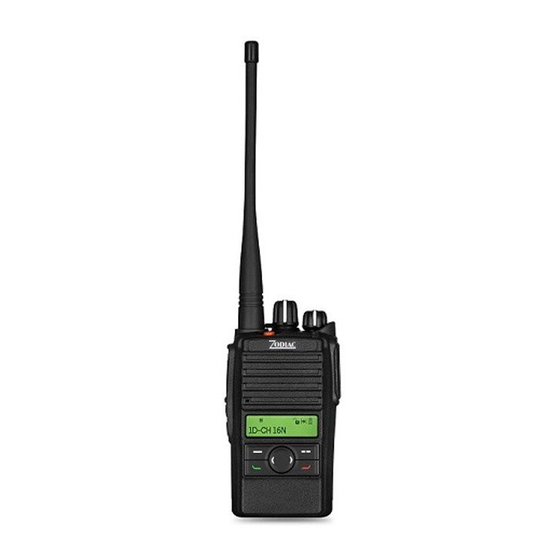
- Page 4 „CONTROLLS AND INDICATORS 1. On/Off/volume control knob 2. Channel selector knob 3. Antenna 4. Emergency button (programmable) 5. Speaker 6. Push-to-Talk (PTT) button 7. Side button 1 (programmable) 8. Side button 2 (programmable) 9. LED indicator 10.Universal connector for accessories 11.
- Page 5 „TO GET STARTED Attaching the antenna 1. Turn the antenna clockwise to attach it. To remove the antenna, rotate it counterclockwise. Powering on 1. Rotate the On/Off/Volume control knob clockwise until you hear a click. A brief tone sounds, indicating that the power up test is successful.
- Page 6 5. The green LED light will illuminate approximately two hours later, indicating the battery is fully charged. LED indication Charging status LED flashes red slowly Standby (no charging) LED glows red Charging LED glows orange 85 % charged LED glows green Fully charged LED flashes red rapidly Error...
- Page 7 1. To access the main menu, press the (–) button. To toggle through the menu options, press (<) or (>). 2. To select a function or access a sub-menu press the (–) button. 3. To go back one menu level or return to the previous screen, press the (–...
- Page 8 Transmitting Group call: Talk group can be set by the dealer in advance and the operations methods are the same under DMO and TMO mode. 1. Transmitting a group call - Select the desired talk group through channel knob. - Press down (PTT) key to transmit a group call. 2.
- Page 9 LCD icons Icon Description Battery indicator. Icon blinks when the battery is The number of bars displayed represents the radio signal strenght and is only displayed while the radio is in receiving mode New message /unread message Inbox full The text message is sent successfully Sending of text message failed Sending of text message is in progress Indicates a private call in progress...
- Page 10 Scan feature is enabled Priority scan detects activity on channel/group; designated as Priority 1(if - is blinking) or as Priority 2 (if - is steady) Selected channel is being monitored Tones are turned off Radio is in emergency mode The privacy feature is enabled The radio is currently configured for direct radio to radio communication VER.
- Page 11 Care and cleaning To guarantee optimal performance as well as a long service life of your radio, please follow the tips below. • Keep the radio away from substances that can corrode the electronic circuit. • Do not hold the radio by its antenna or headset cable directly to prevent damage to its normal use.
- Page 12 „CHANNEL PLAN Analog channels CHANNEL FREQUENCY CHANNEL FREQUENCY NAME NAME Riks 1 85.9375 Kanal 9 69.60625 Riks 2 85.9625 Kanal 10 69.63125 Riks 3 86.6625 Kanal 11 69.65625 Riks 4 87.2875 Kanal 12 69.68125 Kanal 1 69.0125 Kanal 13 69.70625 Kanal 2 69.0375 Kanal 14...
- Page 13 (WEEE = waste of electric and electronic equipment). „WARRANTY The warranty from Zodiac covers failures and errors in materials, design and execution in a period of 36 months from the date the equipment was bought. For products with a limited lifetime, as for instance battery, antenna and other accessories,12 months warranty applies.
- Page 14 LOGO KOMMER www.zodiac.se www.zodiac.no...
Need help?
Do you have a question about the D80 and is the answer not in the manual?
Questions and answers