Sign In
Upload
Download
Table of Contents
Contents
Add to my manuals
Delete from my manuals
Share
URL of this page:
HTML Link:
Bookmark this page
Add
Manual will be automatically added to "My Manuals"
Print this page
×
Bookmark added
×
Added to my manuals
Manuals
Brands
Dahua Manuals
Thermal cameras
TPC-M20-B10-G
User manual
Dahua TPC-M20-B10-G User Manual
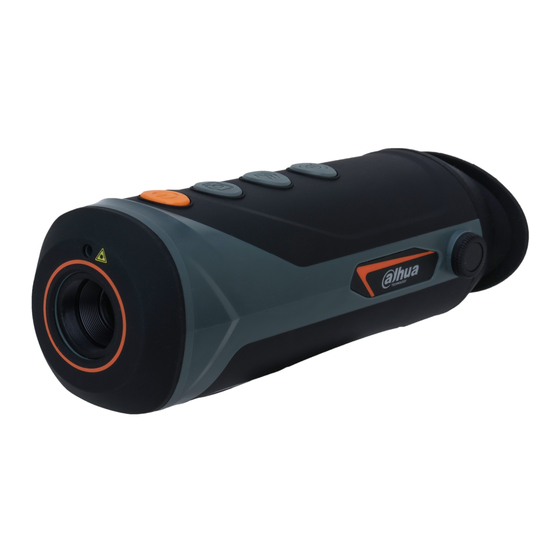
Thermal monocular camera
Hide thumbs
1
2
3
4
5
Table Of Contents
6
7
8
9
10
11
12
13
14
15
16
17
18
19
20
21
22
23
24
page
of
24
Go
/
24
Contents
Table of Contents
Bookmarks
Table of Contents
Foreword
Important Safeguards and Warnings
Table of Contents
Product Introduction
Overview
Functions
Structure
Packing List
Device Description
Basic Operation
Starting and Shutdown
Configuring the Camera
Menu Description
Image Adjustment
Adjusting Diopter
Setting Colorization
Setting Digital Zoom
Setting External Display
Setting Start Bar Display
Setting FFC Mode
Setting Fire Warning
Setting Buzzer
Buzzer
Key Buzzer
Setting Ranging Mode
Setting Scene Mode
Setting Hot Point
Setting USB Mode
Setting Wi-Fi Connection
Setting Suspend Mode
Auto Shutdown
Adjusting Brightness
Setting DPC
Setting Language
Video and Snapshot
Recording Videos
Capturing Images
Exporting File
Charging
System Update
Appendix 1 Compliance Notice
Advertisement
Quick Links
1
Basic Operation
Download this manual
Thermal Monocular Camera
User's Manual
V1.0.0
Table of
Contents
Previous
Page
Next
Page
1
2
3
4
5
Advertisement
Table of Contents
Need help?
Do you have a question about the TPC-M20-B10-G and is the answer not in the manual?
Ask a question
Questions and answers
Related Manuals for Dahua TPC-M20-B10-G
Thermal cameras Dahua TPC-BF1241-B3F4-S2 Web Operation Manual
Thermal network hybrid camera (173 pages)
Thermal cameras Dahua TPC-M20-B7-G User Manual
Thermal monocular camera (24 pages)
Thermal cameras Dahua DH-TPC-PT8320A Operation Manual
Multi-spectral thermal camera (172 pages)
Thermal cameras Dahua D-TPC-HI20 User Manual
(25 pages)
Thermal cameras Dahua BF Series Installation And Commissioning Manual
Temperature measurement for human body (17 pages)
Thermal cameras Dahua ASF172X-T1 Quick Start Manual
Thermal temperature station floor stand (7 pages)
Thermal cameras Dahua D-TPC-HI20 Quick Start Manual
Thermal handheld thermography camera (23 pages)
Thermal cameras Dahua DH-TPC-BF5300 Operation Manual
Ir thermal imaging network camera (101 pages)
Thermal cameras Dahua DH-TPC-PT8320A Quick Start Manual
Thermal high-speed hybrid ptz camera (17 pages)
Thermal cameras Dahua BF Series Installation Manual
Thermal body temperature measurement solution (18 pages)
This manual is also suitable for:
Tpc-m20-b7-g
Tpc-m20-b7-y
Tpc-m20-b10-y
Table of Contents
Print
Rename the bookmark
Delete bookmark?
Delete from my manuals?
Login
Sign In
OR
Sign in with Facebook
Sign in with Google
Upload manual
Upload from disk
Upload from URL


Need help?
Do you have a question about the TPC-M20-B10-G and is the answer not in the manual?
Questions and answers