Advertisement
Quick Links
BAGNODESIGN
EXPERTLY CRAFTED BATHROOMS
General Installation Guide
NOTE: for illustrative purposes only a 0 Tap hole wash basin is shown, please follow the
same procedure to install the other Alpine freestanding basins.
A member of
SANIPEXGROUP
Please leave these instructions with the customer
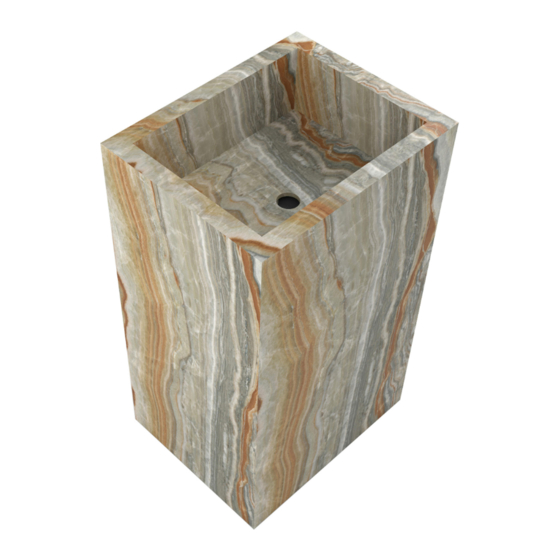
ALPINE
FREESTANDING
WASH BASIN
Advertisement

Subscribe to Our Youtube Channel
Related Manuals for Sanipex BAGNODESIGN


Summary of Contents for Sanipex BAGNODESIGN
- Page 1 BAGNODESIGN EXPERTLY CRAFTED BATHROOMS General Installation Guide ALPINE FREESTANDING WASH BASIN NOTE: for illustrative purposes only a 0 Tap hole wash basin is shown, please follow the same procedure to install the other Alpine freestanding basins. A member of SANIPEXGROUP...
- Page 4 TOOLS REQUIRED (Not supplied) �-( --lffi Penc:il j/ ' Sealant Spirit Level Tape Me.uu� NOTE: Before installing the WC, place a protective sheet in the installation area to prevent any possible damage. Place the freestanding washing in the desired position and mark around the perimeter.
- Page 5 Remove the basin, install the waste pipe either at the height of the entrance horizontally, or within the perimeter of the basin vertically. Install the waste into the basin and connect the bottle trap. If required use a flexible waste pipe from the bottle trap to the floor outlet. (Shown a oval shaped basin for illustrative purpose).
-
Page 6: Installation Complete
Re-position the basin into the fixing area, connect the waste. Before putting the basin into the final position, pour some water into the basin to ensure there are no leaks from the waste. Finalise the position of the basin and run a small bead of silicon around the perimeter base. INSTALLATION COMPLETE!!! - Page 7 Note:...
- Page 8 INS-ALPINE FREEBASIN-01-21...
Need help?
Do you have a question about the BAGNODESIGN and is the answer not in the manual?
Questions and answers