Advertisement
Quick Links
Advertisement

Subscribe to Our Youtube Channel
Related Manuals for Sanipex BAGNODESIGN BDA-CUB-UNI-GEN


Summary of Contents for Sanipex BAGNODESIGN BDA-CUB-UNI-GEN
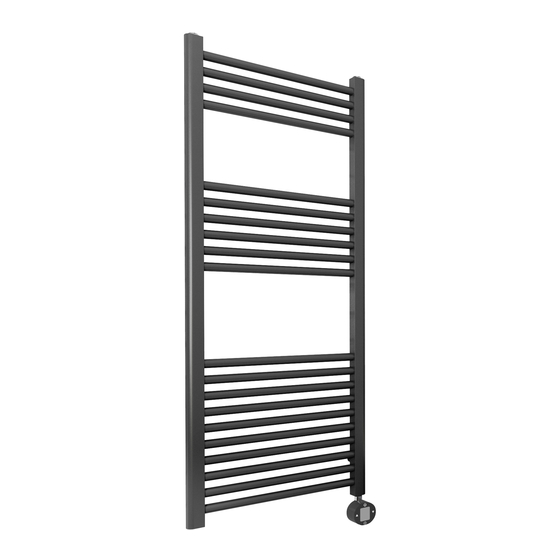
- Page 1 BDA-CUB-UNI-GEN CUBE & UNIVERSAL HEATED TOWEL RAIL www.sanipexgroup.com...
- Page 2 IMPORTANT PLEASE READ All products manufactured and supplied by BAGNODESIGN are fit for purpose as long as they are Installed, used correctly, cleaned and receive regular maintenance in accordance with these instructions ... Remove all packaging and check the product for damage or missing parts before commencing with the installation.
-
Page 3: Technical Data
WARNING 1. Follow installation instructions carefully to ensure the unit is properly attached to the wall. 2. To avoid a possible fire hazard, it is essential unit is mounted in accordance with the guidelines stated in the instruction. CAUTION 3. Radiator is intended for indoor use only, do not place the radiator inside a shower, steam room, or wherever the unit would be exposed to water. -
Page 4: Before Installation
BEFORE INSTALLATION Observe all local plumbing and building codes. Read these instructions carefully to ensure proper installation Check to make sure you have the following parts indicated below. Please check you have all of these items in the box. Please check you have all of these items in the box. - Page 5 BEFORE INSTALLATION Turn radiator upside down and fill with a combination of water and a rust inhibitor 90% water5% inhibitor allow 5% air for expansion. BOTTOM 180° BOTTOM...
- Page 6 BEFORE INSTALLATION Please make sure the heating elemaent is tightened securely. Please note the electrical wiring must be carried out by a qualified electrition.
-
Page 7: Installation Procedure
INSTALLATION PROCEDURE Assembly the 4 long screws & bracket bodies to towel radiator as below image. - Page 8 INSTALLATION PROCEDURE Position the towel rail in desired location. Check for level and mark four equal positions for the brackets. Make sure the towel rail is installed vertically. Before installation place a dust sheet on the floor to prevent losing any small parts. Allow enough room for the installation of valves or thermostatic controls...
- Page 9 INSTALLATION PROCEDURE Drill holes in wall and insert wall plugs. N.B For false or studded walls different fixings can be purchased from your local DIY store. Fix all the wall supports to the wall as below image by using a screw driver...
- Page 10 INSTALLATION PROCEDURE Slide the brackets into the wall supports and tighten all the screws when in the desired location.
- Page 11 INSTALLATION PROCEDURE INSTALLATION COMPLETE...
- Page 12 Operation instruction: Switch on: Press button ,the device will begin to work: Switch heating mode: Pushing button ,it will begin the consistant heating mode. while pushing button, it will switch to boost TIMBER mode of 2 & 4 Hours. 1.2.1 Consistent Heating Mode: When the device switch ON, the temperature slection is made by +/- buttons on the control unit in 5°C increments between 30°C and 70°cC for example:...
- Page 13 Note:...
- Page 14 www.sanipexgroup.com INA-CUB-UNI-GEN-02-23...
Need help?
Do you have a question about the BAGNODESIGN BDA-CUB-UNI-GEN and is the answer not in the manual?
Questions and answers