Table of Contents
Advertisement
Quick Links
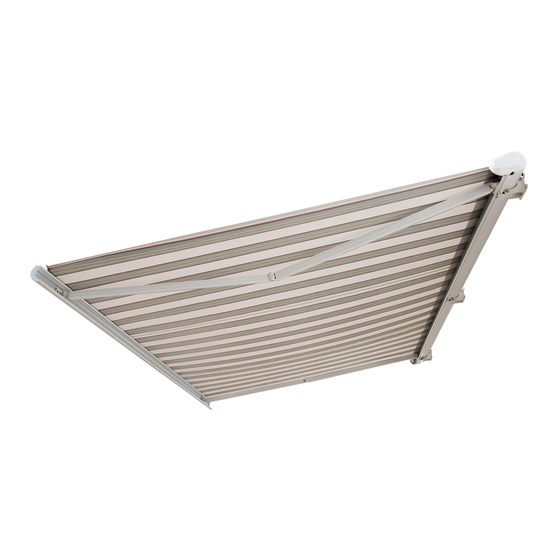
Sunjoy S-AW054PST-A 14' X 10' Marquise Full-Cassette Motorized
Retractable Awning – Green
Owner's Manual
IMPORTANT
Thank you very much for choosing Sunjoy Group.
Please take time to read these instructions thoroughly and follow each step carefully for safe and easy
operation. Keep this manual for future reference.
We would like to hear from you with any comments or suggestions. You can call us toll-free at
1-866-578-6569
from 8:00 a.m. EST to 8:00 p.m. PST. You can also send the email to
amazon@sunjoygroup.com
or visit
www.sunjoyonline.com
to get tech. assistance or to place your
replacement part order form.
Advertisement
Table of Contents

Related Manuals for Sunjoy S-AW054PST-A


Summary of Contents for Sunjoy S-AW054PST-A
- Page 1 Sunjoy S-AW054PST-A 14' X 10' Marquise Full-Cassette Motorized Retractable Awning – Green Owner’s Manual IMPORTANT Thank you very much for choosing Sunjoy Group. Please take time to read these instructions thoroughly and follow each step carefully for safe and easy operation.
- Page 2 Cautions: 1. Keep all children and pets away from assembly area. Children and pets should be supervised when they are in the area of gazebo construction. 2. For your safety, Do not assemble this item alone. Two people are recommended for safe assembly. 3.
- Page 3 Parts List Image Description Awning Wall Bracket Link Part Crank Handle Remote Control Gear-bar M8x20 Bolt M10x90 Anchor Bolt M12x60 Hex Sharp Bolt Step 1: Installation of Wall Bracket Wood Wall Concrete Wall Fig.1 Notice: Please call a professional for assistance on installation for walls other than wood or concrete. Step.1 : Open packaging, remove Wall Bracket (B), and anchor bolt (CC), to install on wall or ceiling.
- Page 4 Step 2: Installation of Awning Wall Bracket Step.2 : Suggest two people lift the awning (A) to the height of wall bracket, and slide the awning (A) into wall bracket (B), connect Wall Bracket (B) and Link Part (C) on Awning (A), each between distances is 2115mm, as Fig.2.
- Page 5 Notice: 1. The cover need to remain tight when the awning is fully open 2. When turning the crank handle, make sure it keeps in the same straight line with loop Correct way Wrong way Plastic Handle Fig.2: Assemble Hook of crank Handle When you use Crank Handle (D) to open and close Awning, you need assemble Hook of Crank Handle (F).
- Page 6 Care & Maintenance: Our steel components for garden accessories and furniture are treated with rust inhibiting paint that protects it from rusting. However, due to the nature of steel, surface oxidation (rusting) will occur once these protective coatings are scratched. This is not a defect and thus not covered by the warranty. To minimize this condition, we recommend care when assembling &...
Need help?
Do you have a question about the S-AW054PST-A and is the answer not in the manual?
Questions and answers