Table of Contents
Advertisement
Quick Links
Advertisement
Table of Contents

Related Manuals for Sunjoy 110108001-G


Summary of Contents for Sunjoy 110108001-G
- Page 1 Item#:110108001-G Vendor code: D-AW001-G Thank you for your purchase! We are pleased that you have chosen Sunjoy for your outdoor furniture purchase. Our clear, easy to follow, step by step instructions will guide you through the project from start to finish.
- Page 2 2m (6.6ft). Important Please do not return this product to the store. For technical assistance or replacement parts, please call Sunjoy Group at 1 (866) 578-6569 between 8:00 AM EST and 8:00 PM PST. You may fax your replacement parts form (which is included in the packaging) to 1 (740) 283-3549 or email to customer.care@sunjoygroup.com...
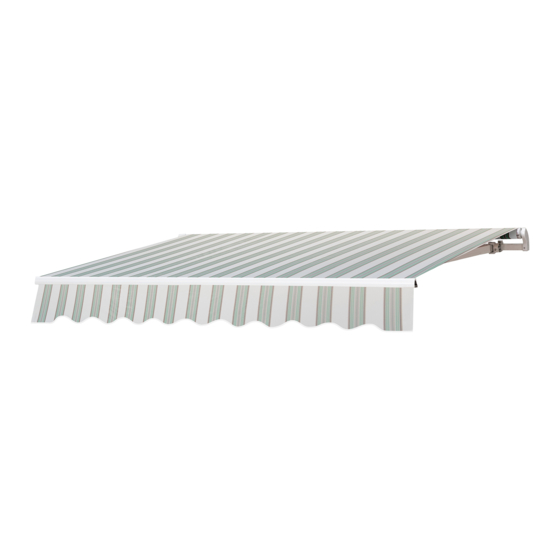
- Page 3 Parts List Description Part# Label. Image Awning AW0001XXG01 Wall Bracket AW0001XXG02 Crank Handle AW0001XXG03 M8x55 Hex Bolt BM08055E M8 Washer VD08E M8 Hex Nut LM08E M10x90 Anchor Bolt PZM10090E M12x60 Hex Sharp BAM12060E Bolt 3 / 7...
- Page 4 Step 1: Installation of Wall Bracket Notice: Please call a professional for assistance on installation for walls other than wood or concrete. Open packaging, remove Wall bracket (B), and Anchor bolt (DD), to install on wall or ceiling. Place Anchors bolt (DD) or Hex Sharp bolt (EE) into the holes, install the wall bracket and keep all brackets level, and tightly fasten screws.
- Page 5 Step 2: Installation of awning Remove awning, including all hardware from box, we suggest two people lift the Awning (A) to the height of wall bracket, and slide the Awning (A) into Wall bracket (B), fasten with Bolt (AA), washer (BB) and Nut (CC).
- Page 6 Fig.2: Open and close manual-operated awning Put the crank handle into gear box loop, Place hands on plastic handle and turn handle clockwise to open awning. Notice: 1. The cover need to remain tight when the awning is fully open 2.
- Page 7 Care & Maintenance •Before using, clean the product completely with a soft, dry towel. When not in use, wipe free of any dirt or loose objects, wash with a mild solution of soap and water; rinse thoroughly and dry completely. •Do not use strong detergent or abrasive cleaners.
Need help?
Do you have a question about the 110108001-G and is the answer not in the manual?
Questions and answers