Table of Contents
Advertisement
Quick Links
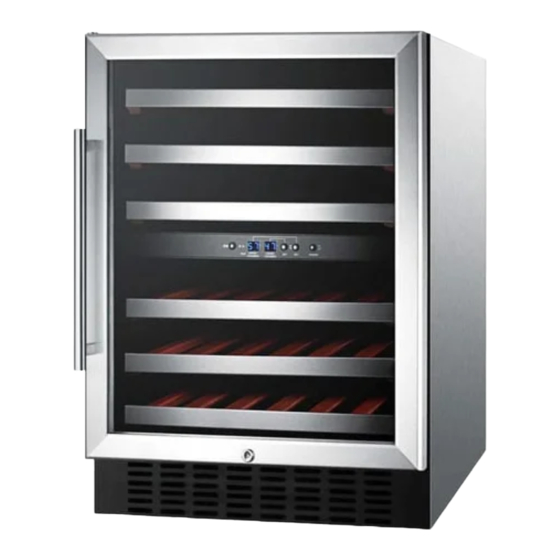
BUILT-IN TWO-ZONE WINE CELLAR
Model SWC530LBIST
Owner's Manual
BEFORE USE, PLEASE READ AND FOLLOW
ALL SAFETY RULES AND OPERATING INSTRUCTIONS
Felix Storch, Inc.
Summit Appliance Division
Write the Serial Number here:
An ISO9001:2008 registered company
_________________________
770 Garrison Avenue
Bronx, NY 10474
www.summitappliance.com
Advertisement
Table of Contents

Related Manuals for Summit SWC530LBISTCSS


Summary of Contents for Summit SWC530LBISTCSS
- Page 1 BUILT-IN TWO-ZONE WINE CELLAR Model SWC530LBIST Owner’s Manual BEFORE USE, PLEASE READ AND FOLLOW ALL SAFETY RULES AND OPERATING INSTRUCTIONS Felix Storch, Inc. Summit Appliance Division Write the Serial Number here: An ISO9001:2008 registered company _________________________ 770 Garrison Avenue Bronx, NY 10474...
-
Page 2: Important Safety Instructions
IMPORTANT SAFETY INSTRUCTIONS WARNING To reduce the risk of fire, electrical shock or injury when using your appliance, follow these basic precautions Read all instructions before using the wine cellar. Plug into a grounded 3-prong outlet. Do not remove grounding prong, do not use an adapter, and do not use an extension cord. - Page 3 Although the unit has been tested at the factory, due to transit and storage, you should clean the appliance before use. Do not use solvent-based cleaning agents or abrasives on the interior. These cleaners may damage or discolor the interior. ...
-
Page 4: Table Of Contents
TABLE OF CONTENTS Important Safety Instructions ..............1 - 2 Installation Instructions ................. 4 - 5 Before using your wine cellar ..............4 Installation of your wine cellar ..............4 Reversing the door swing of your appliance ........4 - 5 Operating Your Wine Cellar ................. -
Page 5: Installation Instructions
INSTALLATION INSTRUCTIONS Before Using Your Wine Cellar Remove the exterior and interior packing. Before connecting the wine cellar to the power source, let it stand upright for approximately 2 hours. This will reduce the possibility of a malfunction in the cooling system from handling during transportation. - Page 6 Using a Philips screwdriver, remove the two screws and bottom right hinge beneath the door. Keep the hinge in a safe place in case you need to reverse the door again in the future. Carefully slide the door off and place it on a padded surface. Interchange the plastic shaft sleeves at the top of the door.
-
Page 7: Operating Your Wine Cellar
OPERATING YOUR WINE CELLAR The wine cellar should be placed where the ambient temperature is between 61 ° and 95 degrees Fahrenheit (16-35 C). If the ambient temperature is above or below this range, the performance of the unit may be affected. For example, placing your unit in extreme cold or hot conditions may cause interior temperatures to fluctuate. -
Page 8: Interior Light
To view the SET temperature at any time, press and hold the corresponding button for approximately 5 seconds. The SET temperature will flash in the LED display for 5 seconds. In the event of a power interruption, all previous temperature settings are automatically erased and each compartment will default to a preset temperature °... -
Page 9: Care And Maintenance
CARE AND MAINTENANCE Cleaning Your Wine Cellar 1. Turn off the power, unplug the appliance, and remove all items including shelves and racks. 2. Wash the inside surfaces with a warm water and baking soda solution. The solution should be about 2 tablespoons of baking soda to a quart of water. 3. -
Page 10: Problems With Your Wine Cellar
PROBLEMS WITH YOUR WINE CELLAR You can solve many common wine cellar problems easily, saving you the cost of a possible service call. Try the suggestions below to see if you can solve the problem before calling a service technician. TROUBLESHOOTING GUIDE Problem Possible Cause... - Page 11 NOTES...
-
Page 12: Limited Warranty
LIMITED WARRANTY ONE-YEAR LIMITED WARRANTY Within the 48 contiguous United States, for one year from the date of purchase, when this appliance is operated and maintained according to instructions attached to or furnished with the product, warrantor will pay for factory-specified parts and repair labor to correct defects in materials or workmanship.
Need help?
Do you have a question about the SWC530LBISTCSS and is the answer not in the manual?
Questions and answers