Table of Contents
Advertisement
Quick Links
Z- axis Calibration
Z-axis calibration is essential for every 3D printer. Run this test to make sure that the
building plate is leveled to the LCD screen. This is to ensure that models and prints
will adhere to the building plate.
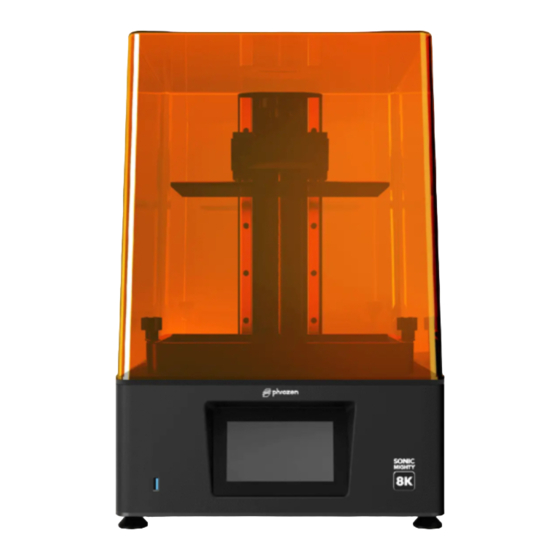
SONIC MIGHTY 8K
Step 1: Remove the Resin Vat
Make sure to remove any objects present on the machine's platform.
Step 2: Install the Building Plate
Attach the building plate to the printer. Screw and tighten the building plate.
Step 3: Loosen the Screws
Use the Allen wrench to loosen all 4 screws on the sides of the building plate. After
loosening it, double-check to see if the plate is loose and movable.
Step 4: Place a piece of paper on the LCD
Prepare a piece of A4 paper (roughly 0.07-0.10 mm) and lay it flat on the LCD screen. This
piece of paper will be used for leveling the building plate.
Advertisement
Table of Contents

Related Manuals for Phrozen SONIC MIGHTY 8K


Summary of Contents for Phrozen SONIC MIGHTY 8K
- Page 1 LCD screen. This is to ensure that models and prints will adhere to the building plate. SONIC MIGHTY 8K Step 1: Remove the Resin Vat Make sure to remove any objects present on the machine's platform.
- Page 2 Step 5: Settings On the touch panel, click TOOLS, then click Z CALIB on your touch panel to begin the calibration process. Click NEXT and wait for 1-2 minutes as the building plate extends to the LCD screen. Step 6: Apply Pressure on the Building Plate Once the plate has touched down, press down tightly on the sides of the building plate and adjust it to ensure it is lying tight against the sheet of paper.
Need help?
Do you have a question about the SONIC MIGHTY 8K and is the answer not in the manual?
Questions and answers