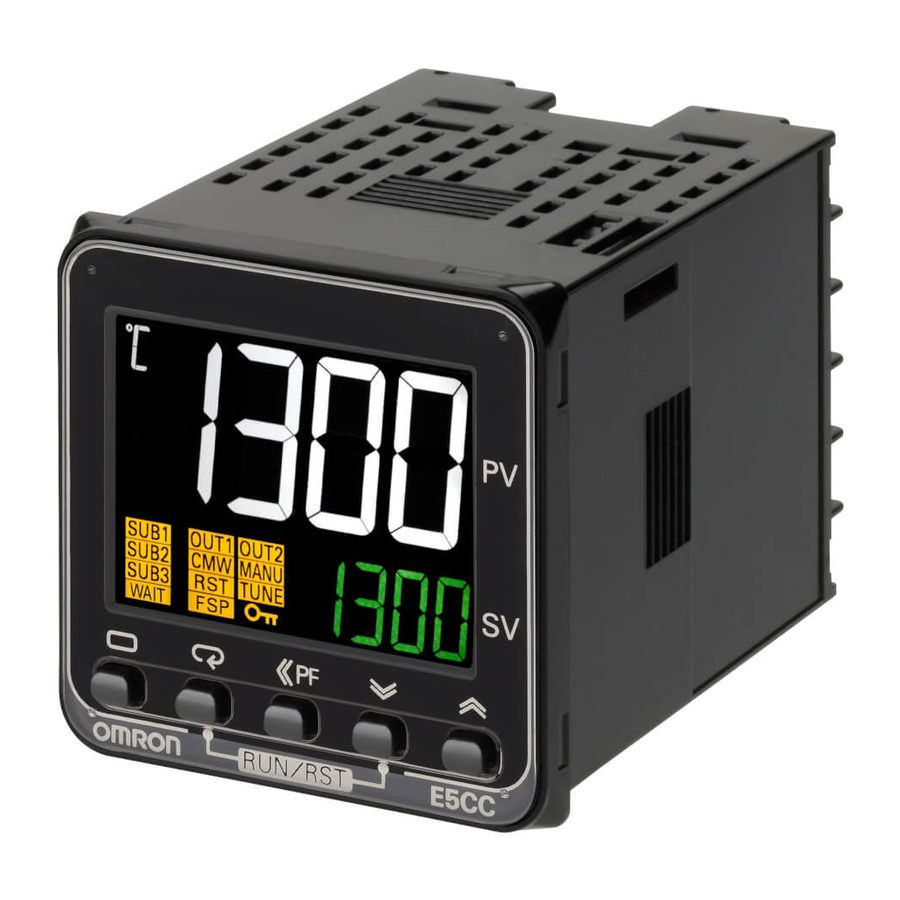
Omron E5CC Quick Start Manual
Hide thumbs
Also See for E5CC:
- User manual (350 pages) ,
- Communications manual (224 pages) ,
- Manual (39 pages)

Related Manuals for Omron E5CC


Summary of Contents for Omron E5CC
- Page 1 Copying Parameters Between E5CC Temperature Controllers Quick Start Guide Version 1.0 September 2015 Page 1 of 37...
-
Page 2: Table Of Contents
Copying Parameters between E5CC Temperature Controllers Table of Contents Purpose ................................. 3 Communications Specifications ........................3 Component to Component ........................... 3 Wiring ................................ 4 Parameter Setup ............................5 Slave Setup ............................5 Master Setup ............................6 Component to Component Using CX-Thermo ....................8 Wiring ................................ -
Page 3: Purpose
This document will show how to copy parameters for the E5CC. This can also be done with other model numbers within the E5_C family, but some of the information might differ slightly, such as the wiring. -
Page 4: Wiring
Wiring Wire the controllers as follows for RS-485 communication. Figure 2: Communications Wiring Also wire additional inputs and outputs as needed for the application. Page 4 of 37... -
Page 5: Parameter Setup
Parameter Setup Below is an overview of the communication parameters. Figure 3: Overview of Communications Programming Slave Setup (1) Press the key for at least three seconds to move from the “operation level” to the “initial setting level.” (2) Press the key for less than one second to move from the “initial setting level”... -
Page 6: Master Setup
(4) Set to 1. (5) Press the key for less than one second to move from the “communications setting level” to the “initial setting level.” (6) Press the key for at least three seconds to move from the “initial setting level” to the “operation level.”... - Page 7 During the copying process below is what appears on the controllers. Once the copy process is started, it is not possible to stop the copying operation. Slave Unit Master Unit After the copy is complete, this is what is shown on both units. Slave Unit Master Unit (6) Press the...
-
Page 8: Component To Component Using Cx-Thermo
Component to Component Using CX-Thermo Both of the units must have communication capabilities, which is the 003 or 004 option for E5CC models. Keep in mind that copy function is only possible between the same model number and the same version of the temperature controller. -
Page 9: E5Cc Controller Settings
Shown is the wiring from the K3SC (displayed as Host RS-485) to the E5CC temperature controllers. Figure 5: E5CC to K3SC Wiring E5CC Controller Settings Below are the default settings on the controller. Figure 6: Default Communications Settings Each controller needs a unique communications number. Start with unit number 1. -
Page 10: K3Sc Dip Switch Settings
K3SC DIP Switch Settings Set the K3SC DIP switches to match the settings on the E5CC temperature controllers. Figure 7: K3SC DIP Switch Settings DIP switches 0-8 should be set to off. If the default baud rate, data length, stop bits, and parity were used, then all of the DIP switches would be set to off. -
Page 11: Usb To Rs-232C Cable (Cs1W-Cif31) Settings
USB to RS-232C Cable (CS1W-CIF31) Settings When plugging the CS1W-CIF31 into the USB port, ensure that the driver is properly installed. Figure 8: CS1W-CIF31 Driver Installation Check if it properly installed by un-plugging and checking to see if the device shows up and then plugging it in again to ensure it is present and recognized by the computer. -
Page 12: Using Cx-Thermo
Using CX-Thermo Copying Parameters with the Master Device Online This describes how to duplicate the parameters on the master device to other devices. Make sure that all of the components are wired and power is applied. Ensure the CS1W-CIP31 cable is connected. Open CX-Thermo and click no. - Page 13 This opens the device select screen. Click cancel. Figure 10: Device Select Screen This allows changes to the communications settings. These settings also need to match the temperature controllers. Page 13 of 37...
- Page 14 Under that communications tab, click settings. Figure 11: Communications Tab Location Change the communications settings to match the device. Shown are the default settings for baud rate, data length, stop bit, and parity. Make sure to select the CS1W-CIF31. Figure 12: Communications Settings – Default Click OK.
- Page 15 Now click the work online icon. Figure 13: Work Online Icon Now select the number of connected devices. Only the master device needs to be taken online, set the end unit number to 1. Note that the slave device is still wired to the master device.
- Page 16 RD and SD LEDs on the K3SC will light up, confirming communication. A pop-up will appear confirming that the devices were found. Click OK. Figure 15: Confirmation of Devices Found Next, decide whether or not to transfer the device parameters into CX-Thermo. Page 16 of 37...
- Page 17 Figure 16: Option to Transfer Device Parameters To initiate the transfer click yes. A pop-up will appear offering the option to transfer the parameters from one of multiple devices. A few other pop-ups could appear stating that some parameters might not be able to be transferred depending on the version of the controller and the version of CX-Thermo.
- Page 18 Figure 17: Confirmation of Parameter Transfer The CX-Thermo workspace will then appear. Note the destination controller number on the left hand side confirms the transfer. Page 18 of 37...
- Page 19 Figure 18: CX-Thermo Workspace Next, change any parameters on the controller. Right click on a controller part number to copy the device and adjust the copy destination. This automatically changes status to working offline. Figure 19: Copy Device Configuration Click the icon to work online. Confirm that the devices were connected. Page 19 of 37...
- Page 20 Under that communications tab, click Transfer[PC to Devices]. Choose to transfer all parameters, all changed parameters, or parameters changed from default. Figure 20: Communications Tab Location Select the destination controller to receive the transferred parameters. Figure 21: Devices to Transfer Parameters To Confirm the parameter transfer with the multiple pop-up windows.
-
Page 21: Copying Parameters With The Master And Slave Devices Online
Copying Parameters with the Master and Slave Devices Online Use CX-Thermo to duplicate the parameters on the master or slave devices. Make sure that all of the components are wired and power is applied. Ensure the CS1W-CIP31 cable is connected. Open CX-Thermo and click no. - Page 22 This opens the device select screen. Click cancel. Figure 23: Device Selection Screen This is where to change the communications settings. These settings also need to match the temperature controllers. Page 22 of 37...
- Page 23 Under that communications tab, click settings. Figure 24: Communications Tab Location Change the communications settings to match the device. Shown are the default settings for baud rate, data length, stop bit, and parity. Make sure to select the CS1W-CIF31. Figure 25: Communications Settings – Default Click OK.
- Page 24 Now click the work online icon. Figure 26: Work Online Icon Now select the number of connected devices. In this example two temperature controllers are connected, along with the K3SC, and the correction selection is 0-2. 1 for the master and 2 for the slave. Click Execute.
- Page 25 Figure 27: Work Online Number of Devices RD and SD on the K3SC will light up, confirming communication. A pop-up will appear confirming that the devices were found. Click OK. Page 25 of 37...
- Page 26 Figure 28: Confirmation of Devices Found Next decide whether to transfer the device parameters into CX-Thermo. Page 26 of 37...
- Page 27 Figure 29: Option to Transfer Device Parameters Click yes to open a pop-up that offers the option to transfer the parameters from one of multiple devices. Page 27 of 37...
- Page 28 Figure 30: Selecting Devices to Transfer Parameters From A few other pop-ups could appear stating that some parameters might not be able to be transferred depending on the version of the controller and the version of CX-Thermo. A pop-up will then appear confirming the transfer of parameters. Click OK. Page 28 of 37...
- Page 29 Figure 31: Confirmation of Parameter Transfer The CX-Thermo workspace will then appear. The multiple controllers listed on the left hand side confirm the transfer. Page 29 of 37...
- Page 30 Figure 32: CX-Thermo Workspace with Multiple Controllers From there, select the controller on which to alter the parameters. Right click on a controller part number to copy the device and adjust the unit number for the copy destination. This will automatically take the PC offline.
-
Page 31: Copying Parameters Starting Offline
Confirm the parameter transfer with the multiple pop-up windows. Copying Parameters Starting Offline Make sure that all of the components are wired and power is applied. Ensure the CS1W-CIP31 cable is connected. Open CX-Thermo and click no. Figure 34: CX-Thermo Start Up Screen This opens the device select screen. - Page 32 Click OK. Figure 35: Device Selection Screen The CX-Thermo workspace will appear. Page 32 of 37...
- Page 33 Figure 36: CX-Thermo Workspace Adjust parameters as needed. Right click on a controller part number to copy the device and adjust the unit number for the copy destination. Figure 37: Copy Device Configuration Now the devices need to be brought online. Click the icon to work online. Page 33 of 37...
- Page 34 Under that communications tab, click settings. Figure 38: Communications Tab Location Change the communications settings to match the device. Shown are the default settings for baud rate, data length, stop bit, and parity. Make sure to select the CS1W-CIF31. Figure 39: Communications Settings – Default Page 34 of 37...
- Page 35 Now click the work online icon. Figure 40: Work Online Icon RD and SD on the K3SC will light up, confirming communication. Next, select the destination controller to alter the parameters and then download the parameters to the temperature controller. Under that communications tab, click Transfer[PC to Devices].
- Page 36 Figure 41: Selecting Devices to Transfer Parameters From Confirm that the parameters transferred to the controllers. Page 36 of 37...
- Page 37 Figure 42: Confirmation of Parameter Transfer Page 37 of 37...
- Page 38 OMRON ELETRÔNICA DO BRASIL LTDA • HEAD OFFICE São Paulo, SP, Brasil • 55.11.2101.6300 • www.omron.com.br OMRON EUROPE B.V. • Wegalaan 67-69, NL-2132 JD, Hoofddorp, The Netherlands. • +31 (0) 23 568 13 00 • www.industrial.omron.eu Authorized Distributor: Automation Control Systems •...
Need help?
Do you have a question about the E5CC and is the answer not in the manual?
Questions and answers