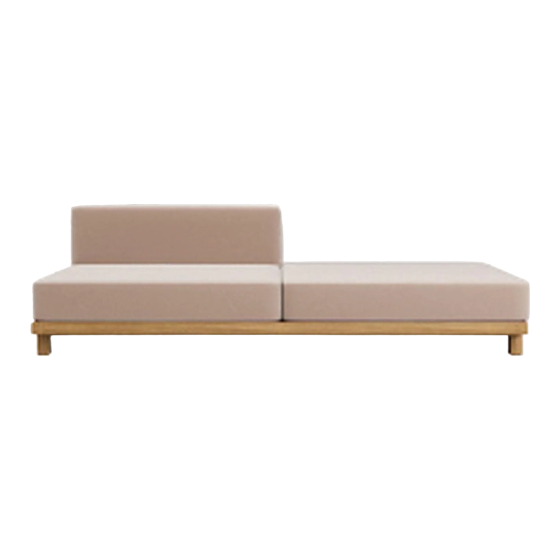
Summary of Contents for TRIBU VIS A VIS 01792
- Page 1 PADA01 - 17-05-2022 ASSEMBLY INSTRUCTIONS VIS A VIS SOFA 01792 01738L 01728 01701B 01708 01704 01704S 01704B 01738R 01701R 01742 01706B 01703S 01706R 01781 01709B 01700 01709 01784 01738B 01706L 01703 01786 01796B 01701L 01700B 01797B...
- Page 2 COMPONENTS SEAT SUPPORT SEAT SUPPORT 2 - seater 1 - seater LARGE FRAME SMALL FRAME 2 - seater 1 - seater LARGE BORDER SMALL BORDER COFFEE TABLE TOP LARGE BACK- / ARMREST SMALL BACK- / ARMREST The elements below are optional: HIGH BACKREST COVER HIGH BACKREST FRAME...
- Page 3 To connect the legs to the frame use these 3 components: CUSTOM BOLT GLIDER SPRING WASHER To connect frames to each other use these 2 components: WOODSCREW CONNECTOR To connect a backrest to a frame use these 2 components: WASHER FLATHEAD SCREW To secure al components together these tools are provided: Y - KEY...
- Page 4 ASSEMBLY INSTRUCTIONS Put the FRAME upside down on a protective cover. Secure the LEGS to the FRAME using 1 CUSTOM BOLT and 1 SPRING WASHER per LEG, to secure them use the Y-KEY. Make sure the SPRING WASHER is placed between the CUSTOM BOLT and the LEG.
- Page 5 Put the BORDER upside down on a protective cover. Secure the LEGS to the BORDER using 1 CUSTOM BOLT and 1 SPRING WASHER per LEG, to secure them use the Y-KEY. Make sure the SPRING WASHER is placed between the CUSTOM BOLT and the LEG. Attach the GLIDERS to the bottem side of the LEGS by turning them clockwise.
- Page 6 If you have a single/double module without BORDERS and no connection to another module proceed to step 11. Put the FRAMES upside down in the correct composition. Use a rubber hammer to attach the CONNECTORS to the FRAME. Use 2 CONNECTORS per connection.
- Page 7 Put the FRAME and BORDERS upside down in the correct composition. Use a rubber hammer to attach the CONNECTORS to the FRAME/BORDER. Use 2 CONNECTORS per connection. To secure the FRAME and BORDERS together use 4 WOODSCREWS per CONNECTOR. Tighten the WOODSSCREWS with a phillips screwdriver by turning them clockwise.
- Page 8 Put the SEAT SUPPORT on its side and slide the BACK- / ARMREST into the designated holes on the desired position. To secure the BACK- / ARMREST to the SEAT SUPPORT use 2 FLATHEAD SCREWS and 2 WASHERS per BACK- / ARMREST. Put the WASHER in between the FLATHEAD SCREW and the SEAT SUPPORT.
- Page 9 Place the assembled SEAT SUPPORTS into the designated FRAME. If a high backrest cushion is also included in your set, skip to step 15. If not, go to step 14. Slide the pillows over the BACK- / ARMRESTS and put the pillows on top of the SEAT SUPPORT.
- Page 10 Slide the pillow over the BACK- / ARMRESTS. When sliding the cushions over the BACK- / ARMRESTS make sure the side with the most cushioning is facing the sofa. Then slide the cover over the high backrest frame.
- Page 11 The high backrest frame can then be placed on the frame of the sofa against the back cushion. Now the seat cushions can be placed on the seat support to keep the high back cushion frame in place.
- Page 12 Eventually the high back cushion can be placed against that frame.
- Page 13 Tribù nv Oude Heidestraat 72 3740 Bilzen BELGIUM www.tribu.com info@tribu.com...


Need help?
Do you have a question about the VIS A VIS 01792 and is the answer not in the manual?
Questions and answers