Advertisement
Quick Links
Advertisement

Related Manuals for TRIBU NODI SOFA


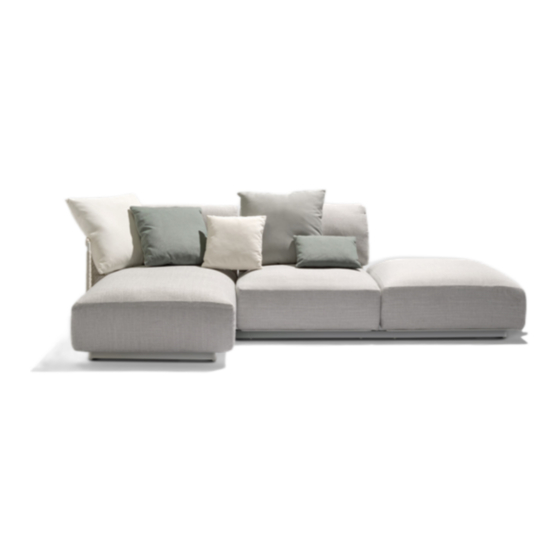
Summary of Contents for TRIBU NODI SOFA
- Page 1 NOSO01 - 20-01-2021 ASSEMBLY INSTRUCTIONS NODI SOFA...
- Page 2 COMPONENTS Regular Deep Lounge BASE BASE BASE Regular Deep Lounge PLATE PLATE PLATE Extension Corner BACKREST BACKREST inner corner front rear CONNECTOR CONNECTOR CONNECTOR...
- Page 3 HARDWARE CORNER INSERT RIGHT INSERT LEFT INSERT COUNTERSUNK SCREW FLAT HEAD SCREW PLASTIC WASHER PLASTIC BUSHING...
- Page 5 ASSEMBLY INSTRUCTIONS Determine if you have freestanding Nodi sofa modules or a Nodi sofa set. FREESTANDING continue with step continue with step...
- Page 6 Layout the BASE at it’s final location. The logo marks the back of the BASE. Logo Every Nodi sofa BASE has adjustable gliders to adapt to uneven floors. Use a level to make sure the BASE is level. The gliders can accommodate...
- Page 7 Lay out the backrest to match your frame. Corner Extension BACKREST BACKREST Use FLAT HEAD SCREW, PLASTIC WASHER and PLASTIC BUSHING to attach the BACKREST to the BASE. 4 x for Extension BACKREST, 6 x for corner BACKREST. Plastic bushing Plastic washer Flat head screw...
- Page 8 When the backrest is assembled it is time to install the INSERTS. It depends on your module (regular, deep, lounger) which INSERTS you need. Right Insert Left Insert Corner Insert Corner Insert Add the plate, make sure the PLATE matches with the BASE. Each PLATE has a logo, match it with the logo on the BASE.
- Page 9 Every seat cushion has a Tribù logo, make sure the logo is in the rear, on the right. Make sure the triangular fabric gather is pointing towards the backrest. Logo Fabric gather...
- Page 10 Layout the BASES at their final location. The logo marks the back of the BASE, make sure it’s pointing outwards. You can use a REAR CONNECTOR to make sure the distance in between the BASES is correct. Logo Connect the BASES to each other with the FRONT CONNECTORS. Start with the FRONT CONNECTOR, this connector connects base at the front lengthwise.
- Page 11 If your Nodi sofa set has a corner you’ll have to use an INNER CORNER CONNECTOR to connect 3 BASES to each other. Hand tighten 6 x FLAT HEAD SCREW and 6 x PLASTIC WASHER. Make sure the BASES and CONNECTORS are flush.
- Page 12 Every Nodi sofa BASE has adjustable gliders to oppose uneven floors. Use a level to make sure the BASES are level to each other and horizontal. Start with the BASE in the corner. Now fully tighten all connector SCREWS.
- Page 13 Lay out the backrests so they match your Nodi sofa set. Hand tighten 4/6 x FLAT HEAD SCREW, 4/6 x PLASTIC WASHER, 4/6 x PLASTIC BUSHING to attach the backrest to the BASE. Start with the corner BACKREST. Plastic bushing...
- Page 14 Make sure the backrests are aligned with each other, the non woven part of the backrests should be flush with each other. If that’s the case, tighten the screws 100 %. You can adjust by the tilting the backrest before full tightening.
- Page 15 Use COUNTERSUNK SCREWS to attach the plate to the BASE. Regular plate: 8 x COUNTERSUNK SCREW Deep plate: 8 x COUNTERSUNK SCREW Lounge plate: 8 x COUNTERSUNK SCREW Logo After installing the cushions, you can enjoy your Nodi sofa. Logo Fabric gather...
- Page 16 Tribù nv Oude Heidestraat 72 3740 Bilzen BELGIUM www.tribu.com info@tribu.com...
Need help?
Do you have a question about the NODI SOFA and is the answer not in the manual?
Questions and answers