Advertisement
Quick Links
For more information contact our team: service.ec@foagroup.com
ASSEMBLY RATING
The Assembly Rating is a 5-point system that
shows the degree of effort needed in
assembling a specific product (with 1 being
easy and 5 being difficult). For some
products, two persons are recommended.
EASY
Assembly Instructions
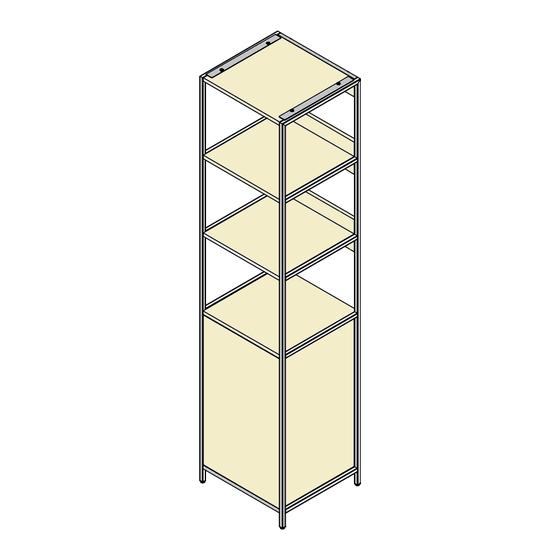
CM-AC6051
DIFFICULT
Tools Required For Assembly:
Allen Wrench
Phillips Screwdriver
2 PERSONS RECOMMENDED
Page 1 of 16
(Included)
(Not Included)
Rev: 18-09-06
Advertisement

Related Manuals for Furniture of America CM-AC6051


Summary of Contents for Furniture of America CM-AC6051
- Page 1 Assembly Instructions For more information contact our team: service.ec@foagroup.com CM-AC6051 ASSEMBLY RATING Tools Required For Assembly: The Assembly Rating is a 5-point system that shows the degree of effort needed in Allen Wrench (Included) assembling a specific product (with 1 being easy and 5 being difficult).
- Page 2 LOOSEN OVER TIME AND MAY CAUSE THE FURNITURE TO BE WOBBLY AND UNABLE TO SUPPORT ITS INTENDED WEIGHT CAPACITY. THIS MAY LEAD TO COLLAPSE AND MAY CAUSE SERIOUS INJURY. FAILURE TO FOLLOW THE GUIDELINES ABOVE MAY RESULT IN INJURY AND/OR PROPERTY DAMAGE. FURNITURE OF AMERICA.ALL RIGHTS RESERVED. Page 2 of 16...
- Page 3 Cam Lock Fastener Assembly Board A Cam Lock are fasteners used to join two boards together, usually the edge of one board (A) to the flat side of another board (B). Flat side edge to join Board B Cam Lock Cam Pin To use Cam Lock Step 2 - Fit the...
- Page 4 Before you begin, please read Page 2 of "Assembly and Care Advice". And remember, do not tighten until each step is completed or instructed. #1 x 3pcs #A x 22pcs Shelf Panel Wood Dowel Ø8x30mm #2 x 1pc #B x 18pcs Top Back Panel Cam Pin #3 x 2pcs...
- Page 5 #9 x 1pc #I x 2set Anti-Tip Kits Door #10 x 1pc Drawer Shelf Panel #12 x 1pc Right Side Frame #11 x 1pc Left Side Frame Page 5 of 16...
- Page 6 #A x 2pcs #A x 2pcs Page 6 of 16...
- Page 7 Page 7 of 16...
- Page 8 #A x 6pcs #B x 6pcs #A x 6pcs #B x 6pcs Page 8 of 16...
- Page 9 #A x 4pcs #B x 6pcs #C x 3pcs Page 9 of 16...
- Page 10 #C x 3pcs #C x 6pcs Page 10 of 16...
- Page 11 #C x 6pcs #D x 8pcs Page 11 of 16...
- Page 12 #D x 9pcs #D x 8pcs Page 12 of 16...
- Page 13 #D x 9pcs #E x 8pcs Page 13 of 16...
- Page 14 #F x 4pcs #G x 18pcs Page 14 of 16...
- Page 15 #D x 2pcs #I x 2 set ASSEMBLY IS COMPLETED Page 15 of 16...
- Page 16 Side to Side Adjustment loosen screw A, adjust gap with screw B and re-tighten Height Adjustment loosen screw C, adjust door Screw A Depth Adjustment height and re-tighten screw C loosen screw A, push hinge arm forwards or backwards, re-tighten screw A and secure Screw B with a 1/4 turn clockwise.
Need help?
Do you have a question about the CM-AC6051 and is the answer not in the manual?
Questions and answers