Sign In
Upload
Download
Add to my manuals
Delete from my manuals
Share
URL of this page:
HTML Link:
Bookmark this page
Add
Manual will be automatically added to "My Manuals"
Print this page
×
Bookmark added
×
Added to my manuals
Manuals
Brands
Hanna Instruments Manuals
Measuring Instruments
HI5221
Instruction manual
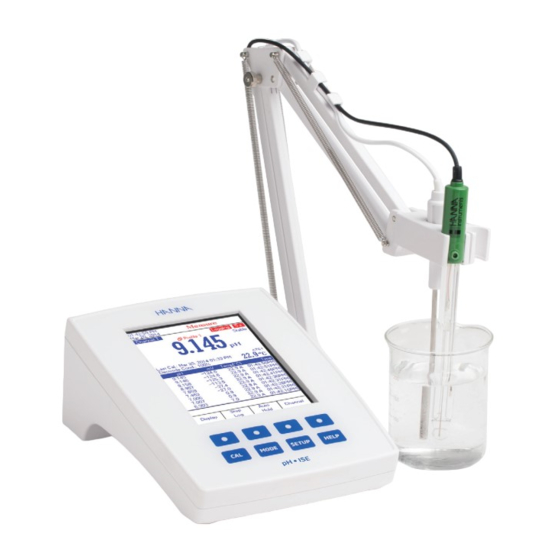
Hanna Instruments HI5221 Instruction Manual
Ph/mv/ise/temperature bench meters
Hide thumbs
1
2
Table Of Contents
3
4
5
6
7
8
9
10
11
12
13
14
15
16
17
18
19
20
21
22
23
24
25
26
27
28
29
30
31
32
33
34
35
36
37
38
39
40
41
42
43
44
45
46
47
48
49
50
51
52
53
54
55
56
57
58
59
60
61
62
63
64
65
66
67
68
69
70
71
72
73
74
75
76
77
78
79
80
81
82
83
84
page
of
84
Go
/
84
Bookmarks
Advertisement
Quick Links
1
System Setup
Download this manual
HI5221 & HI5222
pH/mV/ISE/Temperature
Bench Meters
Previous
Page
Next
Page
1
2
3
4
5
Advertisement
Need help?
Do you have a question about the HI5221 and is the answer not in the manual?
Ask a question
Questions and answers
Related Manuals for Hanna Instruments HI5221
Measuring Instruments Hanna Instruments HI 5421 Instruction Manual
Do/bod/our/sour/temperature bench meter (28 pages)
Measuring Instruments Hanna Instruments HI5421 Instruction Manual
Do/bod/our/sour/temperature bench meter (60 pages)
Measuring Instruments Hanna Instruments HI 5315 Instruction Manual
Reference electrode (9 pages)
Measuring Instruments Hanna Instruments HI 504920 Instruction Manual
Remote user interface ph meter (15 pages)
Measuring Instruments Hanna Instruments HI 504903 Instruction Manual
Gsm supervisor (31 pages)
Measuring Instruments Hanna Instruments HI5321 Instruction Manual
Conductivity/resistivity/tds/salinity/temperature bench meter (60 pages)
Measuring Instruments Hanna Instruments HI 5321 Series Instruction Manual
Conductivity/resistivity/tds/salinity/temperature bench meter (60 pages)
Measuring Instruments Hanna Instruments HI 5321 Instruction Manual
Conductivity/resistivity/tds/salinity/ temperature bench meter (60 pages)
Measuring Instruments Hanna Instruments HI5222 Instruction Manual
Ph/mv/ise/temperature bench meters (84 pages)
Measuring Instruments Hanna Instruments HI 9033 Instruction Manual
Portable waterproof multi-range conductivity/tds/ fertilizer meters (36 pages)
Measuring Instruments Hanna Instruments HI 9812 Instruction Manual
Portable ph/ec/tds/c meters (16 pages)
Measuring Instruments Hanna Instruments HI 4211 Instruction Manual
Ph/mv/ise/temperature bench meters (76 pages)
Measuring Instruments Hanna Instruments HI 93102 Instruction Manual
Multiparameter turbidity & ion specific meter (21 pages)
Measuring Instruments Hanna Instruments HI 216 Instruction Manual
Ec/resistivity meter (9 pages)
Measuring Instruments Hanna Instruments HI 96721 Instruction Manual
Iron high range ism (24 pages)
Measuring Instruments Hanna Instruments IC-HI98165 Instruction Manual
Professional ph and temperature meter for cheese (52 pages)
This manual is also suitable for:
Hi5222
Hi5221-01
Hi5221-02
Hi5222-01
Hi5222-02
Save PDF
Print
Rename the bookmark
Delete bookmark?
Delete from my manuals?
Login
Sign In
OR
Sign in with Facebook
Sign in with Google
Upload manual
Upload from disk
Upload from URL


Need help?
Do you have a question about the HI5221 and is the answer not in the manual?
Questions and answers