Table of Contents
Advertisement
Quick Links
IMPORTANT
READ CAREFULLY BEFORE USE
KEEP SAFE TO CONSULT AT A LATER DATE
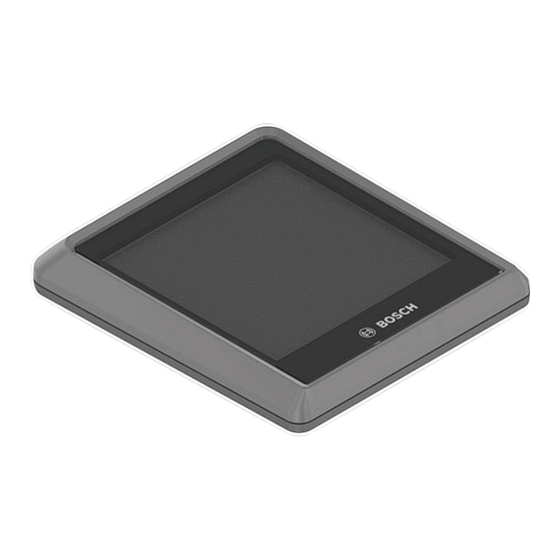
Original operating instructions for BULLS pedelecs
with BOSCH Intuvia 100 display and
LED Remote on-board computer
C r o s s R i d e r E V O 1 , I c o n i c E V O 1 2 7 . 5" , I c o n i c E V O 2 2 7 . 5 " , I c o n i c E V O 3 2 7 . 5 " , I c o n i c E V O B e l t 2 7 . 5 " ,
I c o n i c E V O T R 1 2 7 . 5 "
23- 15- 200 7 ... 23- 15- 2009, 23- 15- 201 6 ... 23- 15- 202 2, 23- 15- 302 7, 2 3-1 5- 303 7
MY23B0a - 52_1.0_31.08.2022
Advertisement
Table of Contents
Troubleshooting


Need help?
Do you have a question about the Iconic EVO 2 and is the answer not in the manual?
Questions and answers