Table of Contents
Advertisement
Quick Links
iNStAllAtiON iNStrUCtiONS
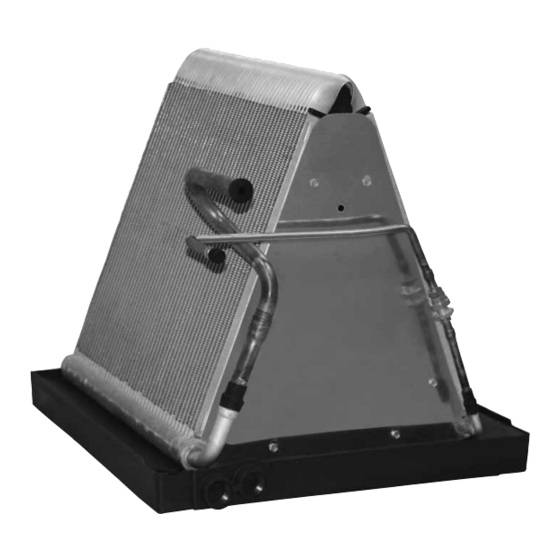
Split SyStem UNCASeD replACemeNt iNDOOr COilS
impOrtANt
AtteNtiON iNStAllerS:
it is your responsibility to know this product better than your customer. this includes being
able to install the product according to strict safety guidelines and instructing the customer on
how to operate and maintain the equipment for the life of the product. Safety should always be
the deciding factor when installing this product and using common sense plays an important
role as well. pay attention to all safety warnings and any other special notes highlighted in the
manual. improper installation of the furnace or failure to follow safety warnings could result
in serious injury, death, or property damage.
these instructions are primarily intended to assist qualified individuals experienced in the
proper installation of this appliance. Some local codes require licensed installation/service
personnel for this type of equipment. please read all instructions carefully before starting the
installation. return these instructions to the customer's package for future reference.
DO NOt DeStrOy. pleASe reAD CAreFUlly AND Keep iN A SAFe plACe FOr FUtUre reFereNCe.
Advertisement
Table of Contents

Subscribe to Our Youtube Channel
Summary of Contents for Nortek 921337
- Page 1 iNStAllAtiON iNStrUCtiONS Split SyStem UNCASeD replACemeNt iNDOOr COilS impOrtANt AtteNtiON iNStAllerS: it is your responsibility to know this product better than your customer. this includes being able to install the product according to strict safety guidelines and instructing the customer on how to operate and maintain the equipment for the life of the product.
-
Page 2: Important Safety Information
impOrtANt SAFety iNFOrmAtiON for an extended period of time, turn off electrical power at the circuit breaker. For your safety always turn off the Please read all instructions before servicing this equipment. electrical power before performing service or maintenance Pay attention to all safety warnings and any other special on the unit. -
Page 3: Changing The Orifice
installing a tXV Kit • If no leaks are found, the coil may be installed. 3. Depress the valve to relieve all pressure from the coil. A separate TXV kit and C5 replacement tube kit are required. 4. Proceed to the appropriate lineset connection for See Tables 3 - 5 (pages 6 - 8). - Page 4 CAUtiON: to prevent damage to the unit or internal components, it is recommended that two wrenches be used when loosening or tightening nuts. Do not over tighten! 13. Using two wrenches, tighten all connections. liNeSet CONNeCtiONS Connecting Brazed linesets 1. If TXV kit and new liquid line are being installed, skip to Figure 2.
-
Page 5: Completing The Installation
coupling assemblies (Figure 5). NOte: The amount of oil impOrtANt: to prevent internal oxidation and scaling used must cover all designated surfaces sufficiently. from occuring, braze all connections with dry nitrogen 6. While holding the coupling halves in proper alignment flowing through the joints. - Page 6 Kit pN Kit mODel DeSCriptiON 921337 KIT, REPLCOIL, QA, 3/4 Kit for coils requiring 3/4” quick connect lines 921339 KIT, REPLCOIL, DA, 3/4 Kit for coils requiring 3/4” downturn lines table 1. Connection Kits WreNCH reQUireD COUpliNG Size tOrQUe mAle COUpliNG...
- Page 7 921339 921733 C5DA-X42U-B 920698 REPLCOIL02M 921483 920671A 921339 921733 C5DA-X47U-B 920700 REPLCOIL02M 921483 920672A 921339 921733 C3QA-024U-B 917224N REPLCOIL02M 921483 921337 921733 C3QA-030U-B 917225N REPLCOIL02M 921483 921337 921733 C3QA-036U-B 917226N REPLCOIL02M 921483 921337 921733 C3QA-042U-B 917227N REPLCOIL02M 921483 921337 921733...
- Page 8 *** represents the size). Example: 664103 is a restrictor 0.103 in diameter. table 7. replacement Coil Specs Specifications & illustrations subject to change without notice or incurring obligations (05/15). 709275B (Replaces 709275A) O’Fallon, MO, © Nortek Global HVAC LLC 2015. All Rights Reserved.


Need help?
Do you have a question about the 921337 and is the answer not in the manual?
Questions and answers