Table of Contents
Advertisement
Quick Links
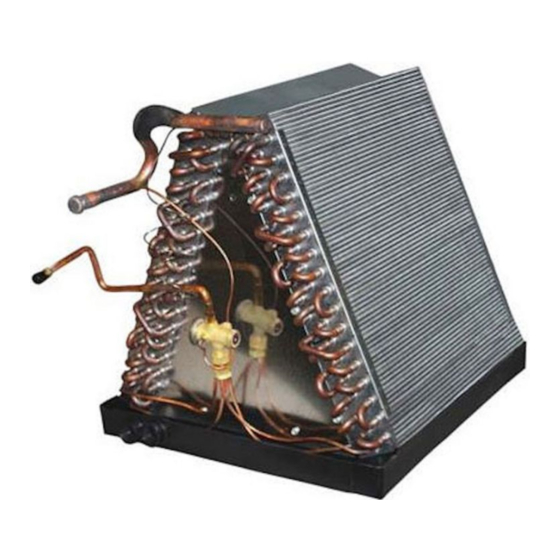
Split SyStem UNCASeD replACemeNt iNDOOr COilS
iNStAllAtiON iNStrUCtiONS
replCOilXXHS HigH Seer SerieS
it is your responsibility to know this product better than your customer. this includes being
able to install the product according to strict safety guidelines and instructing the customer on
how to operate and maintain the equipment for the life of the product. Safety should always be
the deciding factor when installing this product and using common sense plays an important
role as well. pay attention to all safety warnings and any other special notes highlighted in the
manual. improper installation of the furnace or failure to follow safety warnings could result in
serious injury, death, or property damage.
these instructions are primarily intended to assist qualified individuals experienced in the proper
installation of this appliance. Some local codes require licensed installation/service personnel
for this type of equipment. please read all instructions carefully before starting the installation.
return these instructions to the customer's package for future reference.
DO NOt DeStrOy. pleASe reAD CAreFUlly & Keep iN A SAFe plACe FOr FUtUre reFereNCe.
impOrtANt
AtteNtiON iNStAllerS:
Advertisement
Table of Contents

Related Manuals for Nortek REPLCOIL HS Series


Summary of Contents for Nortek REPLCOIL HS Series
- Page 1 Split SyStem UNCASeD replACemeNt iNDOOr COilS iNStAllAtiON iNStrUCtiONS replCOilXXHS HigH Seer SerieS impOrtANt AtteNtiON iNStAllerS: it is your responsibility to know this product better than your customer. this includes being able to install the product according to strict safety guidelines and instructing the customer on how to operate and maintain the equipment for the life of the product.
-
Page 2: Important Safety Information
impOrtANt SAFety iNFOrmAtiON for an extended period of time, turn off electrical power at the circuit breaker. For your safety always turn off the Please read all instructions before servicing this equipment. electrical power before performing service or maintenance Pay attention to all safety warnings and any other special on the unit. -
Page 3: Changing The Orifice
1. Disconnect all electrical power to the furnace or air handler. 2. Remove system refrigerant per industry standard practices. 3. Disconnect and remove existing evaporator coil. Suction Line System Depressurization Schrader 1. Remove the cap (Figure 1) from the end of the liquid line. Valve 2. -
Page 4: Completing The Installation
liNeSet CONNeCtiONS • For additional information on proper sensing bulb locations, please refer to the valve manufacturer’s Connecting Brazed Linesets instructions. 1. If TXV kit and new liquid line are being installed, skip to 11. Remove and discard the Schrader valve from the suction step 4. - Page 5 A WiDtH B WIDTh B WIDTh C WiDtH C WiDtH Kit mODel 18” SLAB 18” SLAB 24” SLAB 24” SLAB 28” SLAB 921287 Kit, C5 REPL Tube, A18, 1 ea 921288 Kit, C5 REPL Tube, B18, 1 ea 921289 Kit, C5 REPL Tube, B24, 1 ea 921290 Kit, C5 REPL Tube, C24, 1 ea 921291...
- Page 8 Specifications & illustrations subject to change without notice or incurring obligations (07/16). 709410A (Replaces 7094100) O’Fallon, MO, © Nortek Global HVAC LLC 2016. All Rights Reserved.
Need help?
Do you have a question about the REPLCOIL HS Series and is the answer not in the manual?
Questions and answers