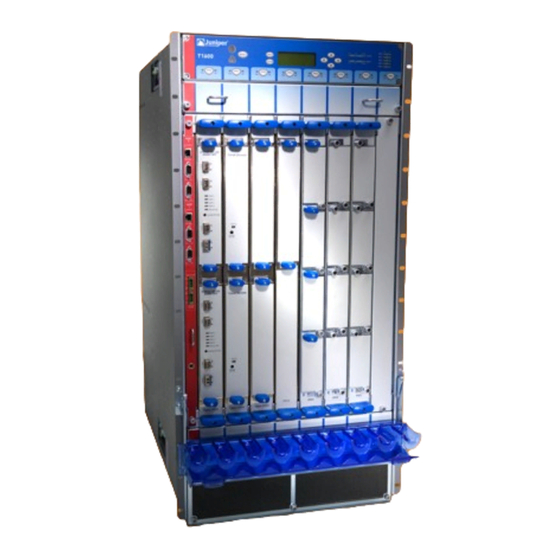
Juniper T1600 Installation
Mounting hardware for a four-post rack or cabinet
Hide thumbs
Also See for T1600:
- Hardware manual (420 pages) ,
- Upgrade manual (56 pages) ,
- Quick start manual (52 pages)
Advertisement
Table of Contents
Installing the T1600 Mounting Hardware for a Four-Post Rack or Cabinet
To prepare to install the router into a four-post rack or cabinet:
Install cage nuts, if needed.
Install the large mounting shelf and the spacer bars on the front rack rail.
Install the small mounting shelf on the rear rack rail.
Remove the center-mounting brackets from the chassis.
The mounting brackets and flanges have holes for rack-mounting screws, spaced at
5.25 in. (13.34 cm).
Table 1 specifies the holes in which you insert mounting screws (an X indicates a
mounting hole location), and cage nuts if needed. The hole distances are relative to
one of the standard U" divisions on the rack. The bottom of all mounting shelves
is at 0.04 in. (0.02 U) above a U" division.
Table 1: Four-Post or Cabinet Rack Mounting Hole Locations
Hole
Distance Above U" Division
60
34.75 in. (88.3 cm)
51
29.51 in. (74.9 cm)
42
24.26 in. (61.6 cm)
33
19.01 in. (48.3 cm)
24
13.76 in. (34.9 cm)
15
8.51 in. (21.6 cm)
12
6.76 in. (17.1 cm)
9
5.01 in. (12.7 cm)
6
3.26 in. (8.3 cm)
3
1.51 in. (3.8 cm)
2
0.88 in. (2.2 cm)
Installing the T1600 Mounting Hardware for a Four-Post Rack or Cabinet
Large
Shelf
19.86 U
16.86 U
13.86 U
10.86 U
7.86 U
4.86 U
3.86 U
2.86 U
1.86 U
0.86 U
0.50 U
X
Spacer
Small
Bars
Shelf
X
X
X
X
X
X
X
X
X
X
X
X
1
Advertisement
Table of Contents

Related Manuals for Juniper T1600


Summary of Contents for Juniper T1600
- Page 1 Installing the T1600 Mounting Hardware for a Four-Post Rack or Cabinet To prepare to install the router into a four-post rack or cabinet: Install cage nuts, if needed. Install the large mounting shelf and the spacer bars on the front rack rail.
- Page 2 Partially insert screws into the open holes in the flanges of the small shelf. Tighten all the screws completely. Remove the mounting brackets from the chassis by loosening the screws at the top and bottom of each bracket. Installing the T1600 Mounting Hardware for a Four-Post Rack or Cabinet...
- Page 3 Figure 1: Positioning the Spacer Bar on the Rack Installing the T1600 Mounting Hardware for a Four-Post Rack or Cabinet...
- Page 4 Figure 2: Installing the Mounting Hardware for a Four-Post Rack or Cabinet T1600 Router Description Related Topics T1600 Router Installation Summary T1600 Site Preparation Requirements Checklist Published: 2009-09-30 Installing the T1600 Mounting Hardware for a Four-Post Rack or Cabinet...
Need help?
Do you have a question about the T1600 and is the answer not in the manual?
Questions and answers