Table of Contents
Advertisement
Quick Links
Advertisement
Table of Contents

Subscribe to Our Youtube Channel
Related Manuals for Kanguru BioSTOR


Summary of Contents for Kanguru BioSTOR
- Page 1 Kanguru BioSTOR USER’S GUIDE Copyright 2005, All Rights Reserved. - 1 -...
-
Page 2: Customer Service
Machines Corporation. All other brand or product names are trademarks of their respective companies or organizations. Kanguru Solutions will not be held responsible for any illegal use of this product nor any losses incurred while using this product. The user himself is responsible for the copyright laws, and is fully responsible for any illegal actions taken. -
Page 3: Table Of Contents
Kanguru BioSTOR Kanguru BioSTOR Package Contents: ... 4 Features:... 4 Specifications: ... 5 Connecting the drive: ... 6 Locking the Drive:... 9 Using the Backup Password:... 9 Deleting Registered Fingerprints:... 10 Disconnecting the Drive:... 10 Tech Support... 11 - 3 -... -
Page 4: Introduction
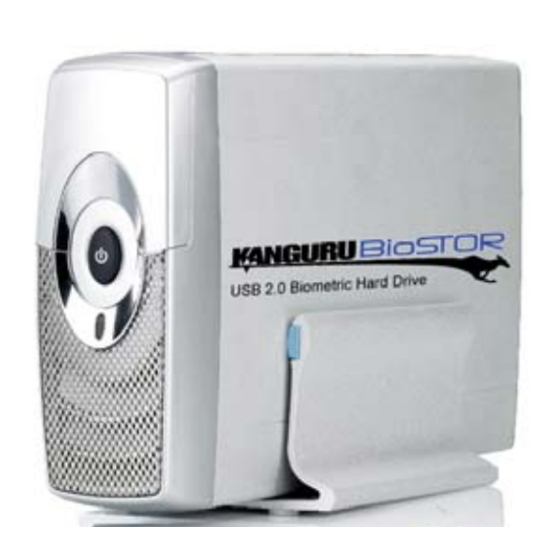
This allows for ultimate portability and ease of use, as you can take the Kanguru BioSTOR to any PC without having to install anything! The Kanguru BioSTOR can store up to 5 fingerprints on each drive and you have the option to set a recovery password. -
Page 5: Specifications
- Windows 98SE - Windows ME - Windows 2000 - Windows XP Size Weight 120g Dimensions 5.7” x 3.1” x 0.85” Kanguru Solutions defines a megabyte (MB) as 1,000,000 bytes and a gigabyte (GB) as 1,000,000,000 bytes. - 5 -... -
Page 6: Using The Kanguru Biostor
Please Note: This Removable Disk does not represent the hard drive of the Kanguru BioSTOR. The hard drive portion of this device will appear as a new drive letter once the drive has been unlocked. 1. Your PC should automatically run the program located in the “Removable Disk”... - Page 7 Kanguru BioSTOR 2. This is the screen that will appear when you need to enter a fingerprint to unlock the drive. Since there aren’t any fingerprints registered yet press the EXIT button. To begin using the drive you must register one of your fingerprints.
- Page 8 4. You will then see you registered fingerprints turn pink. 5. You will then be prompted to place your finger on the sensor to capture you fingerprint. The sensor 3.5” version of the BioSTOR is located under the front panel with the “BioSTOR” logo. To access the sensor, simple slide this panel up.
-
Page 9: Locking The Drive
PC. Locking the Drive: You can lock the Kanguru Bio drive by either removing the drive for the pc, or by right-clicking on the Finger icon in the taskbar and selecting "Lock USB Flash Drive". -
Page 10: Deleting Registered Fingerprints
DO NOT remove the drive during data transfer. If the LED is flashing, then the drive is still transferring data. Windows Me/2000/XP users: Click on the green Remove Hardware icon on the right side of the taskbar and select the Kanguru BioSTOR to safely remove the drive. - 10 -... -
Page 11: Tech Support
1 year from the date of purchase. This warranty does not apply if, in the judgment of Kanguru Solutions, the product fails due to damage from handling, accident, abuse, misuse, or if it has been used in a manner not conforming to the product’s instructions, has been modified in any... - Page 12 Kanguru BioSTOR If you experience any problems installing your Kanguru BioSTOR or have any technical questions regarding any of our products, please call our tech support department. Our tech support is free and available Monday through Friday, 9am to 5pm EST.
Need help?
Do you have a question about the BioSTOR and is the answer not in the manual?
Questions and answers