Advertisement
Quick Links
Advertisement

Subscribe to Our Youtube Channel
Summary of Contents for SEI HO1154137
- Page 1 HO1154137...
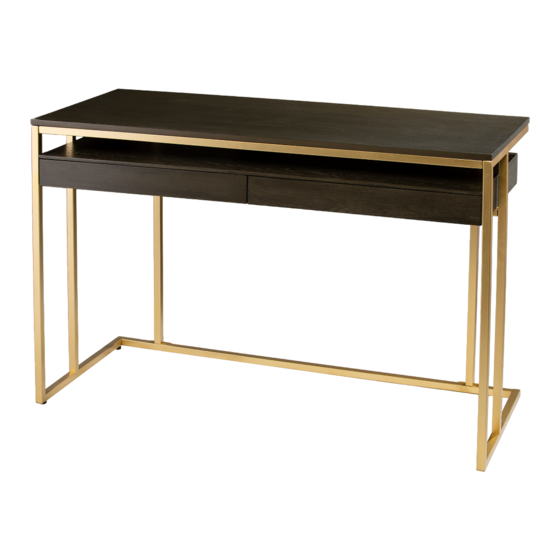
- Page 4 Left frame Right frame Bottom rail Marco izquierdo Marco derecho Riel inferior Cadre gauche Cadre droit Rail inférieur Middle rail Top frame Vertical bar Rail inférieur Marco superior Barra vertical Rail intermédiaire Cadre supérieur Barre verticale Middle box Caja del medio Boîte du milieu...
- Page 5 Bolt Allen wrench Tornillo Llave Allen Boulon ø1/4”X3/8”L Clé Allen ø1/4” Bolt Adjustable level Tornillo Nivel ajustable Boulon ø1/4”X1-1/4”L Niveau réglable...
- Page 6 Step 1: Connect bottom rail (C) and middle rail (D) to left frame (A) with bolt (1), then tighten with allen wrench (2). Do not fully tighten screws until all screws are in position. Paso 1: Conecte el riel inferior (C) y el riel central (D) al marco izquierdo (A) con el perno (1), luego apriete con una llave Allen (2).
- Page 7 Step 2: Connect right frame (B) to the unit assembled in Step 1 with bolt (1) and tighten with Allen wrench (2). Paso 2: Conecte el marco derecho (B) a la unidad ensamblada en el Paso 1 con el perno (1) y apriete con la llave Allen (2). Étape 2: Connectez le cadre droit (B) à...
- Page 8 Step 3: Connect the unit assembled in Step 2 to top frame (E) with bolt (3). Tighten with Allen wrench (2). Paso 3: Conecte la unidad ensamblada en el Paso 2 al marco superior (E) con el perno (3). Apriete con la llave Allen (2). Étape 3: Connectez l'unité...
- Page 9 Step 4: Attach the two vertical bars (F) to the unit assembled in Step 3 with bolt (1). Tighten with Allen wrench (2). Paso 4: Fije las dos barras verticales (F) a la unidad ensamblada en el Paso 3 con el perno (1).
- Page 10 Step 5: Attach the middle box (G) to the unit assembled in Step 4 with bolt (1). Tighten with Allen wrench (2). Paso 5: Fije la caja del medio (G) a la unidad ensamblada en el Paso 4 con el perno (1). Apriete con la llave Allen (2).
- Page 11 Step 6: Attach adjustable level (4) to the unit assembled in Step 5, then tighten all bolts. Place finished unit upright. Paso 6: Fije el nivel ajustable (4) a la unidad ensamblada en el Paso 5, luego apriete todos los pernos. Coloque la unidad terminada en posición vertical.
-
Page 12: One Year Limited Warranty
Requests for missing or damaged parts must be requested within one year of purchase. Damages or missing parts reported outside of one year will not be honored. SEI Furniture is under no obligation to provide parts or replacement merchandise. Replacement part requests will not be honored for fully assembled or modified items. -
Page 13: Garantía Limitada De Un Año
Las solicitudes de piezas faltantes o dañadas deben solicitarse en el plazo de un año a partir de la compra. Los daños o piezas faltantes informados fuera de un año no serán aceptados. SEI Furniture no tiene la obligación de proporcionar piezas o mercadería de reemplazo. No se aceptarán solicitudes de piezas de repuesto para artículos completamente ensamblados o modificados. -
Page 14: Garantie Limitée D'un An
Les demandes de pièces manquantes ou endommagées doivent être effectuées dans l'année suivant l'achat. Les dommages ou pièces manquantes signalés en dehors d'un an ne seront pas honorés. SEI Furniture n'a aucune obligation de fournir des pièces ou des marchandises de remplacement. Les demandes de pièces de rechange ne seront pas honorées pour les articles entièrement assemblés ou...


Need help?
Do you have a question about the HO1154137 and is the answer not in the manual?
Questions and answers