
Related Manuals for Knight Anvil System


Summary of Contents for Knight Anvil System
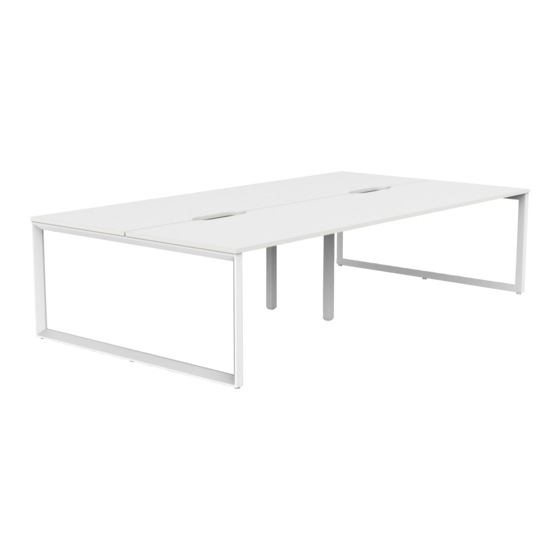
- Page 1 Anvil System Assembly Instructions Tools Required: Powered Screwdriver knightgroup.co.nz...
- Page 2 Anvil System Assembly Instructions Thank you for purchasing Knight product, please carefully read the assembly instructions prior to installment to gain a complete understanding of the product. It provides you with important information about the safety, use, installation and maintenance.
- Page 3 Anvil System Assembly Instructions Parts 2 x Legs 2 x Rails 8 x M8x16 20 x ST5x23 4 x ST5x70 Tools Electric Driver Allen Key Sqaure knightgroup.co.nz...
- Page 4 Anvil System Page 1 Page 1 Assembly Instructions Assembly Instructions Step 1 8 x M8x16 M8x16 Allen Key knightgroup.co.nz...
- Page 5 Anvil System Page 2 Page 2 Assembly Instructions Assembly Instructions Step 2 Worktop Alignment with Frame: Please note when installing the worktops, they will need to over hang at the front by 5mm to allow for the screen bracket 20 x ST5x23 4 x ST5x70 gap of 10mm between the two worktops.
- Page 6 ‘Cantilever Leg and Rail Set’. Active25 Screens: To add Active25 Screens to Anvil System please refer to the assembly instructions for ‘Active25 System Screens’. Assembly instructions available online at knightgroup.co.nz under resources.
Need help?
Do you have a question about the Anvil System and is the answer not in the manual?
Questions and answers