
Related Manuals for Knight Agile Pro


Summary of Contents for Knight Agile Pro
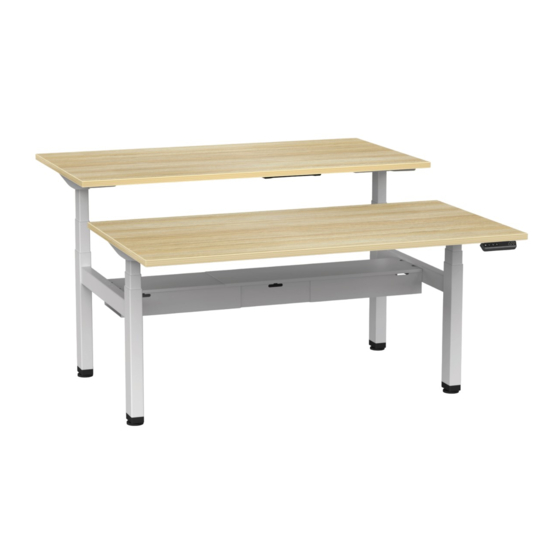
- Page 1 Agile Pro Electric 3 Column Double Sided Desk - Foldout Leg Assembly Instructions Tools Required: Powered Screwdriver & Tape Measure knightgroup.co.nz...
- Page 3 Agile Pro Page 1 Electric 3 Column Double Sided Desk Assembly Instructions IMPORTANT! Please carefully read the assembly manual and direction for use prior to installment, use and maintenance of the table frame to gain a complete understanding of its contents. It provides you with important information about the safety, use, installation and maintenance of the table.
- Page 4 Agile Pro Page 2 Electric 3 Column Double Sided Desk Assembly Instructions Assembly Time Two People Tools Part Name Part Name (PCS) (PCS) Side Bracket ST4.8*16 Tapping Screw Column ST3.5*16 Tapping Screw Cable Tray Control Box M8*18 Counter Sunk Handset...
- Page 5 Agile Pro Page 3 Page 3 Electric 3 Column Double Sided Desk Assembly Instructions Assembly Instructions Step 1 • The double sided desk consists of two identical single sided desk systems. • Take out one side frame and set the frame flat.
- Page 6 Agile Pro Page 4 Electric 3 Column Double Sided Desk Assembly Instructions Step 2 • Place the side brackets onto the frame. • Install the bracket screws and fasten the frames pre-installed screws. • The installation method on the other side frame is the same.
- Page 7 Agile Pro Page 5 Electric 3 Column Double Sided Desk Assembly Instructions Step 3 • According to the size of the desktop, adjust the frame to a suitable width (it is suggested that the below measurements are followed when setting the column spacing) and fasten the frame screws.
- Page 8 Agile Pro Page 6 Electric 3 Column Double Sided Desk Assembly Instructions Step 4 Connect the side rail on one side to the columns and fasten the screws, and then install the other side rail on the other side in the same way.
- Page 9 Agile Pro Page 7 Electric 3 Column Double Sided Desk Assembly Instructions Step 5 • Turn the frame upright. • Take out the cable tray and remove the cover. • Insert the cable tray into the side rails and fasten the screws.
- Page 10 Agile Pro Page 8 Electric 3 Column Double Sided Desk Assembly Instructions Step 6 • Installing screen - fix chosen screens brackets (purchased separately) to the side rails and fasten the screws. • Place cable tray cover on top of cable tray.
- Page 11 Agile Pro Page 9 Electric 3 Column Double Sided Desk Assembly Instructions Step 7 Install screen (purchased separately) with screen brackets and fasten the screws. Avoid excessive tightening of screws. Related screws and screen brackets together. knightgroup.co.nz...
- Page 12 Agile Pro Page 10 Electric 3 Column Double Sided Desk Assembly Instructions Step 8 Check both sides of desktop before placing the bottom side of the desktop on the frame (it is suggested that the screen should be 20mm from the edge of the desktop) and fasten screws. Install handset in a suitable position underneath desktop edge to avoid interference with humans or chairs, display screen facing out and fasten screws.
- Page 13 Agile Pro Page 11 Electric 3 Column Double Sided Desk Assembly Instructions Step 9 Install control boxes on the frame (see below diagram). Handset Control Box knightgroup.co.nz...
- Page 14 Agile Pro Page 12 Electric 3 Column Double Sided Desk Assembly Instructions Step 10 As shown in the below, connect related parts, including control box, handset, extension cable and power cord etc. and fasten with cable clips. Cables are for illustrative purposes only. Do not attach cables until assembly is complete.
- Page 15 Agile Pro Page 13 Electric 3 Column Double Sided Desk Assembly Instructions Initial Setup Procedure & Manual Reset NOTICE Operating the desk system when it is not properly connected can damage the product. • Ensure all Cables are properly connected •...
- Page 16 Agile Pro Page 14 Electric 3 Column Double Sided Desk Assembly Instructions Adjusting the Desktop Height Risk of minor or moderate injury through crushing. Your fingers may be crushed when you attempt to change the height of the table. •...
- Page 17 Agile Pro Page 15 Electric 3 Column Double Sided Desk Assembly Instructions Modified High and Low Limitation Positions By this function would be used to limit the movement area of desktop, when the cabinet is underneath or any shelf above the desktop. Once it is set, the new High or Low limit position will be stored.
-
Page 18: Reset To Factory Setting
Agile Pro Page 16 Electric 3 Column Double Sided Desk Assembly Instructions Changing the desktop height displayed The function enables you to change the height shows on the display based on the actual measurement, especially when you need to calculate the height including the thickness of the desktop. -
Page 19: Technical Data
Usually the display alternately shows two error code, such as “E-1”/“rES”, “E-3”/“rES”, “E-4”/“rES”, that means you need to execute the Manual Reset procedure after completing the required actions. NOTICE Do not operate the table system if problems persist. Contact Knight for further information. Technical Data Item... - Page 20 knightgroup.co.nz...
Need help?
Do you have a question about the Agile Pro and is the answer not in the manual?
Questions and answers