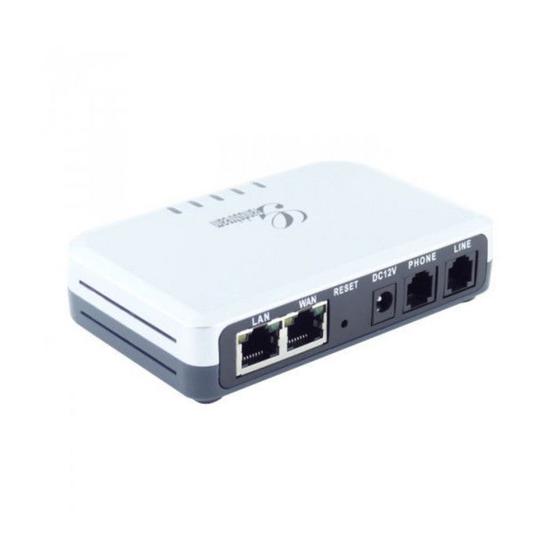
Grandstream Networks HT503 Setup
Hide thumbs
Also See for HT503:
- User manual (85 pages) ,
- Installing and configuring (3 pages) ,
- Manual (9 pages)
Advertisement
Quick Links
Grandstream HT503 Gateway Setup
1. Introduction
The Grandstream HT503 is a single line FXO/FXS telephone gateway. This gateway will
give the ability to dial on a standard POTS line. This guide is for a quick registration of
the ht503 to the Lynx Controller. Pictures are for reference only and may not reflect
the needed configuration listed in the text.
2. Connect to the HT503
a. Connect the HT503 gateway to the network through the Ethernet port and
power it up using the included power supply.
**Note: Do not connect this device to a POE powered port.
b. Follow the instructions in the quick start guide:
c. Use your browser and navigate to the IP (192.168.2.1 default). Password:
admin
ht503_usermanual_english.pdf
Advertisement

Summary of Contents for Grandstream Networks HT503
- Page 1 POTS line. This guide is for a quick registration of the ht503 to the Lynx Controller. Pictures are for reference only and may not reflect the needed configuration listed in the text.
- Page 2 3. Basic Settings a. Web Port “80” b. Choose “statically configured as:” c. IP Address (IP Address you are assigning this gateway). d. Subnet Mask (your networks subnet). e. Default Router (the networks internet router IP address). f. DNS (the internet DNS (optional) g.
- Page 3 Apply and reboot and connect to the WAN port and browse to the new IP assigned at k. Bridge radio button Enable LAN DHCP - Choose “No” m. Unconditional Call Forward to VOIP – User ID - “s” n. Sip Server - (Lynx Controller IP) o.
- Page 4 Advanced Settings a. Update Firmware if necessary.
- Page 5 FXS Port a. Account Active – Choose “No”. b. Local SIP port “5061” c. Click Apply...
- Page 6 FXO Port a. Account Active – Choose “Yes” b. Primary SIP Server (The Lynx Controller IP Address) c. Outbound Proxy (The Lynx Controller IP Address) SIP User ID (PSTN1-5) e. Authenticate ID (same as SIP User ID) f. Authenticate Password “RevConLynx” g.
- Page 7 k. Dial Plan “{xx+}”...
- Page 8 Preferred Vocoder choice 1 “PCMU”...
- Page 9 m. Gain TX “+2dB” RX “+6dB” n. Disable Line Echo Canceller – Choose “No”...
- Page 10 o. Current Disconnect Threshold “300” p. Enable PSTN Disconnect Tone Detection – Choose “Yes” q. Number of Rings “1” r. PSTN Ring Thru FXS – Choose “No” s. PSTN Idle Wait Timeout between Outgoing Calls “0”...
- Page 11 t. Wait for Dial-Tone – Choose “No” u. Stage Method “1” v. Min Delay Before Dial PSTN Number “1000” w. Click Apply...


Need help?
Do you have a question about the HT503 and is the answer not in the manual?
Questions and answers