Table of Contents
Advertisement
Quick Links
January, 2021
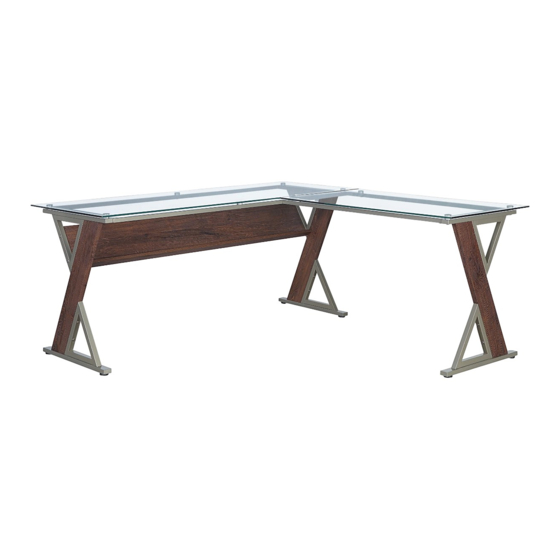
ZN6666-TC
ZENOS L-SHAPED DESK
Assembly Instructions - Important:
Carefully unpack and identify each component before attempting to assemble. Refer to parts list. Please take care when
assembling the unit and always set the parts on a clean, soft surface. If you require any assistance with assembly, parts or
information on other products, please visit our website: www.officestar.net or call or write us.
Advertisement
Table of Contents

Related Manuals for OSP Home Furnishings ZENOS ZN6666-TC


Summary of Contents for OSP Home Furnishings ZENOS ZN6666-TC
- Page 1 January, 2021 ZN6666-TC ZENOS L-SHAPED DESK Assembly Instructions - Important: Carefully unpack and identify each component before attempting to assemble. Refer to parts list. Please take care when assembling the unit and always set the parts on a clean, soft surface. If you require any assistance with assembly, parts or information on other products, please visit our website: www.officestar.net or call or write us.
- Page 2 Monday through Friday 8:00 a.m. - 5:00 p.m. Pacific Time. To make a warranty claim, contact Parts Department. Provide model number, proof of purchase, description of the problem and obtain return authorization. At its option OSP Home Furnishings will: (a) Supply compatible ®...
- Page 3 PARTS (A) Left Top (1 PC) (B) Right Top (1 PC) (D) Middle Leg Frame (1 PC) (C) Left Leg Frame (1 PC) (F) Left Metal Frame (1 PC) (E) Right Leg Frame (1 PC) (H) Cross Panel (1 PC) (G) Right Metal Frame (1 PC) (J) Metal L Plate (1 PC) (I) Metal Support Plate (1 PC)
- Page 4 HARDWARE LIST DRAWING DESCRIPTION SIZE QUANTITY Bolt 1/4” x 1/2” 13 PCS + 2 Extra Bolt 1/4” x 1-1/8” 18 PCS + 2 Extra Bolt 1/4” x 2-1/8” 4 PCS Sticker 1 PC Allen Wrench 1 PC...
- Page 5 STEP 1 FULLY TIGHTEN BOLTS. STEP 2 FULLY TIGHTEN BOLTS.
- Page 6 STEP 3 FULLY TIGHTEN BOLTS. STEP 4 FULLY TIGHTEN BOLTS.
- Page 7 STEP 5 FULLY TIGHTEN BOLTS. STEP 6 FULLY TIGHTEN BOLTS.
- Page 8 STEP 7 FULLY TIGHTEN BOLTS. STEP 8...
Need help?
Do you have a question about the ZENOS ZN6666-TC and is the answer not in the manual?
Questions and answers