
Related Manuals for Siamp Monaco INTRA


Summary of Contents for Siamp Monaco INTRA
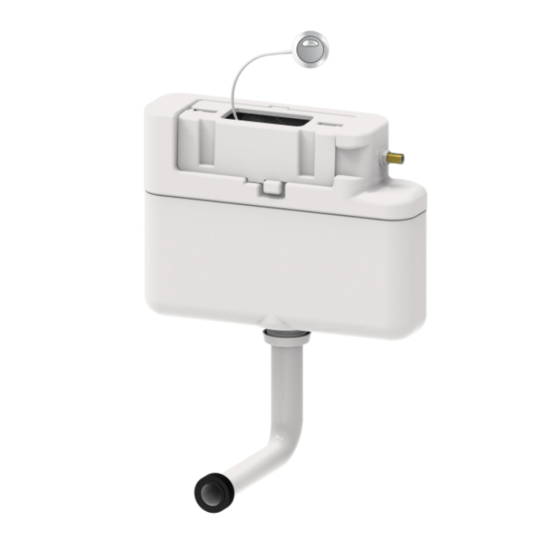
- Page 1 Pour cuvette posée au sol Ground fixed pan model Pour cuvette suspendue Wall hung pan model RÉSERVOIR POUR MEUBLE OU À ENCASTRER CISTERN FOR FURNITURE AND BACK TO WALL INTRA NOTICE DE MONTAGE / ASSEMBLY INSTRUCTION...
- Page 2 1 - Do not overtight in any case. 2 - Do not use any sealing paste and/or compound in any case 3 - Do not use connector handling the internal part of the inlet valve. SIAMP will be not responsible in case these warnings are not respected.
- Page 3 I - FIXER LE RÉSERVOIR / ATTACHING THE CISTERN ➋ ➊ Fixer les pattes de fixations ➊ Attach the cistern attachment lugs Mettre en place le réservoir ➋ Position the cistern ➍ ➌ Ajuster le coude ➌ d’alimention à la position de la cuvette (hauteur et profondeur) ➐...
- Page 4 II - MISE EN PLACE DU BOUTON / FLUSH BUTTON INSTALLATION ➊ ➋ Verrous Bolts Positionner la plaque de fermeture ➊ ➌ selon le type de commande (par le dessus (A) ou frontal (B)) Position the closing plate according to the type of control (top control (A) or front control (B)) Fixer la plaque à...
- Page 5 Plage d’installation Plage d’installation bouton par le dessus bouton par le devant Installation range Installation range top fixation front fixation Vue de face - Cistern front view Vue de dessus - Cistern top view Vue de profil - Cistern top view...
- Page 6 1 - Do not overtight in any case. 2 - Do not use any sealing paste and/or compound in any case 3 - Do not use connector handling the internal part of the inlet valve. SIAMP will be not responsible in case these warnings are not respected.
- Page 7 I - INSTALLER LE SUPPORT CUVETTE / INSTALLING THE TOILET BOWL FRAME ➌ Mesurer l’entraxe des trous de fixation de la ➊ cuvette et introduire les tiges de fixation de la cuvette dans les trous correspondants du sup- port cuvette Measure the centre distance of the toilet bowl and insert the toilet bowl attachment rods in the holes in the frame corresponding to the centre...
- Page 8 II - FIXER LE RÉSERVOIR / ATTACHING THE CISTERN ➋ Poser provisoirement le réservoir sur le ➊ coude d’alimentation Position the cistern temporarily on the sup- ply sleeve Reperer l’emplacement des pattes de fixa- ➋ tion du réservoir Mark the position of the cistern attachment lugs on the furniture Retirer le réservoir ➌...
- Page 9 III - RACCORDEMENT DE LA CUVETTE / TOILET BOWL CONNECTION A l’aide d’une règle placée comme sur le dessin ci-dessus, R e t i r e r l e s m a n c h o n s d e l a c u v e t t e e t ➊...
- Page 10 Mesurer l’épaisseur de l’arrière de la cuvette (B) Measure the thickness at the rear of the toilet bowl Recouper si nécessaire les tiges de fixation (l) de telle façon que la partie B + 20 mm dépassant du mur soit égale à...
- Page 11 IV - MISE EN PLACE DU BOUTON / FLUSH BUTTON INSTALLATION P o s i t i o n n e r p l a q u e f e r m e t u r e s e l o n ➊...
- Page 12 You have just installed a concealed cistern for furniture and back to wall INTRA by SIAMP and we would like to thank you for your confidence in our products. As expert in technical equipment and accessories for the toilet, SIAMP has taken every possible measure to apply all the necessary care to the design and production of this product, offering a ten-year guarantee except for rubber parts and manpower.
Need help?
Do you have a question about the Monaco INTRA and is the answer not in the manual?
Questions and answers
How to remove the flush valve? It seems to be fixed in place by lugs into the concealed cistern front and back