Table of Contents
Advertisement
Advertisement
Table of Contents

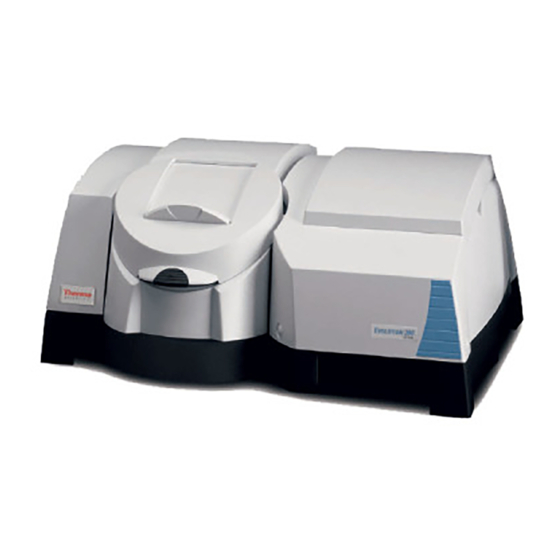
Summary of Contents for Thermo Scientific Evolution 300
- Page 1 Evolution 300 and Evolution 600 Mercury Lamp Accessory User’s Guide...
- Page 2 The information in this publication is provided for reference only. All information contained in this publication is believed to be correct and complete. Thermo Fisher Scientific shall not be liable for errors contained herein nor for incidental or consequential damages in connection with the furnishing, performance or use of this material. All product specifications, as well as the information contained in this publication, are subject to change without notice.
-
Page 3: Table Of Contents
Instrument verification ................9 Wavelength calibration ................ 10 VISION....................10 Wavelength Accuracy test ..............10 Wavelength Calibration ............... 12 Mercury lamp status ................13 Maintenance..................15 Routine maintenance ................15 Thermo Fisher Scientific Evolution 300 and Evolution 600 Mercury Lamp Accessory User’s Guide... -
Page 4: Introduction
Indicates a hazardous situation which, if not avoided, could result in death or serious injury. Danger Indicates a hazardous situation which, if not avoided, will result in death or serious injury. Thermo Fisher Scientific Evolution 300 and Evolution 600 Mercury Lamp Accessory User’s Guide... -
Page 5: Questions Or Concerns
Evolution 300 and Evolution 600 Mercury Lamp Accessory User’s Guide Thermo Fisher Scientific... -
Page 6: Getting Started
Remove the access port cover by rotating the quarter turn fastener counterclockwise using a straight bladed screwdriver, or the edge of a suitable coin. Thermo Fisher Scientific Evolution 300 and Evolution 600 Mercury Lamp Accessory User’s Guide... -
Page 7: Evolution 300
1 and 2 above then proceed as indicated below. 1. Remove the blanking plate covering the window in the optics compartment by pulling upwards. Blanking plate Pins Evolution 300 and Evolution 600 Mercury Lamp Accessory User’s Guide Thermo Fisher Scientific... - Page 8 Do not touch the lamp envelope. Any fingerprints will damage the quartz window of the lamp module. The lamp assembly should now be correctly positioned adjacent the window in the optics compartment cover. Thermo Fisher Scientific Evolution 300 and Evolution 600 Mercury Lamp Accessory User’s Guide...
-
Page 9: Evolution 600
1. Plug input connector into the power supply. Power supply Deuterium Input lamp connector Output CAUTION HOT SURFACE ATTENTION SURFACE CHAUDE Evolution 300 and Evolution 600 Mercury Lamp Accessory User’s Guide Thermo Fisher Scientific... - Page 10 5. Secure the lamp. To do this, tighten down the captive screw using fingers. Reverse the order given in the preceding procedure when you remove the mercury lamp. Thermo Fisher Scientific Evolution 300 and Evolution 600 Mercury Lamp Accessory User’s Guide...
-
Page 11: Using The Mercury Lamp
1. From the Main Menu page, press the Utilities function key. 2. Highlight Instrument Verification and press Enter. The following is an example of the Evolution 600 Instrument Verification page: Evolution 300 and Evolution 600 Mercury Lamp Accessory User’s Guide Thermo Fisher Scientific... -
Page 12: Instrument Verification
Run to run the selected tests. On completion, press the Save Results function key to save the results in the instrument Library or to disk as required. Thermo Fisher Scientific Evolution 300 and Evolution 600 Mercury Lamp Accessory User’s Guide... -
Page 13: Wavelength Calibration
Follow these steps to use the mercury lamp to verify that the wavelength accuracy and/or bandwidth accuracy of the instrument is/are within specification: 1. Clear both beams. 2. Click in the box to check the required test. Evolution 300 and Evolution 600 Mercury Lamp Accessory User’s Guide Thermo Fisher Scientific... - Page 14 To do this, select File > Save > PV Test Results. If a PV Test Result file is already open, new results will be added to the existing file. Thermo Fisher Scientific Evolution 300 and Evolution 600 Mercury Lamp Accessory User’s Guide...
-
Page 15: Wavelength Calibration
Click on Command > Wavelength Calibration. The Wavelength Calibration dialog box is displayed. Choose OK to perform the calibration or on Cancel to exit the dialog without calibrating. Evolution 300 and Evolution 600 Mercury Lamp Accessory User’s Guide Thermo Fisher Scientific... -
Page 16: Mercury Lamp Status
The mercury lamp will be switched on when the Lamp Change field on the Method Parameters page is set to Mercury. It will be switched off when the Lamp Change field is set to Xenon (Evolution 300) or Tungsten/deuterium (Evolution 600). - Page 17 Note If the lamp has been switched on manually, it must be switched off manually. Note The mercury lamp should be switched off when not in use. Evolution 300 and Evolution 600 Mercury Lamp Accessory User’s Guide Thermo Fisher Scientific...
-
Page 18: Maintenance
The lamp holder and lamp should be treated with the care normally required for any precision optical component. Notice Do not touch the lamp envelope. Any fingerprints will damage the quartz window of the lamp module. Thermo Fisher Scientific Evolution 300 and Evolution 600 Mercury Lamp Accessory User’s Guide...


Need help?
Do you have a question about the Evolution 300 and is the answer not in the manual?
Questions and answers