Table of Contents
Advertisement
Quick Links
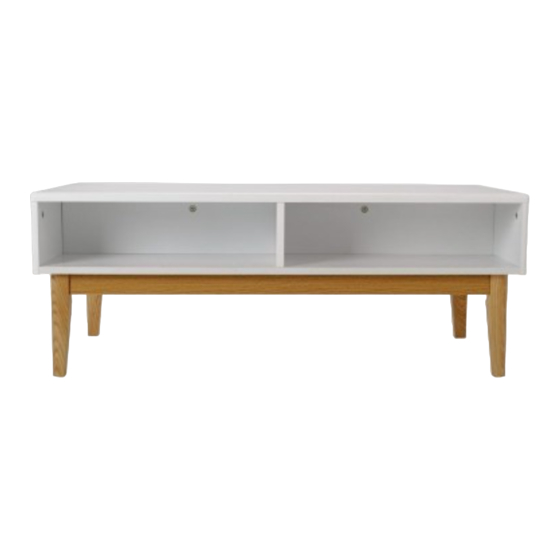
SKYE WOOD / WHITE COFFEE TABLE
Assembly lnstructions - Please keep for future reference
481/5136(D)
Dimensions
Width - 100 cm
Depth - 47 cm
Height - 38 cm
Important - Please read these instructions fully before starting assembly
Customer Helpline: 0345 6400 800
If you need help or have damaged or missing parts, call the
Issue 1-16-04-15
Advertisement
Table of Contents

Related Manuals for Argos SKYE WOOD 481/5136


Summary of Contents for Argos SKYE WOOD 481/5136
- Page 1 SKYE WOOD / WHITE COFFEE TABLE Assembly lnstructions - Please keep for future reference 481/5136(D) Dimensions Width - 100 cm Depth - 47 cm Height - 38 cm Important - Please read these instructions fully before starting assembly Customer Helpline: 0345 6400 800 If you need help or have damaged or missing parts, call the Issue 1-16-04-15...
- Page 2 Safety and Care Advice Assemble the item as close We do not Check you have all the components and tools listed on recommend the pages 2 and 3. use of power room) as possible. drill/drivers for Assemble on a soft level plastic bags and separate them inserting screws, surface to avoid damaging the...
- Page 3 Components - Parts lf you have damaged or missing components. call the Customer Helpline: 0345 6400 800 Bottom x 1 Short Partition x 2 (96.6x46.6x6cm) (22.4x13.0x1.5cm) Long partition x 1 Side Panel x 2 (96.6x13x1.5cm) (46.8x14.5x1.5cm) Top panel x 1 Legs x 4 (100x47x1.8cm) (21.5x4x4cm)
- Page 4 Components - Fittings 0345 6400 800 Dowel x 22 Wood screw x 8 Cam-bolt x 10 Cam-lock x 10 Protector x 4 Allen Key x 1 Washer x 4 Tools required Phillips screwdriver Ruler/tape measure 100 105 110 115 120 125 130 135 140 145 150 (Not supplied) (Not supplied) R uler - Use this ruler to help correctly identify the screws...
- Page 5 Assembly Instructions Step 1 Preparing bottom. holes facing up. Insert dowels into Panel as shown. Step 2 Assembling divider Place long partition holes facing up. Insert dowels into Panel 2 and shown.
- Page 6 Assembly Instructions Step 3 Fix dividers onto the bottom. Put dividers 2 , 3 onto bottom , x them with wood screws B Note : Do not over- tighten. Step 4 Preparing side panel Fix dowels Cam-bolt in side panel as shown .
- Page 7 Assembly Instructions Step 5 Assembling side panel Put side panel 4 onto bottom as shown. Lock them with cam-lock D . Step 6 preparing side panel Fix cam-bolts onto top panel 5 as shown.
- Page 8 Assembly Instructions Step 7 Fix top panel Put top panel 5 onto side panel and dividers as shown. Lock them with Cam-lock Step 8 Self adhesive Assembling legs Turn the product upside down. Fix legs 6 with Hexagon screws G and washers H as shown.
Need help?
Do you have a question about the SKYE WOOD 481/5136 and is the answer not in the manual?
Questions and answers